
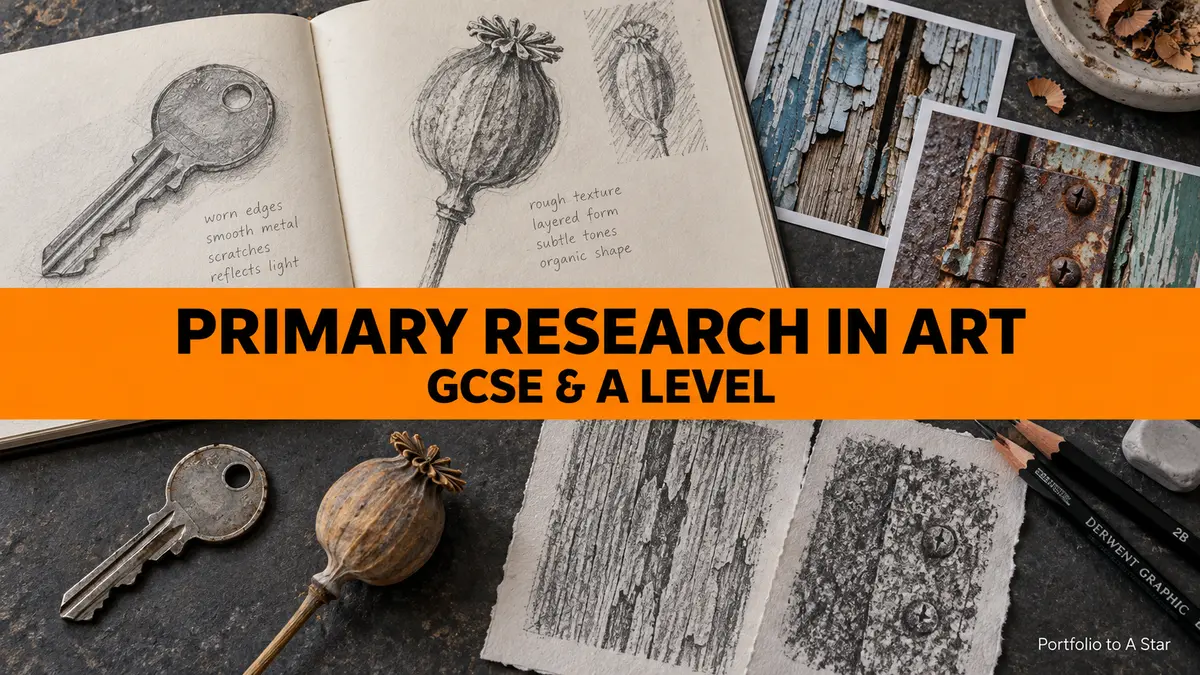
Primary research in art means gathering information through your own direct observation and investigation. Your photographs, drawings from life, texture studies, visits and conversations can all give you something personal to develop. You do not need an expensive trip or an unusual subject: a worn trainer, a kitchen window or the lettering on your local high street can be a useful starting point.
This guide will help you collect first-hand sources for GCSE or A Level Art, Photography and Graphic Communication, select what matters and turn it into practical work. The aim is to build a bank of ideas you can use, rather than a folder of images you never look at again.
What is the difference between primary and secondary research?
Primary research involves engaging directly with your subject. Drawing a shell in front of you, photographing shadows you have arranged, or asking people how they use a product are examples. Secondary research involves sources someone else has already produced, such as a book, a website or another photographer’s image.
Both can be useful. The important thing is to identify where your material came from and what you learned. Drawing from an internet photograph does not turn that photograph into your own first-hand observation. A photograph you take of an artwork in a gallery records your visit; it does not make the artwork your creation.
Use artist research to explore approaches and ideas, then test what interests you against subjects you can investigate yourself.
What can you collect for primary research in art?
1. Drawings from direct observation
Choose something you can look at closely: a plant, a hand, a chair, a folded jacket or a small arrangement of objects. Make several studies with different purposes. One could explore outline, another the darkest tones, and another a tiny surface detail. You are gathering information, so every drawing does not need to be a finished artwork.
Try this: draw one object for two minutes, five minutes and fifteen minutes. Under each study, explain what the extra time helped you notice. Our guide to improving observational drawing offers further starting points.
2. Your own photographs
Photograph subjects connected to your project rather than taking random pictures and hoping they will fit later. Change your viewpoint, distance, lighting or arrangement. A phone camera is enough to begin investigating composition and detail.
For a theme such as “connections”, you could photograph tangled cables, joined hands, intersecting branches and transport routes. Then decide which interpretation has the most potential. Keep the original files and make a contact sheet so your choices remain visible.
3. Objects, materials and textures
A ticket, piece of packaging, fabric offcut or fallen leaf can offer shape, colour, pattern and meaning. Record where it came from and why it belongs in your project. If an object is fragile, bulky or unsuitable for a sketchbook, photograph or draw it instead of attaching it.
Make rubbings only on suitable surfaces where you have permission. Do not damage objects or remove materials from protected places. Your own safe, everyday surroundings usually provide plenty to investigate.
4. Visits and observations of places
A local walk can be as useful as a gallery visit if you go with a question. Look for repeated shapes, changes in scale, reflections, repaired surfaces or signs of human activity. Combine quick sketches with photographs and brief notes about what you noticed.
For example, a project about belonging might begin with the objects people leave by their front doors. A project about change might compare a new surface with a worn one. Work from public areas or places you have permission to enter.
5. Conversations and first-hand design feedback
For Graphic Communication, ask a few intended users what they need from a poster, leaflet or package. Keep questions specific: “Which detail did you notice first?” is more useful than “Do you like it?” Record the question, a short summary of the response and the design decision it suggests.
Ask permission before recording or photographing people, and avoid putting their personal details into your portfolio. A small set of responses can help you test an idea, but it does not represent everybody’s opinion.
Start with a question before you collect
A broad theme becomes easier when you turn it into something you can investigate. Instead of “I am collecting pictures of buildings”, try “How do weathered surfaces show the age of a place?” Now you know why close-up photographs, texture drawings and notes about materials might be useful.
Write a short collection plan: What do I want to find out? What can I observe directly? How will I record it? What might I test afterwards? Keep the plan flexible. Finding something unexpected is a reason to investigate further, not a sign that you have gone wrong.
GCSE example: everyday objects and personal identity
Imagine a GCSE Fine Art project about identity. Choose three objects with a personal connection, such as a trainer, a set of keys and a favourite mug. Draw them from life, photograph them in different arrangements and record details that suggest use or memory.
You might discover that the creased trainer says more about your daily routine than a neat arrangement of all three objects. Select a close-up, test pencil and charcoal marks, and compare a realistic study with an enlarged crop. Explain why you kept one approach and changed another. This is an illustrative project route, not a compulsory sequence.
A Level example: investigate one place more deeply
For an A Level project about memory and place, revisit one accessible location at different times. Record what changes and what remains: lighting, activity, repairs, signs or objects. Combine your visual studies with your own notes and, where appropriate, a conversation with someone who knows the place.
Then narrow the enquiry. Perhaps the most interesting feature is how traces of earlier use survive in a changing space. Select details that explore this idea, compare them with relevant artists’ approaches and make material or compositional tests. Depth comes from the questions you pursue and the decisions you make, rather than simply collecting more photographs.
How does this work in Photography and Graphic Communication?
In Photography, your first shoot can become research for the next one. For a project on isolation, photograph the same subject with different amounts of surrounding space. Compare the effect, choose a direction and plan a reshoot. Use a contact sheet to show your selection and explain what you would change.
In Graphic Communication, investigate how design works in a real setting. For a community-event poster, photograph the noticeboard where it will appear, note viewing distance and competing colours, and ask intended viewers which information they need. Use those observations to test type size, hierarchy and layout. Research should help you solve the brief.
How to present first-hand sources in your sketchbook
Group material around a question or discovery. Give each group a useful label, such as “My photographs: repeated shapes in railings”, rather than just “Research”. Add the date, source or location where relevant, and explain the next step.
A useful annotation could be: “I photographed this torn label because its layers suggest repeated use. The close crop makes the overlapping edges clearer. Next I will test torn paper and dry-brush marks to recreate that effect.” This identifies your observation, a visual decision and an experiment.
Avoid filling the page with nearly identical photographs or describing every image separately. Select a manageable group, enlarge a promising detail and show what it leads to. For broader page planning, see what to put in a GCSE Art sketchbook.
How primary research supports the assessment objectives
At GCSE, recording relevant observations connects particularly with AO3. Investigating sources can support AO1; testing ideas from them can support AO2; using those discoveries in a personal response can support AO4. One activity can contribute to more than one objective, depending on what the work demonstrates.
A photograph or collected object does not automatically earn a particular mark. Its relevance, the quality of your recording and the way you use it matter. See AQA’s official GCSE assessment objectives for the wording, and discuss your own course expectations with your teacher.
A 30-minute primary research starter
- 5 minutes: choose one question and one accessible subject.
- 10 minutes: make a few photographs or quick drawings, changing something deliberately.
- 5 minutes: select the two most useful results and say why.
- 10 minutes: make one small response, such as a crop, tonal study, collage test or layout thumbnail.
Finish with one sentence: “My next step is… because…” You now have a small investigation with a direction. Repeat or extend it when your project raises a new question.
Questions students often ask
How much primary research do I need?
There is no single number of photographs or sketchbook pages that suits every project. Follow your teacher’s brief and collect enough relevant evidence to explore your question. If your material is repetitive or you cannot explain how it helps, collecting more is unlikely to solve the problem.
Can I use photographs I took before the project started?
They can be useful if they are your own, relevant to the enquiry and permitted by your project brief. Identify when and why you took them. Add fresh observation or investigation where you need more specific information.
Can an AI-generated image count as my own first-hand observation?
An AI-generated image does not document something you personally observed or photographed. Do not present it as that kind of evidence. The featured image on this guide is an AI-generated illustration of research approaches; it is not a student’s research page. Check your school’s and awarding body’s current instructions before including AI material in assessed work.
Would an independent view help you choose your next step?
If you have collected plenty of material but are unsure what to develop, Portfolio to A Star can offer personalised feedback on the evidence in your portfolio. You can ask for guidance on your selection, connections between stages and practical next steps.
Explore more student guidance and free resources at Portfolio to A Star.
No responses yet