
BTEC Level 3 / Art and Design
How to Respond to a BTEC Level 3 Art and Design Brief
A creative brief tells you what a project needs to achieve. Your job is to turn it into a purposeful journey: investigate, develop possible responses, test them, make decisions and present an outcome that answers the brief.
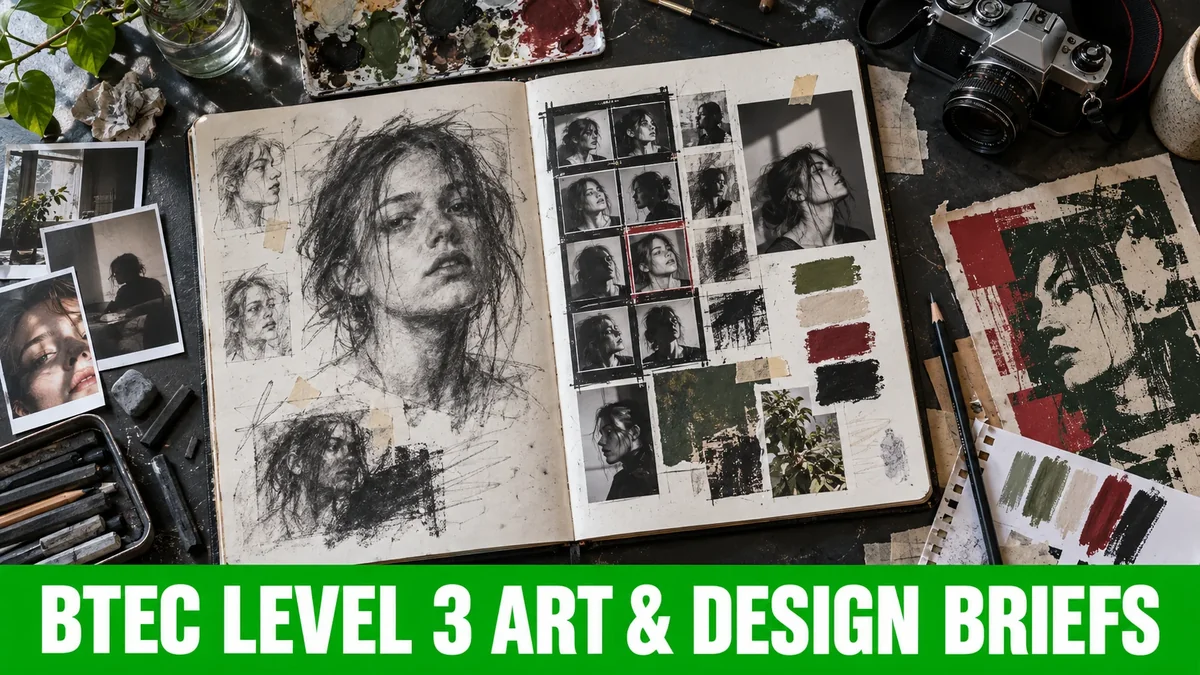
First, check your course title. Pearson’s Art and Design Practice (2019) and Art and Design (2016) qualifications have different assessment structures. The project method below is useful across creative work, but your centre’s actual brief, unit requirements and current specification take priority.
What is the brief really asking you to do?
Read the whole brief before choosing a final idea. Highlight the purpose, audience or client, theme, required outcomes, practical limits, presentation format and deadline. Then rewrite each requirement as a question you can answer through your work.
For example, “explore overlooked places” is a theme. “Help young people see their local area differently” is a purpose. A visually striking response could still miss the brief if it never considers that audience.
| Look for | Ask yourself | Evidence you could keep |
|---|---|---|
| Purpose and audience | Who is this for, and what should they notice, understand or feel? | Audience notes, initial ideas, feedback and reasons for choices. |
| Creative direction | What could this theme mean in Fine Art, Photography or Graphic Communication? | Mind maps, original photographs, observational drawings and visual research. |
| Outcome and limits | What must be made, in what format, and by when? | A plan, prototypes, tests, technical notes and a final presentation. |
| Assessment requirements | Which skills and decisions must my assessor be able to see? | Development pages, reviews, refinements and a clear link to the brief. |
Quick start: write one sentence that joins the theme, audience and intended response: “I will explore [idea] through [method] to help [audience] experience [purpose].” Treat it as a working direction that can change after testing.
How do I build a strong response?
Investigate
Gather primary material you made yourself: observations, interviews where appropriate, location photographs, drawings or recorded textures. Add selective secondary research that helps you ask better questions.
Generate alternatives
Make several genuinely different starting points. Compare composition, medium, message or audience experience rather than presenting three small variations of the first idea.
Test and record
Try materials, camera settings, layouts, processes or display formats. Photograph temporary work and keep rejected tests with short reasons for what they taught you.
Review and decide
Ask what communicates the brief most effectively. Use tutor or audience feedback as evidence of a decision, then show the change it caused in the next experiment.
Refine the outcome
Resolve the technical and visual weaknesses you found. Test scale, sequence, finish, legibility and presentation in the format the brief actually requires.
Present the journey
Make the line from research to outcome easy to follow. Select the most useful evidence and explain why the final response fits its audience and purpose.
Useful annotation: “I tested A and B because … ; B communicated the audience’s needs more clearly because … ; I changed … in the next version.” Show the next version beside the review so the decision is visible.
One illustrative brief, three possible responses
Practice brief: Hidden Layers of a City. Imagine a local youth arts venue asks you to create a small display for people aged 16–25. It should reveal overlooked details of the local built environment and invite viewers to look again. The brief is invented for teaching; it is not a Pearson assignment. Your actual centre brief may specify different work, constraints and assessment evidence.
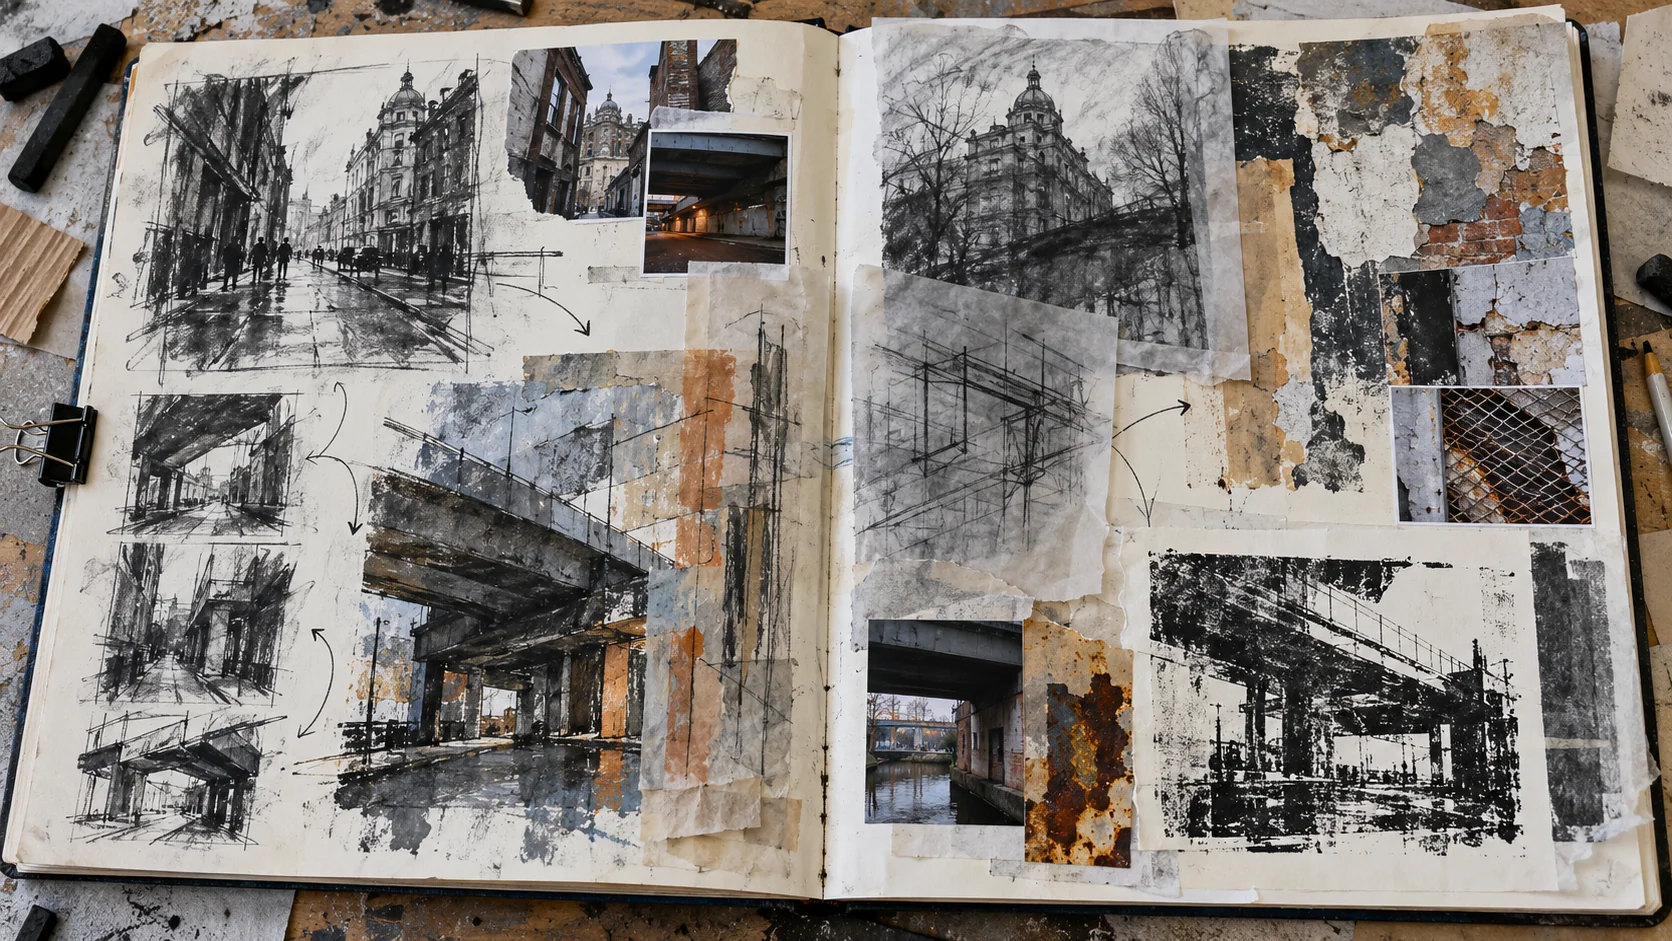
Fine Art: a layered cityscape
- Investigate: draw on location and photograph worn signs, brickwork and shadows.
- Develop: compare charcoal, monoprint and translucent layers; test three compositions.
- Decide: choose the combination that makes overlooked details visible without losing a sense of place.
- Present: display the finished mixed-media work with selected process pages and a concise explanation of material choices.
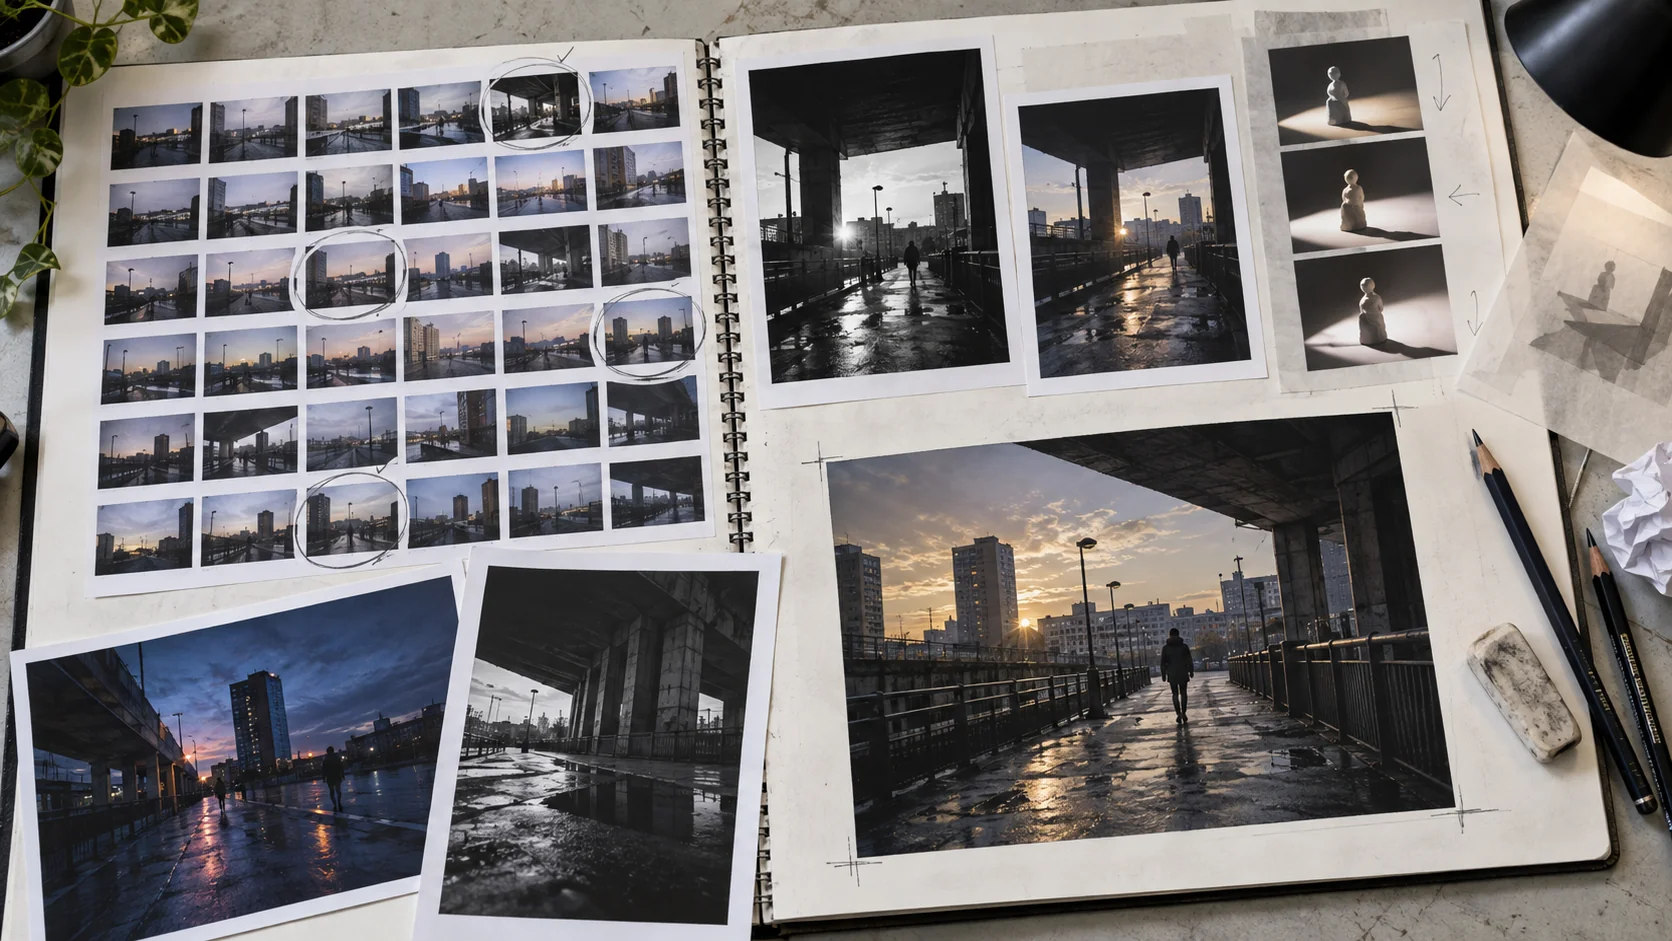
Photography: a short image series
- Investigate: revisit one location at different times, making contact sheets rather than choosing a single lucky frame.
- Develop: compare viewpoints, exposure, light and sequencing; annotate why certain images communicate best.
- Decide: reshoot weak frames and edit consistently while retaining evidence of earlier choices.
- Present: sequence a small series for the venue with titles or captions that help the intended audience look closely.
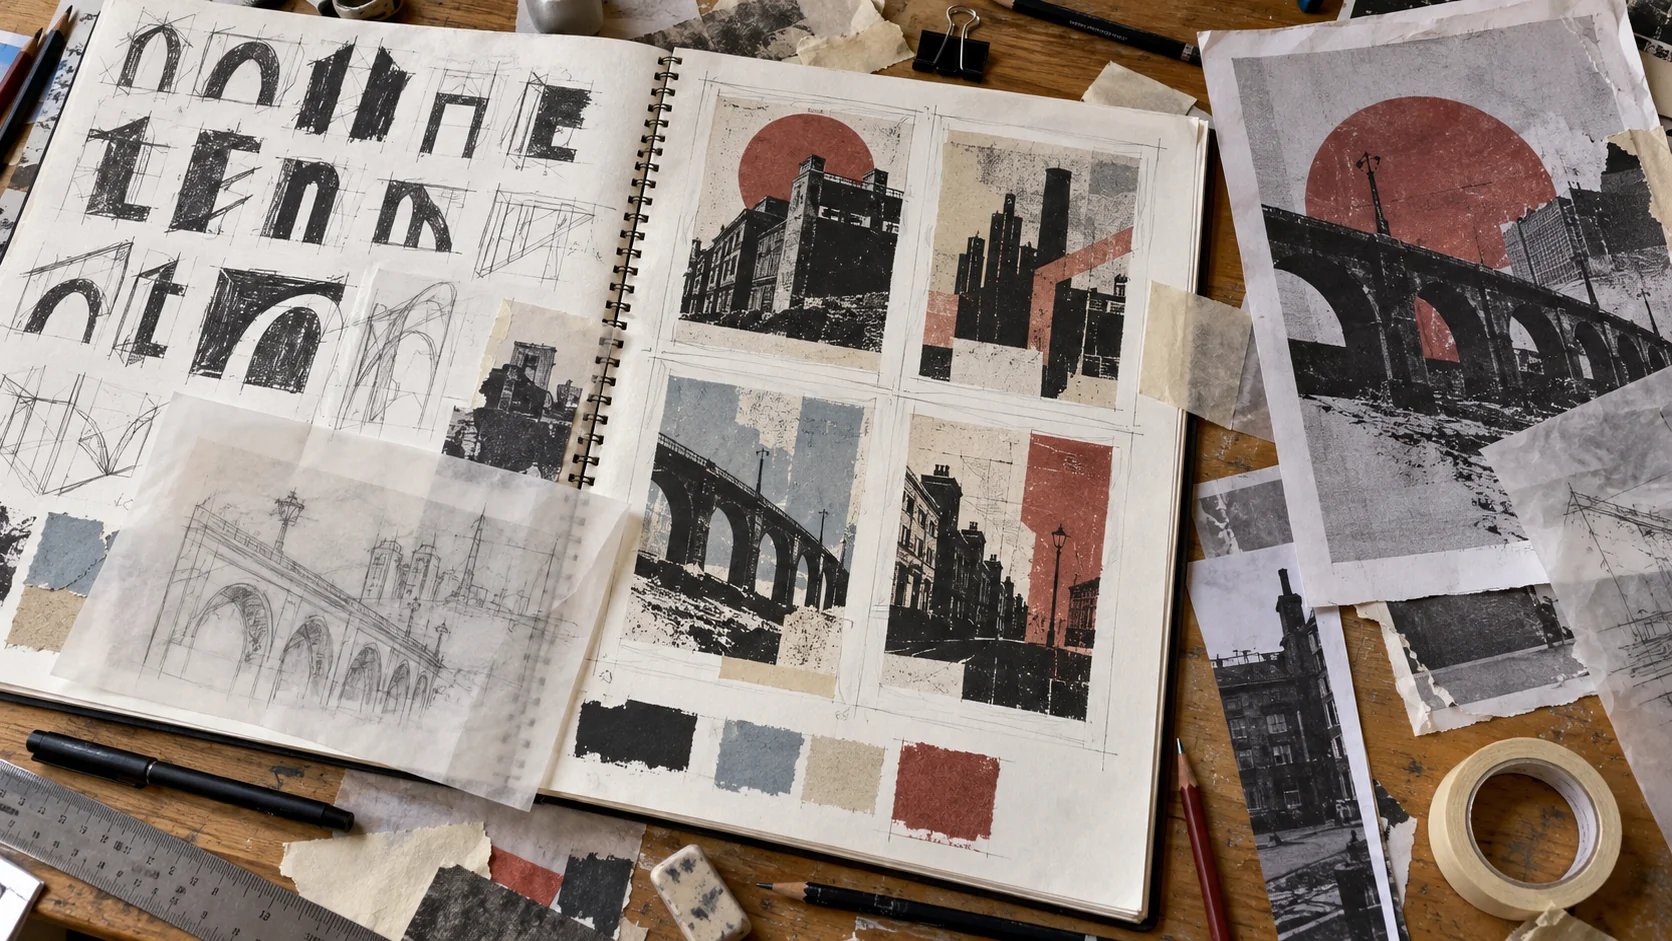
Graphic Communication: a visual campaign
- Investigate: research the venue, audience and local visual culture; collect your own images and typographic references.
- Develop: sketch competing poster concepts and test hierarchy, legibility, colour and placement at realistic size.
- Decide: compare a rough mockup with audience feedback and refine the strongest direction.
- Present: show final posters in context alongside the alternatives and decisions that led to them.
The three routes answer the same purpose differently. The strongest work is the route whose research, experiments, decisions and presentation make sense for the chosen audience.
What evidence should I show?
For Pearson’s 2019 Art and Design Practice route, the A2 Creative Project assessment objectives cover informing ideas, problem solving, technical skills, professional behaviours and communication in response to a creative brief. The Extended Diploma also includes B2 Creative Industry Response, which is tied to an industry brief. Use your own unit sheet to see exactly how your work is assessed. The 2016 Art and Design suite uses a different unit structure, including external assessment in some qualifications. The official specification links appear below.
Keep the process
Include dated research, unsuccessful tests, contact sheets or drafts, feedback, decisions and revised work. Select evidence that explains development rather than saving everything indiscriminately.
Explain the change
Use short notes that state what you intended, what happened, what you learned and what you did next. Place the next piece of work beside the review when possible.
Check the brief again
Before submission, compare your response against the stated audience, purpose, format, constraints and assessment criteria. Ask your tutor about anything the brief leaves unclear.
Important: these are practical examples, not a marking grid or a guaranteed recipe for a grade. Follow the specification and assessment guidance given by your centre for your exact qualification.
Frequently asked questions
Can I change my first idea after I start?
Yes, if the new direction still answers the brief and you show why it developed. Keep evidence of the earlier route and the tests or feedback that caused the change.
Do I need to make exactly what the brief suggests?
Follow the required purpose, audience, outcomes and limits. Within those requirements, you may have room to interpret the theme in your own way. Check any uncertainty with your tutor before making a major change.
How much artist or designer research should I include?
Use enough relevant research to inform specific decisions in your work. A small number of closely examined references that affect your next experiment are more useful than many pages of disconnected biography.
Are these three images real assessed BTEC portfolios?
No. They are illustrative images created to explain possible development processes. For official marked learner work and standards, consult Pearson materials and your centre.
Does every BTEC Level 3 course use the A2 Creative Project?
No. A2 belongs to the 2019 Art and Design Practice specification. Other Level 3 Art and Design qualifications, including the 2016 suite, have different units. Check your full qualification name and assignment sheet.
Where should I go next?
Look at the Level 3 portfolio examples to see how evidence can be organised, or return to the BTEC Level 3 help hub for the wider course guide.
Sources: Pearson Art and Design Practice (2019); 2019 specification; Pearson Art and Design (2016). Always use the current specification and assessment guidance supplied by your centre.