
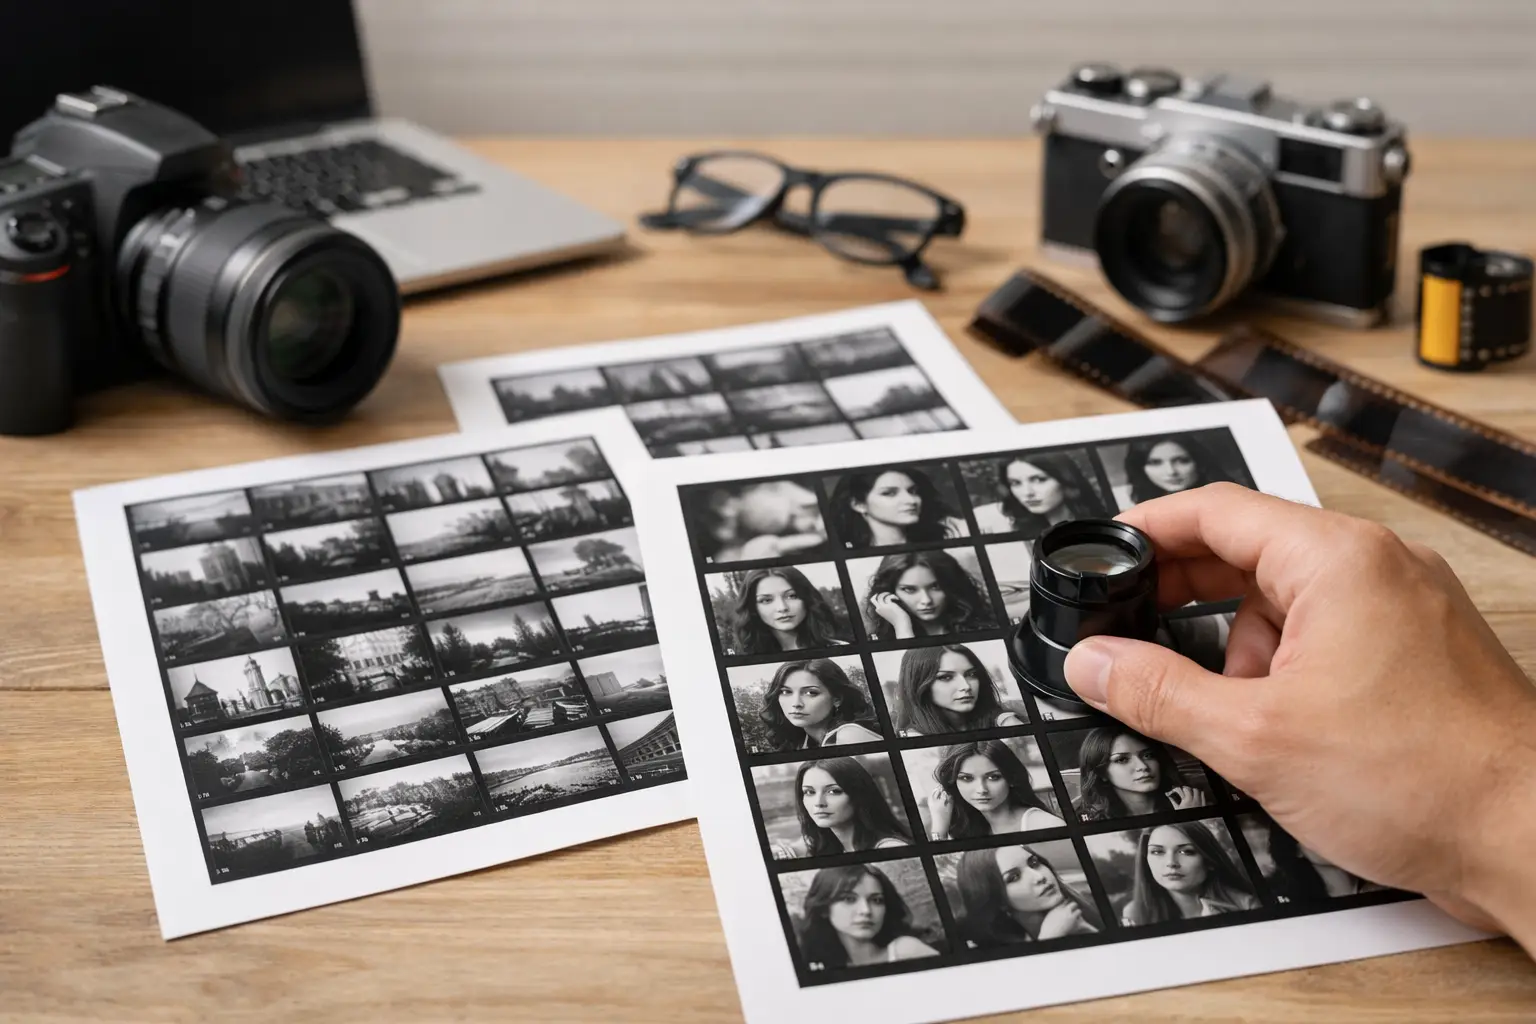
A contact sheet should never look like a page of small photographs added because your teacher asked for one. It is evidence of how you see, select and improve. Knowing how to develop photography contact sheets for GCSE coursework means turning an original shoot into a clear visual journey: what you noticed, which images had potential, what you changed, and why your final choices became stronger.
For a high-grade portfolio, the contact sheet is usually the bridge between taking photographs and making developed work from them. It can support AO3 by recording observations and source material, while your selections, edits and written decisions begin to show AO2. The key is purpose. Every shoot needs a reason, and every image you enlarge or reject should help move your project forward.
Start with a shoot that answers your project question
Before you take photographs, decide what you are investigating. A theme such as identity, decay, reflections, architecture or concealment is too broad on its own. Narrow it into a visual intention. For example, rather than photographing buildings generally, you might investigate repetitive windows and harsh shadows to communicate isolation.
Write this intention at the top of the contact sheet or alongside it. Keep it short and specific: “I photographed shop-front reflections at dusk to explore fragmented identity and distorted urban space.” This immediately tells the examiner that your photographs were planned research, not random images from your camera roll.
A worthwhile shoot gives you choices. Vary your viewpoint, distance, framing, lighting and composition. Photograph the same subject from above, at eye level and close up. Move around it rather than taking five nearly identical pictures. If your project focuses on texture, test raking side-light, extreme close-ups and wider contextual views. These variations allow you to compare visual outcomes meaningfully.
You do not need hundreds of images to prove effort. Twenty to forty considered photographs from one focused shoot is often more useful than a contact sheet packed with unrelated material. Quality of investigation matters more than quantity.
How to develop photography contact sheets GCSE assessors can follow
Begin by placing your images in a sensible order. A contact sheet should be easy to read, with photographs large enough to judge. Include a title, date or shoot number, location if relevant, and a brief statement of purpose. If you have completed several shoots, give each one a clear identity, such as “Shoot 3: Glass, Reflection and Layering”.
Avoid presenting every photograph at the same tiny size if the page becomes impossible to interpret. It is better to use two pages than force 60 thumbnails onto one page. A strong sketchbook shows that you can present work with care and make deliberate visual decisions.
Once the sheet is in place, review it honestly. Look for photographs that have strong formal qualities: interesting contrast, effective negative space, unusual cropping, a clear focal point, expressive blur, repeated pattern or a relationship between objects that supports your idea. A technically imperfect image can still be valuable if its composition or atmosphere is compelling. Equally, a sharp, well-exposed photograph may not be useful if it says nothing about your project.
Make your decision-making visible. Circle, tick or frame your strongest images, but do not select everything. Choosing three to six images from a shoot is usually enough to show that you have evaluated it. Use a consistent system, such as a coloured border for images to develop and a smaller mark for images that may be useful later.
Write annotation that explains decisions
Your annotation should do more than label what is obvious. “This is a photo of a window” does not demonstrate analysis. Explain the visual feature, link it to your intention and state what you will do next.
For example: “I selected this image because the overlapping reflections break up the figure and create a sense of uncertainty. The darker tones make the face less recognisable, which links to my theme of hidden identity. I will crop closer to remove the distracting pavement and test a high-contrast black-and-white edit.”
That short paragraph shows observation, personal intention and a practical next step. It is far more useful than filling the page with repetitive comments. Aim for a few precise annotations around your best images rather than writing on every thumbnail.
It is also helpful to acknowledge a weaker result when it teaches you something. You might write: “The direct flash has flattened the surface texture, so in my next shoot I will use side-lighting to create deeper shadows.” This does not lose marks. It shows reflection and purposeful refinement, which is central to AO2.
Select, enlarge and edit with a reason
The contact sheet is not the finished development stage. Your selected photographs must lead somewhere. Enlarge the most promising image or images onto the next page, then test appropriate changes. A crop, tonal adjustment or colour change is only worthwhile when it strengthens the meaning or visual quality of the image.
If your project is about urban isolation, you may crop out busy details and deepen shadows to make a single figure feel separate from its surroundings. If you are studying natural forms, you might increase contrast to reveal veins, cracks or layered surfaces. Explain the effect rather than simply writing “I edited this in Photoshop”.
Digital editing is valid, but it should not replace thought. Filters applied without purpose often make a portfolio feel generic. Ask yourself what each adjustment contributes. Does black and white bring attention to shape? Does selective blur suggest movement or memory? Does a close crop create tension? If the answer is unclear, test another version and compare them.
Present two or three versions when comparison is useful. For instance, show the original image, a close crop and a monochrome edit, then annotate which is most effective and why. This creates visible development. It also gives you material to revisit later when planning your final outcome.
Connect your contact sheets to artist research
Your own photography becomes more convincing when it responds to an artist or photographer you have researched. The connection must be practical, not just a name written beside the page. Identify one or two features of their work and use your shoot to test them.
You could explore close cropping inspired by a portrait photographer, dramatic lighting informed by a film photographer, or typological repetition influenced by an architectural photographer. State the method you borrowed, then explain how you adapted it for your own subject and theme.
For example: “After studying the close framing in this photographer’s portraits, I photographed reflections from a much nearer viewpoint. This removed the wider street scene and made the fragmented face the main focus.” Your contact sheet now supports AO1 through relevant research and AO2 through experimentation.
Do not try to imitate every element of an artist’s work at once. One focused photographic experiment is more convincing than a vague attempt to copy an entire style. Your portfolio should show your own ideas becoming more individual as the project progresses.
Common contact sheet mistakes to avoid
The most common issue is treating the contact sheet as a finished page rather than a working page. A row of thumbnails with “good composition” repeated underneath does not show development. Another problem is selecting photographs that are attractive but unrelated to the project. Your strongest image is not always the one that best advances your theme.
Be careful with over-editing too. Heavy saturation, extreme contrast or fashionable filters can hide useful visual information. Sometimes a quieter adjustment produces a more sophisticated photograph. It depends on your intention and the qualities you are trying to investigate.
Finally, do not let a successful shoot sit in isolation. Refer back to it in later pages. Use a selected photograph as the starting point for drawings, collage, digital manipulation, mixed-media experiments or a further shoot. This connection is what makes a sketchbook feel like a developed portfolio rather than separate tasks.
A reliable page-by-page approach
For each planned shoot, begin with your visual intention and a well-presented contact sheet. Select the most useful images, annotate the reasons for your choices, then enlarge and experiment with the strongest one or two. Follow this with a clear evaluation that identifies what you will take into the next stage.
This process can be repeated throughout the project, but it should evolve. Early contact sheets may explore your subject broadly. Later ones should become more selective, focused and ambitious as your ideas take shape. By the final stages, your photography should provide direct evidence for the imagery, composition and mood of your outcome.
A well-developed contact sheet gives you more than AO3 evidence. It proves that you can make informed choices, respond to results and direct your project with confidence. Treat every shoot as a question you are trying to answer, and your next pages will have a clear, convincing reason to exist.
No responses yet