
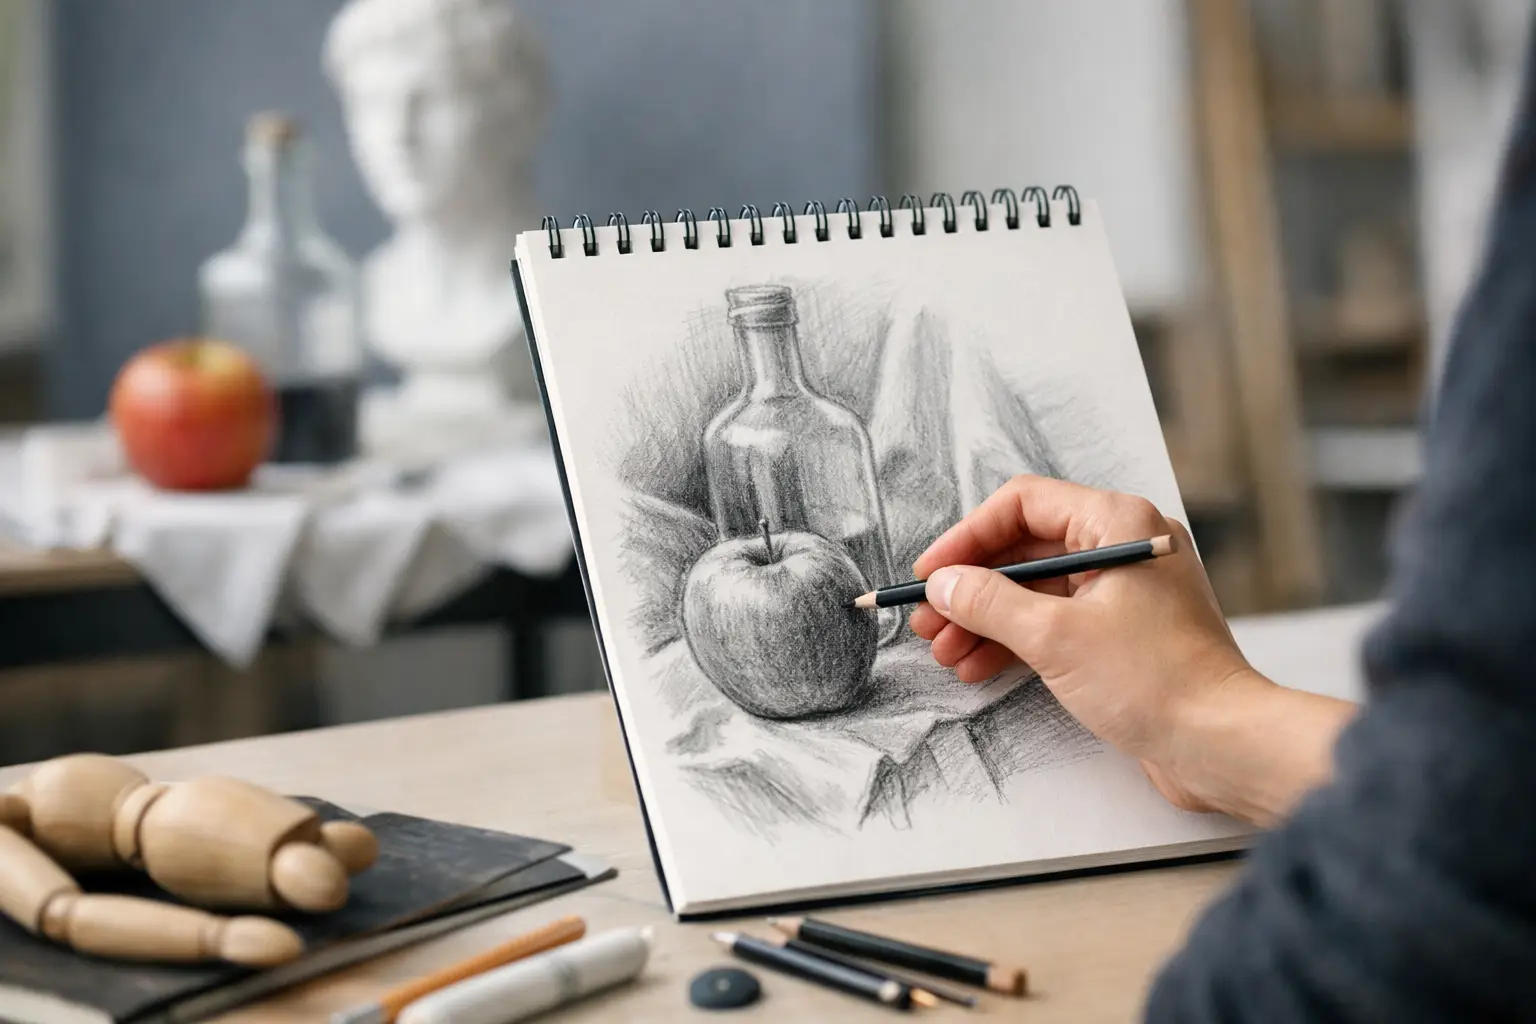
A still life drawing can look carefully shaded and still fail to earn the marks it deserves if it does not show genuine looking, decision-making and development. Learning how to improve observational drawing for art GCSE is not simply about making a drawing more realistic. It is about producing clear AO3 evidence: recording ideas, observations and insights from direct experience in a way that can lead your project forward.
Strong observational work gives your sketchbook credibility. It proves that your artist research, photographs, experiments and final outcome are grounded in your own visual investigation. The aim is not perfection on the first attempt. The aim is purposeful progress that an examiner can see.
What GCSE examiners look for in observational drawing
Observational drawing sits most directly within Assessment Objective 3, which asks you to record ideas, observations and insights relevant to your intentions. In practical terms, this means drawing from something you can genuinely see: an object, person, landscape, interior, plant or arranged collection of materials.
Your drawing should communicate more than the outline of the subject. It should show that you have considered proportion, shape, structure, tone, texture, light and composition. Just as importantly, it should connect to your project. A detailed drawing of a trainer may be technically impressive, for example, but it needs a clear place in a project about identity, consumer culture, sport or personal possessions.
Examiners are looking for evidence of increasing control and thoughtful selection. One rushed page of similar pencil studies is less valuable than a sequence that shows you exploring a subject from different viewpoints, with different materials and increasingly confident decisions.
Start by looking before you draw
Many students lose accuracy because they draw what they think an object looks like rather than what is actually in front of them. A mug becomes a symbol of a mug: an oval rim, two straight sides and a handle. Observation asks you to slow down and notice the particular mug on your desk – its tilt, the width of its rim, the curve of its handle and the shadow it casts.
Before making a mark, spend a minute identifying the largest shapes. Ask yourself where the subject sits on the page, what its overall height-to-width relationship is, and where the darkest areas appear. This prevents a common problem: completing a beautifully rendered section, then discovering the whole object does not fit.
Try measuring with your pencil held at arm’s length. Compare the height of the object with its width, then compare smaller sections against the whole. You do not need to make your drawing mechanically exact. However, deliberate comparison will make it far more convincing.
Use simple construction first
Begin lightly with basic shapes and guide lines. A face can start with an oval and centre line; a shoe can begin as a long block; a flower can be reduced to circles, stems and directional lines. These initial marks are not a sign that you cannot draw. They show an organised method for solving a visual problem.
Only add detail once the overall structure is secure. If the angle, scale and placement are wrong, more eyelashes, brick textures or reflections will not rescue the drawing. This is one of the most useful habits to build when improving observational drawing for Art GCSE.
Build tone, not just outlines
A clear outline is a starting point, not the finished observation. Tone creates form. It tells the viewer whether an apple is round, whether fabric folds towards or away from the light, and whether a metal surface is reflective or dull.
Squint at your subject to simplify the tonal pattern. You should be able to identify the lightest areas, middle tones and darkest shadows. Reserve the white of the paper where light is strongest, develop middle tones gradually, and use your darkest marks selectively. If every part of the drawing is equally dark, it becomes flat.
Use the direction of your marks to describe the surface. Curved marks can follow the form of a bottle or fruit. Cross-hatching may suit layered shadows or rough textures. Short, broken marks can suggest fur, bark or weathered stone. The technique should support what you are observing rather than becoming decoration.
It also helps to avoid blending every drawing into a soft grey finish. Blending can be effective for skin or smooth objects, but visible pencil marks often communicate energy, control and an understanding of form. Test both approaches and annotate which one best supports your intention.
Choose materials with a reason
Pencil is useful because it allows subtle tonal changes and correction, but your GCSE sketchbook needs more than one familiar method. Material experimentation can strengthen AO2 as well as AO3 when it is connected to what you have observed.
For a focused page of studies, consider using:
- graphite pencils from hard to soft grades for controlled tone
- fine liner or biro for decisive line and detailed texture
- charcoal or compressed charcoal for bold shadows and expressive marks
- coloured pencil, ink or pastel where colour, surface or atmosphere matters
The strongest choice depends on the subject and your project. Charcoal may be ideal for expressive portraits, but it may not capture the crisp, controlled surfaces needed for an architectural study. Fine liner can record intricate pattern effectively, yet it gives you less opportunity to correct proportion. Explain these choices in short annotations so that experimentation becomes visible thinking, not a random change of media.
Draw the same subject more than once
One complete drawing is useful. Several connected studies are more valuable because they show development. Return to the same object or photograph and give yourself a different focus each time: composition in one study, tonal contrast in another, close-up texture in a third.
For example, if your project explores natural forms, you might make a small contour drawing of a shell, a tonal study of its shadows, a magnified study of its ridges, then an experimental response using ink or collage. These pages can inform later design decisions far more effectively than a single isolated drawing.
Vary scale too. Small studies force you to simplify and select. Larger studies allow close attention to surface and mark-making. A sketchbook with both can feel active and purposeful, particularly when you make clear links between the observations and your intended final response.
Make your photography work for you
Direct drawing from life is valuable, but original photographs can extend your options. Take your own photographs from unusual angles, crop into details, change the lighting or arrange objects in a composition that supports your theme. Then use these images alongside direct observation rather than replacing it entirely.
If you are drawing from a photograph, be honest in your annotation. Explain what you were investigating, such as the reflected light on glass, the folds in clothing or the contrast between natural and manufactured textures. This makes the page more intentional and helps create a connected journey from primary research to development.
Avoid relying only on internet images. They rarely show your personal viewpoint, and they offer limited evidence of your own recording. Your own photographs and direct studies make your portfolio more individual.
Annotate the decisions, not the obvious
Annotations should reveal what you noticed and what you will do next. Writing “I used pencil” adds very little. A more useful comment might explain that you used 4B pencil to increase contrast in the shadow areas, but found the soft marks too broad for the fine patterning on the object.
Keep annotations concise, but make them specific. Refer to visual qualities, technical decisions and project links. If a drawing is unsuccessful, say why and identify a clear next step. Recognising that the proportions are distorted, or that the tonal range needs to be stronger, is evidence of critical judgement. It is not a weakness.
Set up a practice routine that produces evidence
Improvement comes from regular, focused practice rather than waiting for one perfect sketchbook page. Aim to draw from observation little and often. Even fifteen minutes spent studying a hand, shoe, plant or kitchen object can improve your visual judgement.
Give each practice task one priority. On Monday, focus on proportion. Another day, focus only on tonal range. On another, use continuous line without taking your pen from the paper. This is more effective than trying to improve every skill at once.
Keep the strongest studies, photographs and experiments where they support your coursework. Not every practice drawing needs to enter your final sketchbook, but the work you select should show a clear journey towards your ideas. If you are unsure whether your pages demonstrate enough AO3 or how they connect to AO1, AO2 and AO4, targeted feedback can help you identify the most valuable next steps.
Your observational drawing does not need to look like anyone else’s. What matters is that it becomes more accurate, more considered and more personal each time you return to the subject. Draw with patience, record your decisions honestly, and let each study give your next piece of coursework a stronger foundation.
No responses yet