
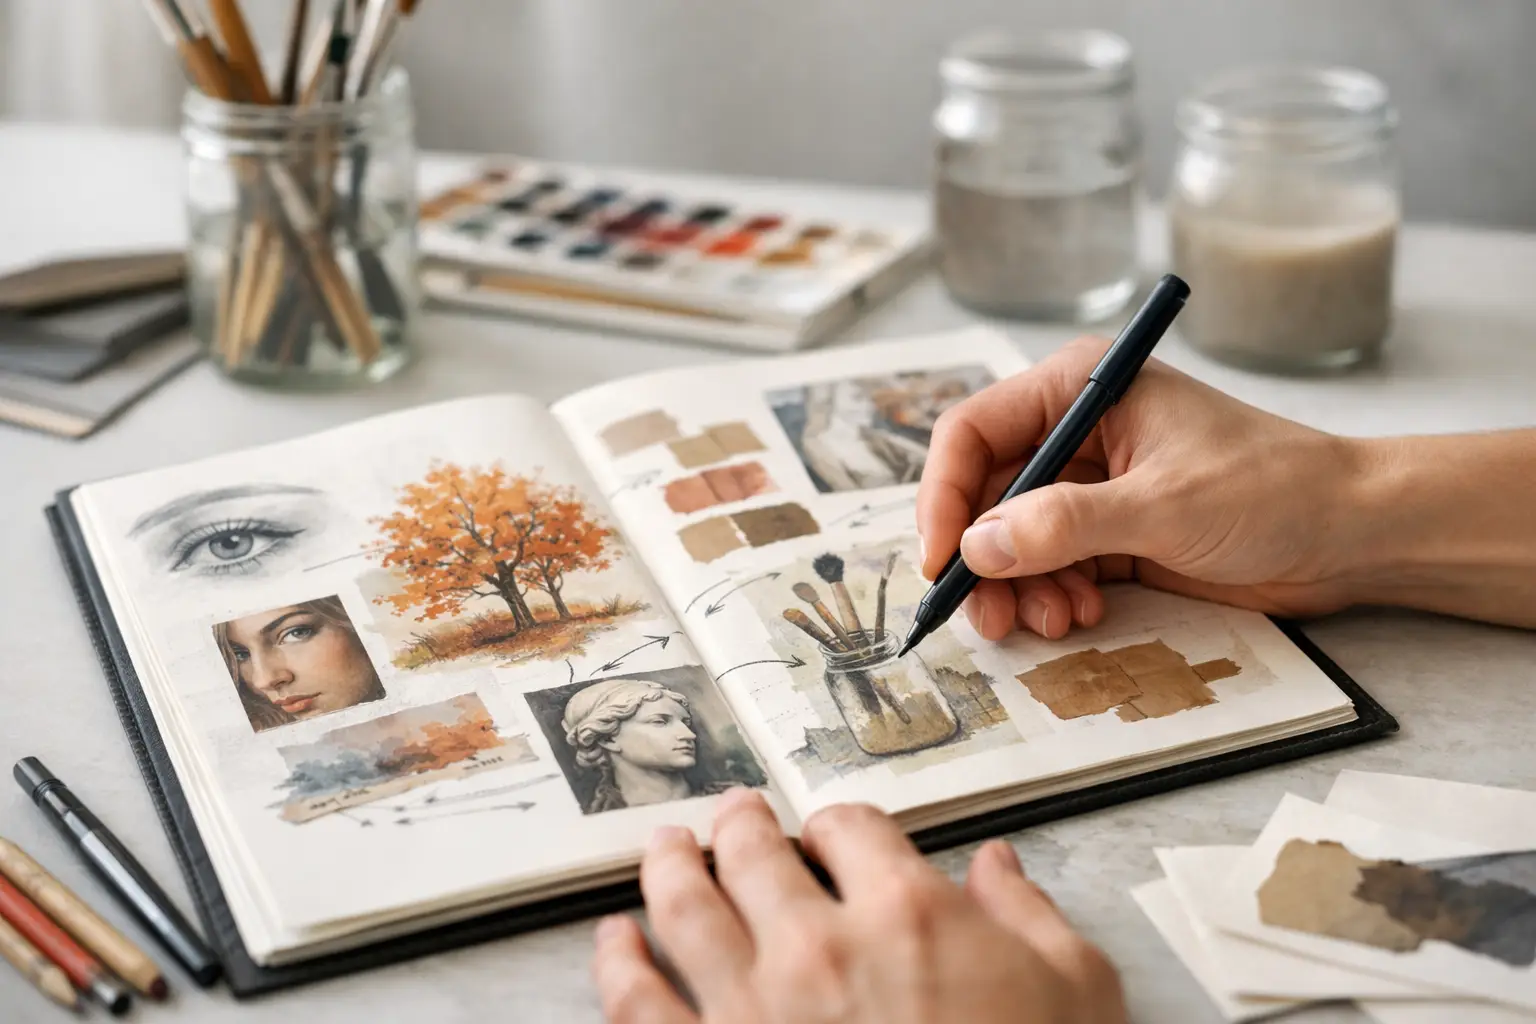
A sketchbook page can contain an impressive drawing, photograph or experiment and still miss marks if the examiner cannot see what you were thinking. Learning how to annotate a GCSE art sketchbook is not about filling every spare space with writing. It is about making your creative decisions visible, so your ideas, research, experiments and refinements connect clearly.
Good annotation gives your work a voice. It shows that you can analyse visual sources, select relevant ideas, test materials purposefully and move your project forward. That is exactly the kind of evidence that strengthens AO1, AO2 and AO3 – and helps your final outcome for AO4 feel earned rather than separate.
What GCSE art annotation needs to show
Your annotation should answer a simple question: why is this page in your sketchbook? An examiner should be able to understand what you investigated, what you learned and what you plan to do next without needing you to explain it in person.
The strongest notes usually include three connected parts. First, identify what you can see or what you did. Next, explain the effect or result. Finally, state how it will influence the next stage of your project. This turns a basic comment into evidence of development.
For example, rather than writing, “I like the dark colours,” you could write: “I used a limited palette of indigo, black and muted orange to create a tense, nocturnal mood. The high contrast makes the illuminated window the focal point. I will test this colour combination in my own street photography response.”
That short paragraph records observation, intention and a clear next step. It is far more useful than a vague opinion.
How to annotate a GCSE art sketchbook page by page
Start with the purpose of the page
Before you write, decide what the page is doing in your project. Is it artist research, a primary photograph study, a material experiment, a compositional test or a refinement of an earlier idea? Your annotation should match that purpose.
A research page needs analysis of an artist or designer and a response to their work. An experiment page needs details of process, materials and evaluation. A photography contact sheet needs selection and visual analysis. If every page receives the same generic comments, your sketchbook can appear disconnected.
A useful opening sentence might be: “This investigation explores layered surfaces in preparation for my response to urban decay.” It immediately establishes a reason for the work and keeps the project focused.
Describe specific visual decisions
Avoid broad statements such as “this looks good” or “I enjoyed doing this”. Instead, use the language of art to identify particular features. Comment on composition, line, tone, texture, shape, scale, colour, pattern, viewpoint, lighting, materials or process.
Be precise about where the effect happens. For instance: “The cropped composition removes the wider setting and makes the cracked paint surface appear more abstract.” Or: “I used repeated fine-liner marks around the edge of the leaf to build a delicate texture, but the centre lacks sufficient tonal contrast.”
You do not need to use complicated vocabulary for its own sake. Clear and accurate language is better than forcing terms you would not normally use. Write in a way that you can understand when reviewing your project several weeks later.
Explain the effect and your intention
Description alone is not analysis. Move on to what your choice communicates or achieves. Does a low viewpoint make a building feel imposing? Does a blurred photograph suggest movement? Does torn paper create an aged or fragmented quality?
Then link that effect to your theme or personal intention. If your project is about identity, for example, you might explain how obscuring part of a face creates a sense of uncertainty or concealment. This is where annotation begins to show your ideas rather than simply label your work.
Evaluate honestly, then set a next step
Examiners do not expect every experiment to succeed. In fact, thoughtful evaluation of less successful work can be stronger than pretending everything worked perfectly. The key is to explain what you would change and show that you acted on that decision later.
Try writing: “The wax resist created interesting broken marks, but the pale watercolour was too weak against the black ink. I will repeat this technique using a stronger red wash and a larger scale.” This demonstrates refinement for AO2. Your next page should ideally show that stronger test, proving that your sketchbook is a developing journey.
Annotation for each Assessment Objective
AO1: Research and contextual sources
For artist, photographer or designer research, do more than list facts from a website. Brief biographical context can be useful, but most of your writing should focus on visual analysis and personal relevance.
Identify the qualities that interest you, explain how the practitioner creates them, and state what you will take into your own work. For example: “The photographer’s use of close cropping makes ordinary objects appear unfamiliar. I am interested in this because it supports my theme of overlooked spaces. I will photograph peeling posters and damaged walls from close range, concentrating on texture rather than the whole scene.”
This shows meaningful understanding, not copied research. If you make a practical response inspired by an artist, annotate the relationship honestly. Explain which aspect influenced you and where your own decisions differ.
AO2: Experimentation and refinement
When annotating media tests, name the materials and methods you used. Then evaluate control, visual impact and suitability for your intention. Mentioning a difficulty is useful only if you follow it with a practical decision.
You might write: “I applied acrylic with a dry brush over newspaper collage. This allowed small areas of text to remain visible, creating a layered sense of memory. The white paint became too opaque in places, so I will use a glazing medium in the next test to retain more of the printed surface.”
This is stronger than simply writing “acrylic and collage experiment”. It explains your process and demonstrates why the next experiment is necessary.
AO3: Recording from observation
AO3 annotation can support observational drawings, photographs, studies from objects and recorded ideas. Explain your source and why you selected it. If you took your own photographs, comment on angle, lighting, framing or focus and identify the images that have the most potential.
For a drawing, annotate decisions about proportion, tone or mark-making. For example: “I worked from my own photograph of the railway bridge at dusk. The strong diagonal creates depth, but I need a wider tonal range beneath the arch to make the foreground appear less flat.”
Recording is not just about technical accuracy. It is also about selecting visual information that will help you develop a personal response.
AO4: Developing a personal outcome
Near the end of a project, annotation should make the route to your final piece very clear. Refer back to the experiments, sources and recordings that informed your composition. Explain what you selected and why.
A useful annotation might say: “For my final response, I will combine the cropped viewpoint from my second photo shoot with the layered transfer technique developed on page 18. I selected the red and grey palette because it reflects the warning signs and industrial surfaces recorded in my primary images.”
This creates visible connections across the sketchbook. It reassures the examiner that your outcome is the result of sustained investigation, not a last-minute idea.
How much should you write?
There is no perfect word count for a page. A small observational study may only need two concise, thoughtful annotations. A major artist research spread or a sequence of experiments may need more. Write enough to clarify your thinking, but leave your artwork room to breathe.
Use labels and arrows sparingly when they point to a specific visual feature. A paragraph is often better for explaining a decision or evaluation. If you write around the edge of a page, make sure it remains legible and does not cover important visual work.
Presentation matters, but neat handwriting is not the same as strong annotation. A clear, readable page with purposeful notes will always achieve more than decorative writing that says very little.
Common annotation mistakes to avoid
The most common problem is repetition. Writing “I like this artist because it is interesting” several times does not reveal understanding. Replace general praise with a specific observation and a personal connection.
Another mistake is writing retrospectively without evidence. If you say you will test a technique, photograph or composition, make sure it appears later in the sketchbook. Your written next steps should lead somewhere visible.
Finally, do not annotate only at the end of the project. Add notes while you work, when your decisions are fresh. You can refine wording later, but regular annotation helps you notice patterns, make better choices and maintain momentum.
A high-quality GCSE sketchbook does not need perfect experiments or lengthy essays. It needs a clear thread of purposeful development. Treat every annotation as a small conversation between your current work and your next decision, and you will present your ideas with far greater confidence.
No responses yet