
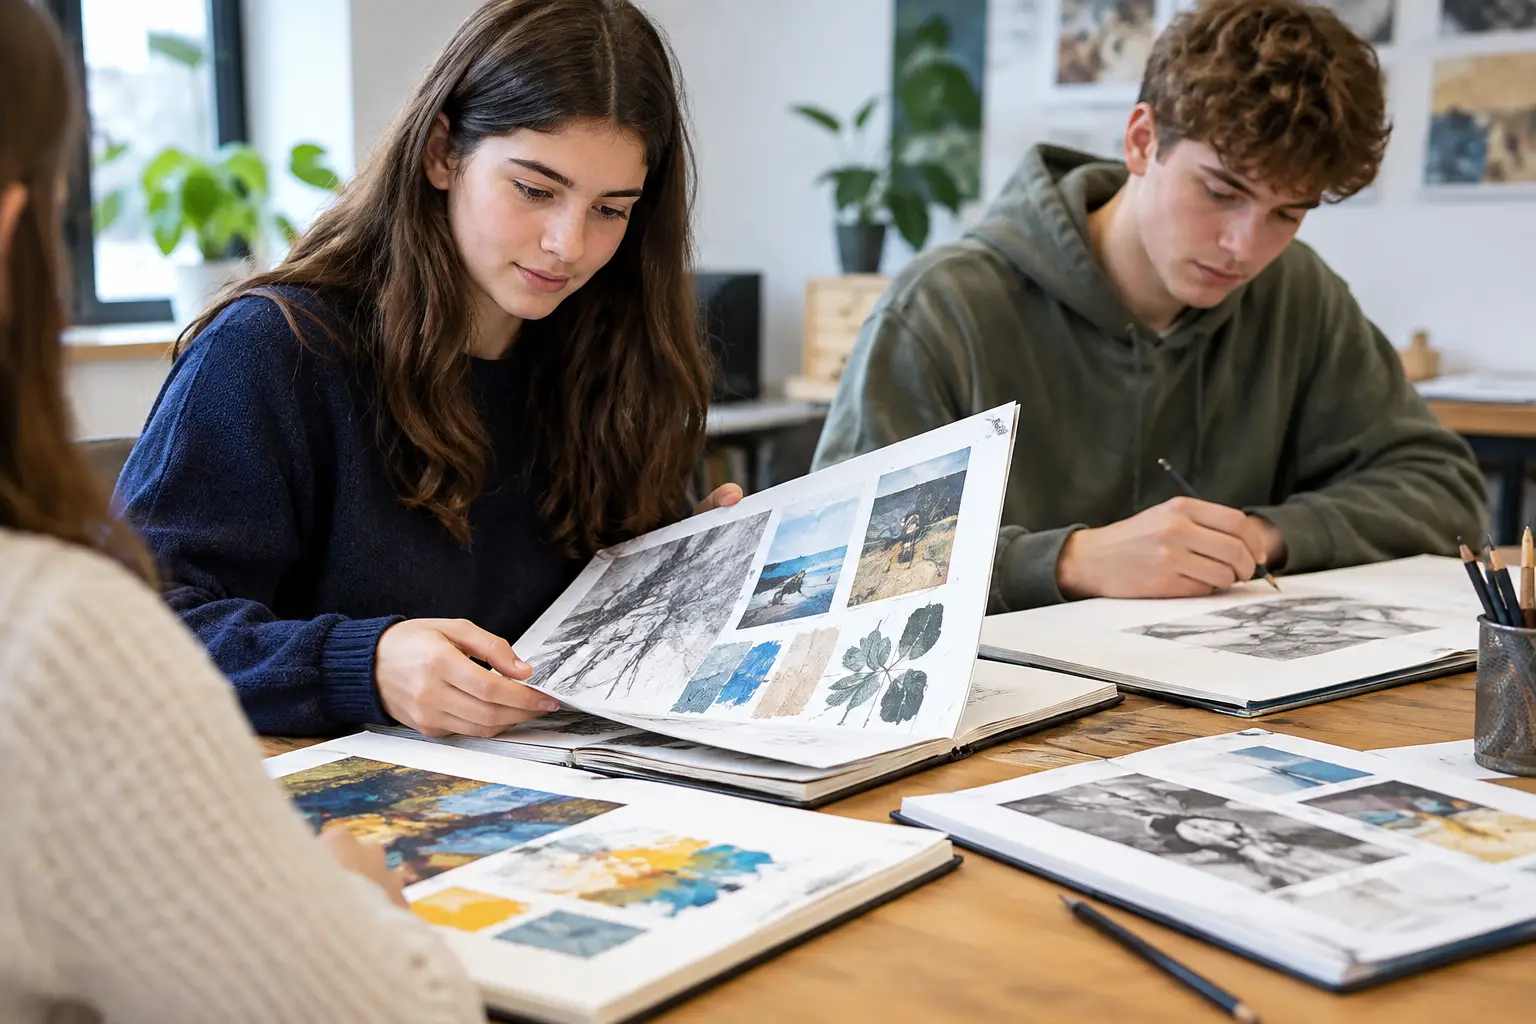
A strong GCSE sketchbook page order does more than make your work look organised. It shows an examiner how one decision led to the next: where your idea began, what you investigated, how you tested it, and why your final outcome makes sense. When pages feel disconnected, even good drawing or photography can lose impact because the development is difficult to follow.
The good news is that you do not need to fill your sketchbook in one perfect linear journey. Real projects involve changing your mind, returning to an idea and improving an earlier experiment. What matters is that, when the work is presented, the sequence makes your creative thinking visible.
GCSE Sketchbook Page Order: Start With a Clear Journey
Think of your sketchbook as an argument for your final piece. Each page should answer a useful question: What am I exploring? What have I learned? What will I do next? This creates evidence across all four Assessment Objectives rather than treating AO1, AO2, AO3 and AO4 as separate boxes to complete.
A reliable order for most GCSE Art, Photography and Graphic Communication projects is:
- a starting point and initial visual response
- contextual research into relevant artists, photographers or designers
- first-hand recording from observation, photographs or collected sources
- material and technique experiments
- development, selection and refinement of your strongest ideas
- a final response, supported by evaluation
This is not a rule that every project must follow page by page. You may carry out a photo shoot before researching an artist, or return to observational drawing after an experiment reveals a new direction. However, this overall structure helps your examiner see purposeful development rather than a collection of unrelated tasks.
Begin With the Project Starting Point
Your opening page needs to establish a personal route into the theme. Avoid beginning with a broad definition copied from the internet. If the theme is ‘Identity’, for example, show what identity means to you: family objects, hairstyles, clothing, places you belong to, self-portraits, online personas or cultural references.
Use a mind map, a small collection of images, quick drawings, contact prints or short written ideas. The aim is not to make the page decorative. It is to establish possible directions that you can investigate visually.
Your annotation can be brief but specific. Write about what interests you and what you might explore next. For example: “I am interested in how old family photographs change the way we remember people. I want to combine faded photographic surfaces with drawn marks to suggest memory.” That gives your project a direction from the first page.
This early stage supports AO1 because you are developing ideas from a starting point. It also gives you something to return to later. A final piece feels much more convincing when it clearly grows from an initial intention.
Add Visual Research Before You Need It
The next pages can introduce artists, photographers or designers whose work genuinely connects to your idea. Choose practitioners for a reason, not because they are famous or easy to find. If you are exploring fragmented identity, an artist who layers portraits, distorts faces or uses collage may be more useful than a landscape painter whose work you simply like.
A productive artist research page includes a selected image, a short explanation of relevant visual features, and your own practical response. Discuss composition, colour, materials, mood, process and meaning. Then test one or two of those features in your own work.
This is the difference between research that earns AO1 credit and research that sits on the page without changing your project. Your response should lead somewhere. You might write: “The repeated image makes the portrait feel unstable. I will test repetition using tracing paper and photographs from my own shoot.” The following page should then show that test.
Record From Primary Sources
Primary recording gives your sketchbook authority. For Fine Art, this could be direct observation, drawings from life, personal objects or photographs you have taken. For Photography, it may include contact sheets, shoot plans, location notes and selected images. For Graphic Communication, it could involve your own photographs, packaging studies, typography found in your local area or hand-drawn visual research.
Place this recording early enough that it can influence the rest of the project. A common weak page order is to complete artist studies and experiments first, then add a rushed photo shoot near the end. Instead, use your own source material as a bank of visual possibilities throughout the project.
Annotate selections rather than describing every image. Explain why one photograph has a stronger angle, shadow or composition, or why one drawing captures a texture worth developing. This supports AO3: recording ideas, observations and insights that are relevant to your intentions.
Let Experiment Pages Lead to Decisions
Experimentation is where many sketchbooks become busy but unfocused. A page full of media samples is not automatically strong AO2 evidence. The examiner needs to see that you explored materials and techniques with a purpose, then reviewed the results.
Set a clear question for each experiment. You might test whether ink washes can create the faded quality of an old photograph, whether mono-printing produces useful layers, or whether digital editing makes a portrait more anonymous. Use your own imagery wherever possible, especially once the project is established.
After each test, add a short judgement. State what worked, what did not, and what you will take forward. “The bleach removed too much detail, but the pale marks suggest damage. I will use this effect only around the edge of the portrait.” This is the point where experimentation becomes development.
Do not feel pressured to present every failed attempt as a finished page. Failed experiments are useful when you explain their value, but repetitive tests can take space away from stronger ideas. Select the most meaningful evidence and make your next step clear.
Build a Middle Section That Narrows Your Options
By the middle of your sketchbook, your work should begin to look more focused. This is where you combine what you have learned from artists, primary sources and experiments. You may create composition sketches, edited photo outcomes, colour trials, mock-ups, maquettes or larger studies.
The page order here should show increasing control. Start with several possible directions, then identify the most promising one. For example, you might compare three compositions for a final portrait, explain which has the clearest focal point, and develop that option across the next two pages.
This stage often provides evidence for AO1, AO2 and AO3 at the same time. You are refining an idea, selecting materials and recording decisions. There is no need to label every paragraph with an Assessment Objective, but your thinking should make the connections obvious.
Make the Final Piece Feel Inevitable
The final response should not appear suddenly after a page of random studies. Before starting it, include a planning page that shows your intended composition, scale, media and process. If relevant, include colour tests or a small trial section. This demonstrates that you considered your final outcome rather than simply making the last idea you had.
Your final piece is AO4: presenting a personal and meaningful response. It does not need to copy an artist study perfectly. In fact, it should show your own visual language, informed by research and development. The strongest outcomes usually combine several parts of the project: personal recording, an investigated technique and a clear connection to the original theme.
After the final piece, include a concise evaluation. Refer to your original intention and explain how successfully the outcome communicates it. Identify specific strengths, such as composition, use of materials or personal meaning. If you mention an improvement, make it thoughtful rather than harsh: “Given more time, I would test a larger scale to make the layered surface more immersive.”
When You Need to Rearrange Pages
Sketchbooks are rarely completed in the ideal order. You may find a new artist halfway through, complete your best observational drawing late, or realise that an experiment belongs earlier in the visual story. If your school allows it, use folding pages, inserts or clearly placed development sheets to connect missing stages.
Do not panic if your book is not perfectly chronological. Clear annotation can bridge the gap. Explain that a later photo shoot was planned after an early experiment, or that an additional artist became relevant when your idea narrowed. Examiners are looking for purposeful progression, not a fictional account of a project that never changed.
Before submission, turn through the sketchbook as if you have never seen it before. Can you identify the starting point, the key influences, your own recording, the useful experiments and the reason for the final response? If the answer is yes, you have created more than a neat book. You have presented your work with confidence and given every page a job to do.
No responses yet