
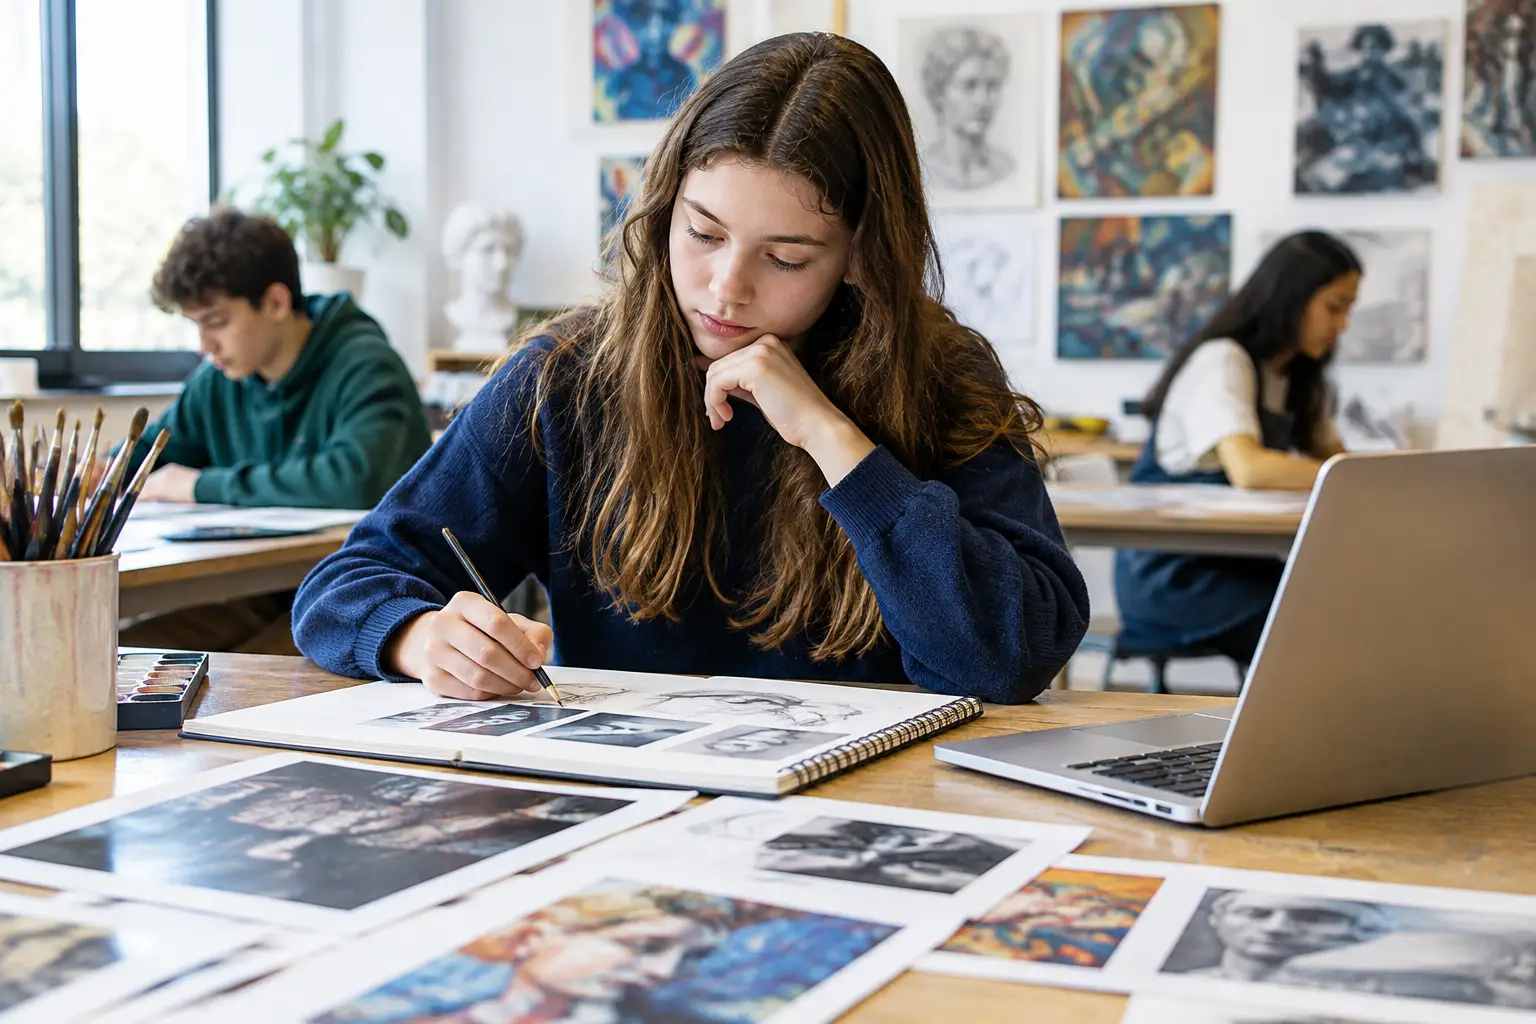
A copied image beside a short biography is not an artist response. When you prepare an artist response, you are showing what happens when an artist’s work meets your own ideas, materials and intentions. This is where artist research stops being a page you have completed and starts becoming visible evidence of development in your project.
For GCSE and A Level Art, Photography or Graphic Communication, a strong response can support several Assessment Objectives at once. It helps you record relevant research for AO1, experiment and refine through AO2, and develop a more personal final outcome for AO4. The key is not to reproduce an artist perfectly. It is to make informed creative decisions and show where those decisions lead.
What is an artist response?
An artist response is practical work inspired by your research into an artist, photographer, designer or creative movement. You select a feature of their work that connects to your project, then test it using your own subject matter.
That feature might be a colour palette, composition, process, materials, lighting, mark-making, viewpoint, theme or visual language. For example, if your project is based on identity and you have researched Frida Kahlo, you might respond to her symbolic self-portraiture through photographs and drawings of yourself surrounded by objects that represent your own experiences. You would not simply copy one of her paintings.
This distinction matters. Copying can help you understand technique, particularly at the beginning of research, but it does not automatically show a personal response. Your sketchbook needs to show the journey from observing someone else’s ideas to adapting them with purpose.
Prepare an artist response by choosing one clear focus
The most common problem is trying to respond to everything an artist has ever done. A page can quickly become confused: you use their colours, their composition, their subject, their materials and their style all at once, then struggle to explain what you learned.
Choose one or two specific qualities that genuinely suit your project. Ask yourself: what has this artist shown me that could move my own work forward?
If you are researching photographer Cindy Sherman, your focus may be constructed identity, costume and staged photographs. If you are looking at Hokusai, you may focus on cropped compositions, dramatic waves or flat areas of colour. A Graphic Communication student researching Barbara Kruger might investigate bold type over photographic imagery, rather than attempting to recreate every element of her political messaging.
Write your focus before you start. A simple planning sentence keeps the response purposeful:
> I will use [artist’s technique or idea] to explore [my own theme or subject] because it could help me develop [a specific visual outcome].
For instance: “I will use Francesca Woodman’s blurred movement and unusual viewpoints to photograph figures in my school corridor because it could help me communicate uncertainty and isolation.”
That is a far stronger starting point than “I like this artist’s work”.
Start with research that gives you something to test
Your practical response should grow directly from your artist analysis. Before making it, identify visual evidence from at least two or three artworks. Look closely at what is actually there: the media, scale, cropping, contrast, surface, repeated shapes, use of space and mood.
Then connect those observations to possible experiments. If an artist uses thick, layered paint, your response may test palette knife application, textured grounds and limited colour mixing. If a photographer uses high contrast black and white images, plan a shoot where lighting, editing and composition are designed around that quality.
Avoid vague analysis such as “the work is effective” or “the colours are nice”. Replace it with a precise observation and a practical consequence: “The narrow crop removes most of the setting, making the face feel enclosed. I will test close-cropped portrait photographs to create a similar sense of pressure in my own project.”
This is AO1 in action. You are not just naming an influence. You are understanding it well enough to use it deliberately.
Plan your own source material first
Original source material is what makes an artist response yours. This could be your own photographs, observational drawings, collected textures, found packaging, recorded locations or digital designs. The best choice depends on your discipline and project, but it must connect to your intentions.
A Fine Art student responding to an artist’s expressive portraits could work from their own photographs of a family member. A Photography student may recreate an artist’s lighting approach using a friend as a model, rather than downloading an unrelated image. A Graphic Communication student could apply a designer’s layout principles to their own campaign, product or audience.
Do not force the artist’s subject matter into your project if it does not fit. If you are investigating architecture, you do not need to paint fruit just because your chosen artist is known for still life. Take the formal quality that interests you – perhaps their geometric shapes or reflective surfaces – and apply it to your buildings.
This is also where your work becomes more convincing to an examiner. The artist is an influence, not a substitute for your own ideas.
Make the first response, then push it further
Your first artist response should be an experiment, not a final answer. Give yourself permission to find problems. Perhaps the composition feels too crowded, the material does not create the texture you expected, or the artist’s style overwhelms your subject. These are useful discoveries when you record what you will change next.
Aim to produce a small but focused outcome first. It might be a tonal study, a contact sheet of photographs, a painted section, a type layout, a collage or a digital mock-up. Work at a manageable scale so you have time to make a second and third development.
After each attempt, assess it honestly. Consider:
- Which artist-inspired feature is visible?
- What works well in relation to your theme?
- What is less successful or unresolved?
- What will you alter in the next experiment?
The final question is the one that creates progress. A sketchbook full of similar attempts can look busy without showing development. Change something meaningful each time: alter the scale, crop, colour scheme, lighting, material, image selection or level of abstraction.
For example, after a response to painter Peter Doig, you may realise that your landscape has atmosphere but lacks depth. Your next study could layer translucent paint over a darker underpainting, then simplify the foreground shapes. That annotation shows a clear decision based on practical testing – exactly the sort of refinement expected in AO2.
Annotate the response like a creative decision-maker
Good annotation does not describe every action you took. “I used acrylic paint and then added blue” tells the reader very little. Explain your intention, what you discovered and your next step.
A useful structure is: intention, evidence, evaluation, action. You may write: “I wanted to create the distorted perspective found in my artist research, so I photographed the staircase from a low angle and edited the image with strong shadow. The viewpoint makes the space feel more threatening, although the background is distracting. In my next response, I will crop closer and test a monochrome version.”
This can be short. Two or three thoughtful sentences beside visual evidence are more valuable than a large paragraph that repeats information from your research page. Make sure your wording is personal: use “I chose”, “I found”, “I will develop” and explain why.
Know when a response is too close to the artist
There is a balance to strike. Early copies or technical studies can be useful for learning, especially when you clearly label their purpose. However, your project should not depend on reproducing an artist’s existing image.
If your response could be mistaken for the original artist’s work, pause and introduce more of yourself. Use your own photographs, alter the context, combine the influence with another experiment, or take the technique into a new material. The aim is not to hide your influence. It is to demonstrate that you can select and adapt it.
At A Level, this independence needs to become increasingly clear. Your artist research should inform your visual language, but the project direction should come from your own question, theme and sustained investigation. At GCSE, the same principle applies in a more straightforward form: show that you can learn from artists and use that learning to improve your own work.
Link your strongest response to the final outcome
A successful final piece should not appear suddenly at the end of a sketchbook. It should feel earned. Identify which experiments have the most potential and explain what you will carry forward.
You may combine elements from more than one artist response, but do so for a reason. Perhaps one investigation gave you a strong composition, while another helped you find a material or colour approach. Bring them together with your original imagery and project intentions at the centre.
Before starting your final outcome, write a brief plan. State the format, materials, imagery and the artist-informed decisions you will use. Then photograph or record the stages of making, especially when you adapt your plan. This gives your final piece a clear line of development from AO1 research through AO2 experimentation to AO4 presentation.
A well-prepared artist response does not need to be perfect. It needs to be purposeful, personal and followed by a clear next step. Treat each response as evidence that your ideas are growing, and your sketchbook will show far more than artistic ability: it will show the confident decision-making that helps you achieve your best.
No responses yet