
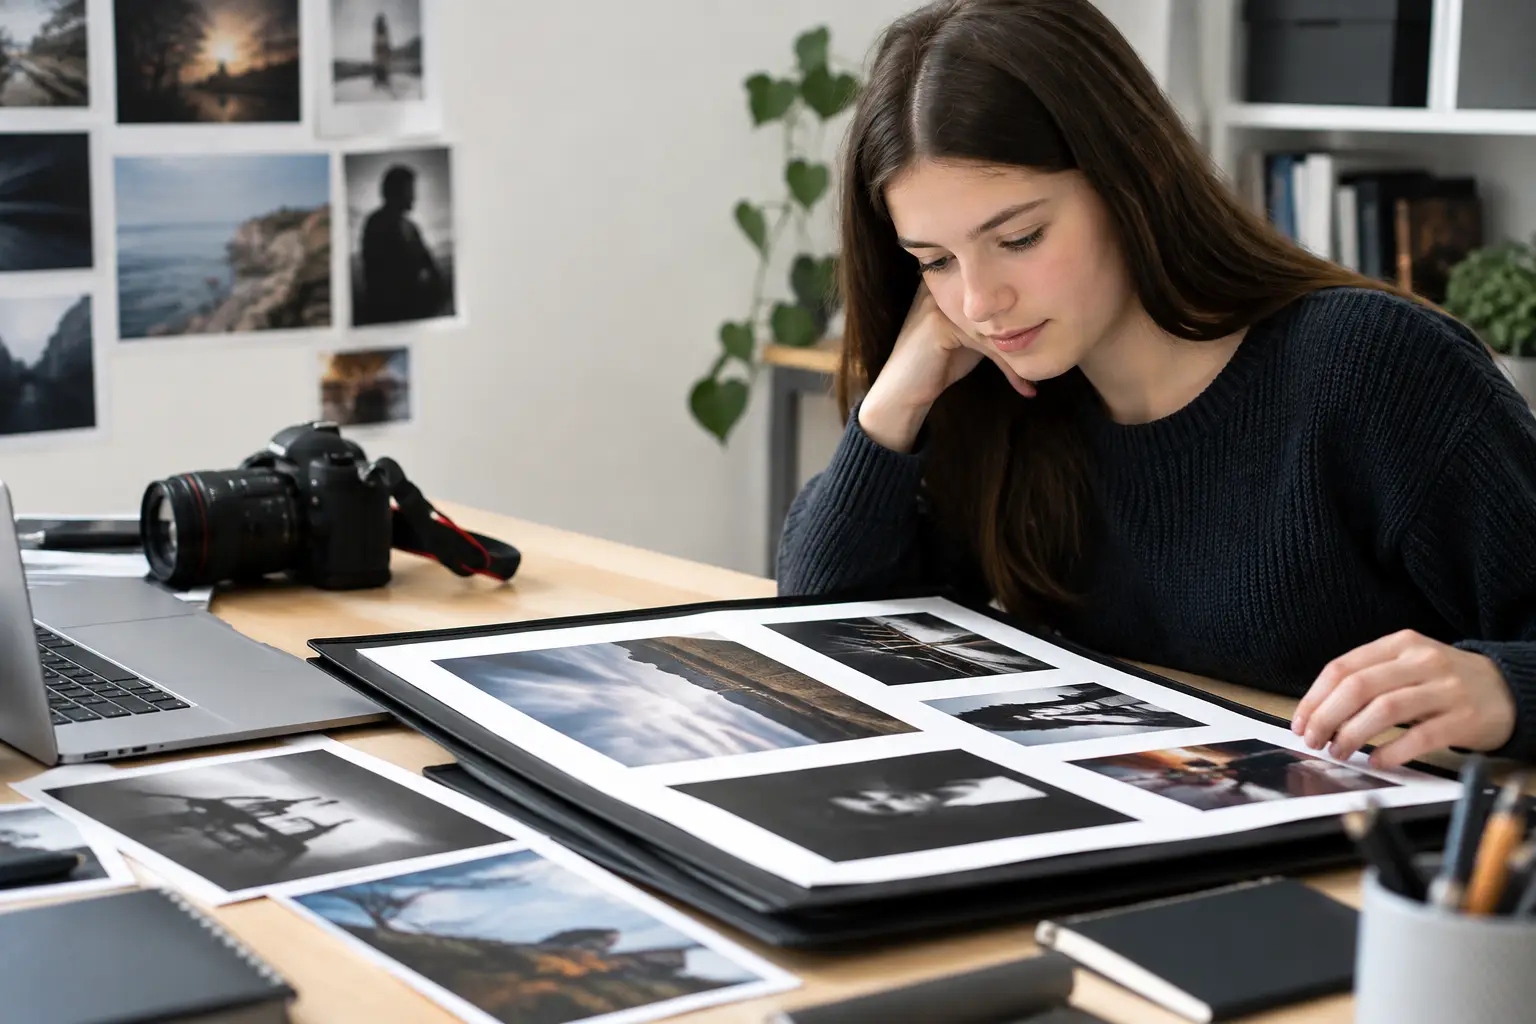
A strong GCSE photography portfolio is not simply a collection of your best photographs. It is visible proof of how an idea became more focused, more personal and more technically assured over time. Examiners need to see your decisions, not just the final image.
That is good news if you are worried that your first shoot was not perfect. Coursework rewards development. A contact sheet with honest comments, an experiment that did not quite work and a carefully improved re-shoot can all strengthen your portfolio when they show purposeful progress.
What GCSE Photography assessment is really looking for
Most GCSE Photography courses are assessed through four Assessment Objectives. The language can sound formal, but each objective asks a practical question about your work.
AO1: Develop ideas through investigations, demonstrating critical understanding of sources. This is where you establish a starting point and research photographers, artists or relevant visual sources. Strong AO1 is not a copied biography beside a downloaded image. It explains what you notice in an artist’s work and identifies ideas you can test for yourself. You might discuss their use of viewpoint, lighting, colour, composition, subject matter or digital manipulation.
AO2: Refine work by exploring ideas, selecting and experimenting with appropriate media, materials, techniques and processes. In photography, this means trying options with a reason. Change the direction of light, move closer to your subject, test a slow shutter speed, crop differently, work in black and white, or combine images in an edit. The key word is refine. Your experiments should help you decide what to do next, rather than appearing as unrelated effects.
AO3: Record ideas, observations and insights relevant to intentions. Original photographs are central here. Your camera work, contact sheets, observational notes and selected edits should record the visual world connected to your project. AO3 is often weakened when students rely too heavily on internet images or take one quick set of photographs without revisiting the subject.
AO4: Present a personal and meaningful response that realises intentions. This is your final outcome or outcomes. A high-level response feels earned because the viewer can trace the journey towards it. Its visual choices should connect clearly to your research, shoots, experiments and annotations.
The objectives overlap. A new photo shoot may record observations for AO3, then lead to technical refinements for AO2. What matters is that every page has a job to do in the larger project.
Building a GCSE Photography portfolio with a clear direction
Start with a theme that gives you enough room to explore but is specific enough to photograph. Broad themes such as identity, decay, movement or natural forms can work well, but only when you give them a personal angle. For example, instead of photographing ‘identity’ in general, you could investigate how clothes, possessions or private spaces reveal aspects of a person. Instead of ‘nature’, you might focus on the geometry of plants found on one familiar walking route.
Write a short intention near the beginning of your project. This is not a promise you cannot change. It is a working direction. A useful intention states your subject, the visual qualities you want to investigate and, where possible, an initial creative influence. As your project develops, you can update it to show how your thinking has become more precise.
Your first photo shoot should be exploratory. Take far more images than you expect to use and vary one decision at a time. Photograph from high and low viewpoints. Move between close-up detail and wider context. Test natural light at different times of day. If you are photographing people, consider whether a direct portrait, a partial figure or an image without a face communicates your idea most effectively.
Then make your contact sheets useful. Select images rather than circling everything that looks acceptable. Annotate your strongest photographs with specific visual observations: “The side lighting creates a sharp texture on the wall, which supports my idea of neglected spaces.” Identify weaknesses just as clearly: “The background distracts from the subject, so I will re-shoot against a plain surface.” This is evidence of judgement, and it creates an obvious next step.
Research photographers as creative starting points
Artist research should change what you make. Choose photographers whose approaches genuinely connect to your theme, rather than selecting famous names because they seem safe. One student exploring urban isolation may respond to staged cinematic light; another looking at family memory may need archival imagery, soft focus or carefully arranged domestic objects. The right source depends on your intention.
When analysing an image, move beyond saying that it is ‘effective’ or ‘interesting’. Explain how it works. Consider framing, focal point, tonal range, colour palette, depth of field, scale, editing and mood. Then state what you will take forward into your own work.
A practical research page might include a short analysis, one or two carefully chosen images, and your own response. The response could be a re-shoot inspired by the artist’s use of shadow, a Photoshop experiment based on their layering process, or a composition study using your own subject matter. Keep the influence visible, but do not imitate so closely that your personal project disappears.
Make experimentation purposeful, not decorative
Photography offers many editing and presentation possibilities, but more effects do not automatically mean more marks. A selective black-and-white conversion can be powerful if it clarifies form, contrast or mood. It is less convincing if it is applied to every photograph without a reason.
Choose experiments that answer a question. You may ask whether high contrast better communicates tension, whether a square crop makes a portrait feel more contained, or whether multiple exposure can show movement more clearly than a single image. Present a few versions, annotate the differences, then select the strongest option and explain why.
Technical control matters, particularly as your project becomes more ambitious. If you are using a DSLR or mirrorless camera, test aperture, shutter speed and ISO deliberately. A wide aperture can isolate a subject, while a narrow aperture may suit detailed architectural work. A slower shutter can create blur and a sense of movement, but it may also cause unwanted camera shake. If you are working with a mobile phone, you can still demonstrate excellent control through light, viewpoint, focus, editing and careful composition.
Print quality and presentation also deserve attention. Check that images are not too dark, overly saturated or pixelated. Use a consistent scale where it supports comparison, but vary image size when you need to direct attention to a crucial detail or show the development of an idea.
Turn annotations into evidence of progress
Annotation does not need to be long to be valuable. It needs to be specific. Avoid filling pages with generic phrases such as “I like this photo because it is good.” Instead, identify the decision, evaluate the result and set a next step.
For example: “I cropped tightly around the hands to remove the busy background and create a more ambiguous portrait. The image is stronger because the gesture becomes the focal point. Next, I will repeat this close framing using harsher lighting to increase contrast.” Three focused sentences can show AO2, AO3 and a clear route forward.
Use annotations at key turning points: after a shoot, beside a selected edit, following an artist response and before creating your final piece. You do not need to explain every image. You do need to make your development easy to follow.
Develop final outcomes from your strongest evidence
Do not leave the final outcome until you feel you have run out of time. Plan it once a pattern starts to emerge in your project. Look back through your portfolio and ask which visual decisions have appeared repeatedly. Perhaps close framing, reflections, muted colour and fragmented portraits have become your visual language. Those are the ingredients your outcome should develop.
Create trials before committing to a final version. Test different layouts, crops, edits and print sizes. If your outcome is a series, consider the order in which images will be seen. If it is a single large image, refine the composition until every element earns its place.
A successful final response does not have to be technically complicated. It has to be personal, resolved and clearly connected to the journey shown in your portfolio. Before submission, review each page against AO1-AO4 and check for gaps in the story of your project. If you can show what you investigated, what you recorded, what you refined and what you finally communicated, you can present your work with confidence.
Your portfolio becomes stronger each time you make a thoughtful choice visible. Keep shooting, keep selecting with purpose, and let every next step show the examiner where your idea is going.
No responses yet