
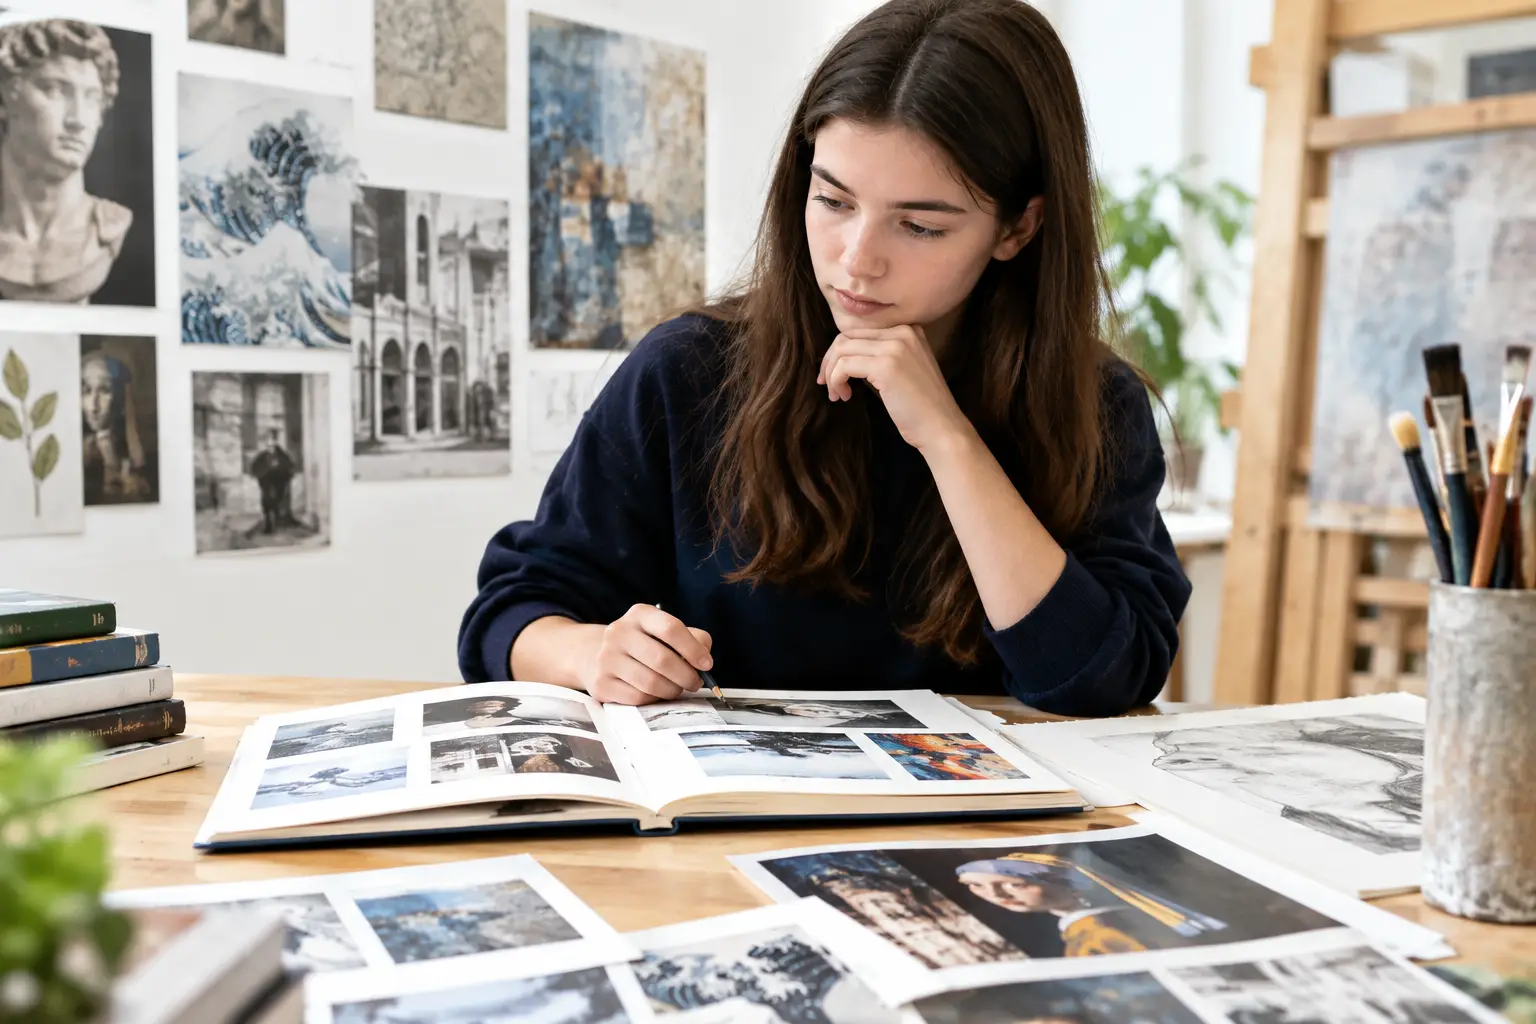
A carefully copied study can look impressive, particularly when you are building confidence with a new material. However, artist research versus copying becomes a serious issue when the copied image is presented as your own development. At GCSE and A Level, your sketchbook is not judged only on how accurately you can reproduce an artist’s work. It is judged on the quality of your investigation, your decisions and the personal direction that grows from them.
This is good news. You do not need to invent every technique from nothing to achieve high marks. Strong artists learn by looking closely at other artists. Your task is to make that learning visible, then use it to move your project forwards.
Why copying alone limits your marks
A direct copy can have a useful place in an artist research page. It may help you understand an artist’s mark-making, colour choices, composition or use of photographic lighting. If you label it honestly as a copy or study, it can show careful observation and practical engagement with a source.
The problem is that a copy does not, by itself, show much personal development. An examiner cannot see what you would choose, change or communicate independently. A page that simply recreates a famous image may demonstrate technical control, but it gives limited evidence that you have explored ideas in a purposeful way.
For AO1, you need to show that your research has informed your own work. This means explaining what interests you about an artist and making relevant connections to your theme. For AO2, you need to experiment with materials and processes, not just repeat them. AO3 asks for recording from observations and sources, while AO4 is where your final response should bring your research, experiments and ideas together.
A copied piece can support these objectives, but it cannot carry them. Think of it as evidence from the middle of your journey, not the destination.
Artist research versus copying: the practical difference
The difference is not always about whether your work looks similar to an artist’s. Artists often share subjects, processes and visual references. The difference is in your purpose and the decisions you make.
Copying means following another artist’s image closely, often matching the same subject, composition, colours and details. Research means identifying particular qualities in an artist’s work, testing those qualities and selecting what is useful for your own project.
For example, imagine you are studying portraiture and researching Frida Kahlo. A direct painted study of one of her self-portraits could help you notice her flat areas of colour, symbolic objects and intense gaze. Your next step should not be another version of the same portrait. Instead, use your own photographs, your own setting and symbols that matter to you. You might test a similar frontal pose, introduce objects linked to your identity, or explore a restricted colour palette in a different medium.
Your resulting work may clearly show Kahlo’s influence, but it becomes your response because the subject matter, imagery and choices have changed. That is the point at which research begins to generate original development.
Start with a focused question
Weak artist research often begins with a biography copied from a website. It fills space but rarely improves a portfolio. You need a question that directs your looking.
Rather than writing, “I like this artist because their work is colourful,” ask yourself what exactly creates that effect. Is it the contrast between complementary colours? Is it layered collage? Is it a repeated motif? Does the artist crop photographs closely, distort faces or use empty space to create a mood?
A focused question gives you something practical to test. For a photography project, you might investigate how an artist uses shallow depth of field to isolate a subject. In Fine Art, you may explore how a painter creates texture using palette knife marks. In Graphic Communication, you could analyse how a designer uses type, negative space and limited colour to make a poster memorable.
This approach also makes annotation much easier. You are no longer trying to say everything about an artist. You are selecting observations that genuinely relate to your project.
Write annotation that leads somewhere
Useful annotation has three parts: observation, meaning and action. First, identify a specific visual feature. Next, explain its effect or why it connects to your theme. Finally, state what you will try in your own work.
For instance: “The photographer places the subject near the edge of the frame, leaving a large area of shadow. This creates a sense of isolation, which links to my theme of loneliness. I will test off-centre compositions using my own photographs taken at the bus stop after school.”
That final sentence is vital. It creates a visible bridge between research and development. It also gives you a clear next step instead of leaving an artist page disconnected from the rest of your sketchbook.
Use studies honestly and purposefully
There is no need to avoid artist copies completely. A small, well-labelled study can be valuable, especially if you are learning an unfamiliar technique. The key is to be transparent and to follow it with experimentation.
Label a direct recreation clearly: “Study after…” or “Copy to explore…”. Then record what you noticed while making it. Perhaps the artist’s ink lines were more varied than they first appeared, or their collaged surfaces worked because the torn edges created movement.
After the study, alter one meaningful variable. Change the scale, material, viewpoint, palette, composition or source image. Then alter another. These tests may not all be successful, but they show informed risk-taking and refinement. Examiners value a thoughtful process, including work that did not go to plan, when you can explain what you learned from it.
Avoid tracing an artist’s image and presenting it as an original drawing. Equally, do not reproduce an online image without acknowledging the source. This can undermine the credibility of your portfolio and leaves you with little evidence of your own recording skills. If you need a starting point, take your own photographs or draw from direct observation wherever possible.
Turn influence into a personal response
Your strongest work usually develops when several sources begin to interact. An artist might influence your use of texture, while your own photographs provide the subject matter and another experiment suggests the final format. This is far more convincing than basing an entire project on one borrowed image.
Try to identify the “transferable ingredients” in an artist’s work. These are the qualities you can carry into a new context: a process, a compositional approach, a colour relationship, a way of simplifying forms or a method of presenting text. You are not borrowing the finished image. You are learning from the thinking behind it.
Suppose a street photographer inspires you because they capture reflections in shop windows. Instead of recreating their photograph, photograph your own local high street, experiment at different times of day and combine reflections with details that connect to your theme. Contact sheets, rejected images and notes on your selections can all strengthen AO3 because they show how you recorded, reviewed and chosen your sources.
For a final outcome, look back through your sketchbook and ask a simple question: can someone see where each major decision came from? Your materials, imagery and composition should feel connected to earlier research and experiments. They should not appear suddenly on the final page.
What a high-mark artist research page can show
A successful page does not need to be crowded. It needs to be purposeful. Include a small amount of relevant contextual information, close visual analysis, a study where it helps, and experiments that lead directly into your own work. Present images neatly, but prioritise the quality of your thinking over decoration.
If you are aiming for Grade 9 or A*, push beyond the obvious. Do not merely say that an artist uses bright colours or interesting shapes. Explain how those choices affect meaning, test them with control, compare outcomes and make a justified selection. Your portfolio should show increasing confidence, not repeated first attempts.
It also depends on your course and project. A graphic designer’s research may lead to layout trials and typography tests, while a Fine Art project may require more material exploration. Photography students may show research through contact sheets, lighting experiments and edited outcomes. The principle remains the same: research must change what you do next.
When you treat artists as teachers rather than images to reproduce, your sketchbook becomes much stronger. You can acknowledge influence with confidence, make informed experiments and show examiners the development they are looking for. Your ideas do not need to begin completely alone – but they do need to travel somewhere only you could take them.
No responses yet