
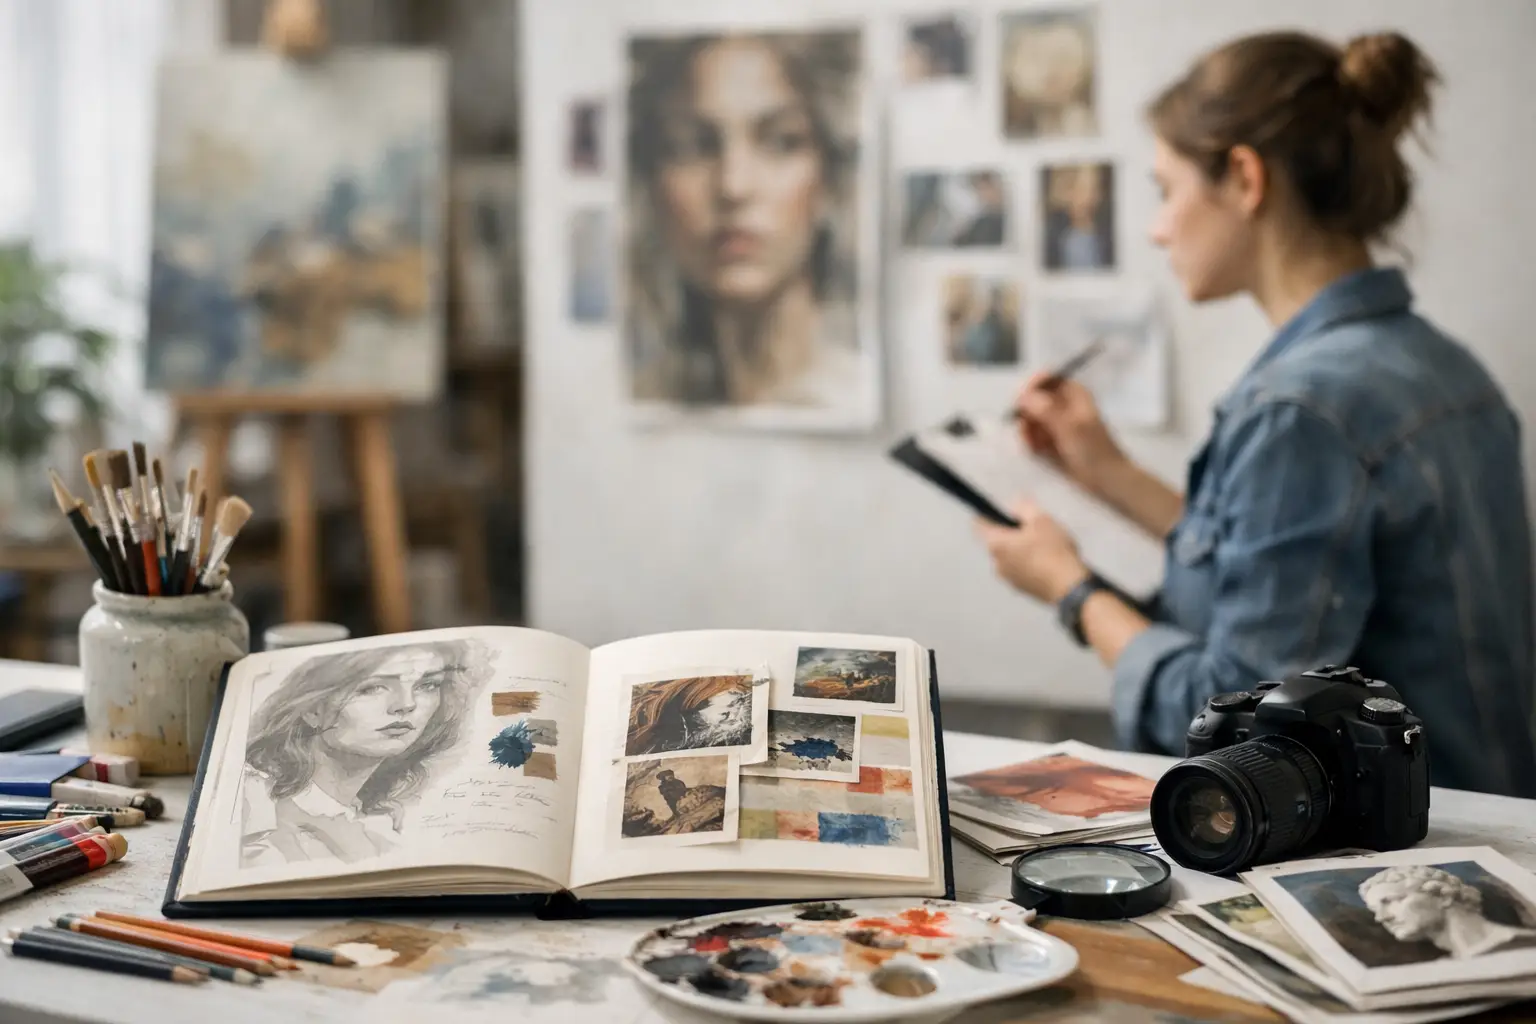
A strong Personal Investigation does not look like a collection of attractive pages made over several months. It reads as one visual argument: a personal starting point is questioned, researched, tested, refined and resolved. If you are asking how to structure an A level art independent investigation, begin by planning that journey before you fill the first sketchbook page.
At A level, your work needs to show both independence and connection. Your ideas, artists, experiments, photography, annotation and final outcome should all feel as though they belong to the same investigation. This is what makes progress visible to an assessor and gives you the confidence to explain every decision.
Start with a focused, personal line of enquiry
A broad theme such as identity, nature or decay is not yet an investigation. It gives you a direction, but not a question to explore. Narrow it into a line of enquiry that suggests visual possibilities and leaves room for development.
For example, instead of choosing identity, you might investigate how family photographs can communicate the gap between public appearance and private memory. Instead of nature, you could explore the patterns and damage created by invasive plants in local urban spaces.
Your title does not need to be perfect at the beginning. It can become more precise as your work develops. What matters is that it gives you a clear starting point for relevant research, first-hand recording and practical experimentation.
Write a short project intention near the beginning. Explain what interests you, the visual qualities you expect to explore and the media or processes you may test. Keep it honest rather than over-formal. You are setting a route, not making a promise that you cannot later adapt.
Structure your A level art independent investigation around development
A reliable structure follows the way strong creative work actually happens. You investigate, make, review and improve. Although sketchbooks differ between Fine Art, Photography and Graphic Communication, the sequence below helps you build evidence for AO1 to AO4 without treating the Assessment Objectives as separate boxes.
1. Establish your starting point and collect first-hand material
Begin with your own observations. This could include drawings, contact sheets, location photographs, material collections, written memories, found typography or studies from objects. For Photography students, plan purposeful shoots rather than taking hundreds of unrelated images. For Fine Art students, work from direct observation where possible, even if you later transform the source material.
Annotate selectively. State what you noticed and what you might do next. A comment such as, “The reflected light breaks the figure into sharp fragments; I will test a cropped composition using acetate layers,” shows more purposeful thinking than, “I like this photo.”
This early section provides valuable AO3 evidence: recording ideas, observations and insights relevant to your intentions. It also prevents your project from relying too heavily on internet imagery.
2. Research artists to move your work forward
Artist research should arrive when it has a job to do. Choose artists, photographers, designers or movements because their methods, ideas or visual language connect to your enquiry. Three deeply explored references are usually more useful than eight pages of brief biographies.
For each source, identify specific features you can investigate. Consider composition, scale, mark-making, colour relationships, materials, symbolism, editing methods or audience. Then create a practical response that tests one or two of those features through your own subject matter.
Your annotation should make the connection explicit: what have you learnt, what did you change, and where could this lead? This is AO1 in practical terms. You are developing ideas through relevant contextual research, not proving that you can copy an image accurately.
There is a trade-off here. A close study can show technical control, but several near-identical copies will not show independent development. Use the study as a stepping stone, then alter the scale, process, imagery or meaning in your next experiment.
3. Create a sequence of informed experiments
This is the centre of the investigation. Each experiment should answer a small visual question raised by your previous work. You might test whether a monoprint creates a more convincing sense of loss than pencil, whether a low camera angle makes an architectural image feel more oppressive, or whether simplifying a design into two colours strengthens its message.
Avoid presenting experiments as isolated technique samples. Give each one a reason. Show the source image or earlier study, the practical test, a short evaluation and a clear next step. This turns a sketchbook into evidence of decision-making.
AO2 rewards your ability to refine work through experimenting with media, materials, techniques and processes. Refinement does not mean making everything neat. It means noticing what is effective, recognising what is weak, and making a more considered choice afterwards.
Useful experimentation can include:
- changes in scale, crop, viewpoint or composition
- alternative materials, surfaces and processes
- digital editing, layering or image transfer
- colour, tonal and textural variations
- combining primary sources with contextual influences
Keep returning to your line of enquiry. If a test is visually interesting but takes the project in an unrelated direction, either explain why it is a brief detour or leave it out. A smaller body of connected work is stronger than a packed but unfocused sketchbook.
4. Review, select and develop your strongest direction
At intervals, pause and lay your work out in order. Ask which practical decisions most clearly communicate your intentions. Look for repeated visual language: perhaps fragmented portraits, limited colour, distressed surfaces or close-cropped details. These recurring elements can become the foundation of your final response.
This is the point where many students need to be decisive. Do not attempt to combine every artist, medium and experiment into one outcome. Select the approach with the most potential, then develop it through further focused studies. Your final idea should feel earned by the pages before it.
Show this narrowing process. Use short review pages, compositional thumbnails, material trials or digital mock-ups to compare options. Explain why you rejected one direction and continued with another. Assessors do not expect every experiment to succeed; they expect you to learn from it.
5. Plan the final response before making it
Your final outcome is AO4: presenting a personal and meaningful response that realises your intentions. It should not be a surprise at the end of the project, nor should it simply repeat an earlier experiment at a larger scale.
Plan the format, size, process and presentation. If you are producing a painting, test the composition and palette first. If you are creating a photographic final piece, record your edits and print tests. If you are working in Graphic Communication, show how your audience, format and visual hierarchy inform the design.
As you make the outcome, document key stages. A concise process page can demonstrate control and explain changes made when the original plan did not work. This is particularly useful where materials behave unpredictably or a digital design changes after feedback.
Give the written study a connected role
The written element is not an essay added after the practical work is complete. It should investigate a focused question that supports your visual project. Check your exam board’s exact requirements for word count, format and submission, as these can differ.
Choose artists or contexts that genuinely relate to your enquiry, then analyse specific works rather than writing broad life histories. Use the writing to clarify ideas you are also testing practically: representation, place, memory, protest, beauty, consumption or another relevant concern.
Your written study may introduce research that appears in your sketchbook, but it should not duplicate every annotation. Think of it as a more sustained explanation of the intellectual and contextual framework behind your practical investigation.
Keep the Assessment Objectives visible without making pages mechanical
You do not need to label every page AO1, AO2, AO3 or AO4. In fact, excessive labelling can make a personal investigation feel formulaic. Instead, use the objectives to check whether your project is balanced.
AO1 asks whether your contextual research develops your ideas. AO2 asks whether you have explored and refined processes. AO3 asks whether your recording is relevant and purposeful. AO4 asks whether the final response clearly brings those decisions together.
Most effective pages meet more than one objective. A first-hand photograph developed through an artist-inspired collage experiment, followed by a thoughtful evaluation, can contribute to AO1, AO2 and AO3 at once. Connected evidence is far more convincing than trying to complete one objective at a time.
Make presentation support the investigation
Clear presentation helps an assessor follow your thinking. Vary page layouts according to the purpose of the work: allow a strong study space to breathe, group comparison experiments together and place annotation close to the decision it explains. Avoid decorating empty space simply to make a page look finished.
Photograph three-dimensional work well, use legible captions where needed, and make sure visual references are identified. Most importantly, leave enough time at the end to sequence your pages. A well-ordered investigation makes your progress easy to see.
Your Personal Investigation does not need to be perfect from the outset. It needs to show that you can make informed choices, respond intelligently to results and take increasing ownership of your ideas. Build each page so it creates a clear next step, and you will present your work with far greater confidence.
No responses yet