
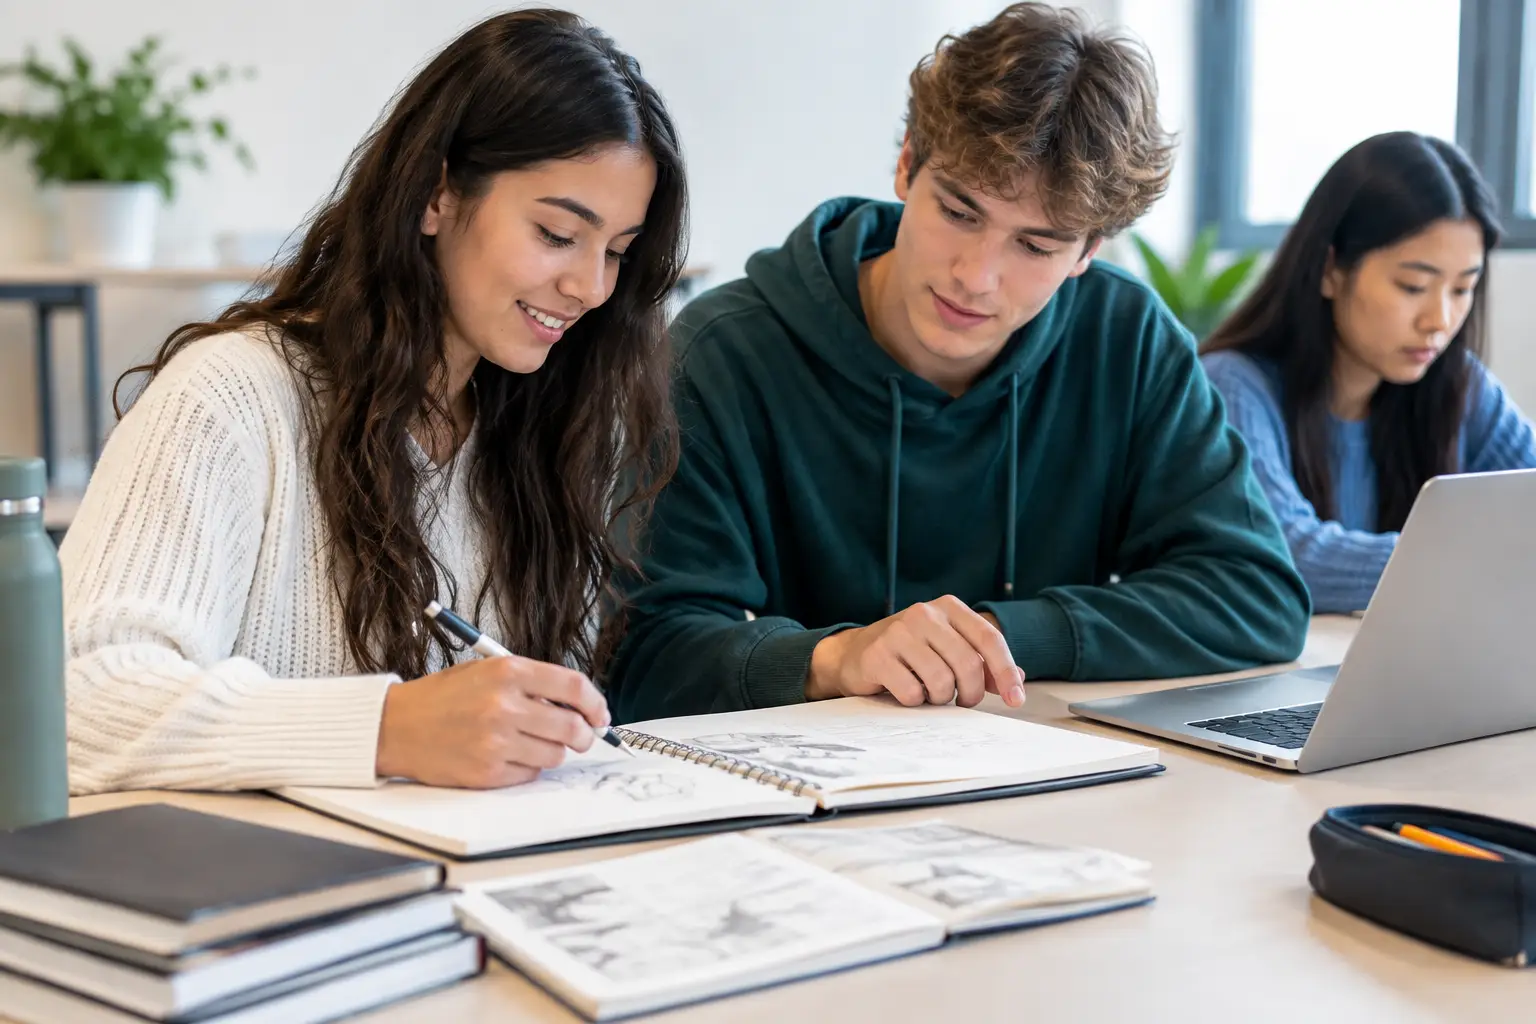
A strong sketchbook does not read like a pile of good individual pages. It reads like a visual record of your thinking: one decision leading to the next. Learning how to link sketchbook pages is what turns experiments, artist research, photographs and annotations into convincing coursework evidence for GCSE or A Level Art, Photography or Graphic Communication.
Examiners are not looking for every page to match perfectly. They want to see purposeful development. Your sketchbook should show where an idea began, what you tested, what worked or failed, and how those findings changed the direction of your project. The links between pages make that journey visible.
What does it mean to link sketchbook pages?
Linking pages means creating clear connections between the work on one spread and the work that follows. This can be visual, written, practical or conceptual. For example, a photograph of peeling paint might lead to a colour study, then a close-up drawing, then a mixed-media experiment inspired by an artist who uses surface texture.
The connection does not need to be obvious before you start the project. In fact, discovering a new direction through experimentation is valuable. What matters is that you explain the change. A brief annotation such as, “The cracked surface in my photograph made me focus on fragmented shapes rather than the whole building,” gives the next page a reason to exist.
Think of each page as answering one of these questions: What have I noticed? What will I investigate? What did I learn? What will I do next? If you can answer those questions as you turn the pages, your sketchbook is becoming connected rather than decorative.
How to link sketchbook pages from the start
Begin with a project theme that gives you room to explore. A title such as “Identity”, “Decay”, “Structures” or “Distortion” is not a finished idea. It is a starting point. Your early pages should narrow that starting point through personal observations, imagery, photographs and questions.
For instance, if your theme is “Reflections”, you could start with your own photographs of puddles, shop windows or mirrors. On the next page, select the most interesting visual qualities: warped type, repeated lights, blurred faces or unexpected colour. That selection then gives you a specific focus for drawing or photography experiments.
Write forward-facing annotations. Rather than only describing what is already on the page, use a sentence that points onwards: “I will crop my next photographs more closely to isolate the distorted lettering.” This is simple, but it proves intentional development and helps you avoid the common problem of filling pages without knowing where the project is going.
Use a repeatable visual thread
A visual thread is an element that appears across several pages while evolving. It might be a colour palette, a shape, a material, a photographic angle, a typeface style or a subject. Repetition gives your project unity, but repetition alone is not development. Each return to the idea should push it further.
If you are investigating rust, for example, you might first photograph rusty metal, then draw its irregular marks in pencil, then test orange and turquoise paint layers, and finally use the marks within a print or final composition. The subject is consistent, but the purpose of each page changes.
You can make the visual link clearer by carrying a small detail onto the next spread. Repeat a cropped photograph, trace a motif in a different medium, use a sampled colour, or place a small arrow between pages. Use this carefully. A few deliberate references are effective; covering every page in arrows, borders and labels can make the work feel forced.
Make annotations do the connecting
Annotation is one of the quickest ways to show development, especially when two pages look very different. Your writing should explain decisions, not simply name materials. “I used charcoal and white chalk” is factual, but it does not show much thinking. “Charcoal gave me the dark, smudged shadows I needed, but the white chalk looked too neat. I will try scratching into ink next” shows evaluation and a clear next step.
Useful connecting phrases include:
- “This relates to my previous study because…”
- “From this experiment, I discovered…”
- “I selected this image because…”
- “This led me to investigate…”
- “For my next response, I will…”
Keep annotations specific. Refer to the actual feature you are discussing, such as overlapping forms, harsh flash, layered tissue paper, negative space or a distorted facial proportion. That precision makes your thinking believable.
Link artist research to your own practical work
Artist research often becomes disconnected when it sits in the sketchbook as a copied image and a short biography. To meet AO1 successfully, show how an artist has affected your own ideas and decisions.
Choose artists because they connect to something already emerging in your project. If your photographs contain dramatic shadows, investigate an artist whose work gives you a useful approach to contrast, composition or atmosphere. Then make a practical response straight afterwards. This may be a study of their process, a small experiment using one feature of their work, or a new piece combining their influence with your own source material.
Be honest about the result. You might write: “I was interested in the way the artist crops figures at the edge of the frame. I tested this using my photograph of my brother, but my first composition felt too empty. I will add repeated shadows to create more tension.” This is much stronger than claiming the experiment was successful when it was not.
The key is not to copy an artist’s finished outcome. Identify a method or visual idea, test it, evaluate it and adapt it to your own direction. That creates a clear bridge between AO1 research and AO2 experimentation.
Let experiments create the next page
A sketchbook develops when you respond to results. After every experiment, decide whether you need to refine, combine, reject or extend it. This decision becomes the link to the next page.
Suppose you have tested ink, collage and monoprint from the same photograph. Rather than placing all three experiments on one page and moving on, compare them. Which process best communicates your intention? Perhaps the monoprint has energetic textures, while the collage creates stronger fragmented shapes. Your next page could combine these two qualities.
This is where many portfolios begin to look more sophisticated. Instead of trying a new material simply to show variety, you select techniques for a reason. Your experimentation becomes evidence of judgement, not just activity.
When space allows, show a small before-and-after sequence. A source photograph, a first experiment and a refined version can communicate a great deal. Add a concise explanation of what changed and why. This supports AO2 and AO3 while building towards AO4.
Use presentation choices with purpose
You do not need every spread to be packed. White space can help the viewer see the relationship between images and experiments. A crowded page may be appropriate for energetic early exploration, while a quieter page can give a refined study or important decision more impact.
Placement matters too. Put related images near each other, align studies that use the same source, and use scale to show importance. If a large drawing has grown from a tiny photograph, place the photograph nearby or repeat a detail of it. The examiner should not have to guess where your ideas came from.
Avoid decorating pages to make them look linked. Matching borders, coloured pens and repeated titles may look tidy, but they do not prove development. The strongest connection is always a visible one: your source material has influenced a choice in your experiment, composition or outcome.
Check the journey against AO1 to AO4
As you review your sketchbook, look at several pages in sequence rather than judging each page alone. Can you see relevant artist and contextual investigation developing your ideas? That is AO1. Can you see materials, techniques and processes being tested, refined and selected? That is AO2. Can you see your own photographs, observations and recording informing the work? That is AO3. Can you see decisions moving towards a meaningful personal response? That is AO4.
A linked sketchbook will not divide these objectives into four separate sections. They naturally overlap. Your own photograph may lead to artist research, which leads to a material experiment, which informs a final piece. Make those connections clear through placement, visual references and short, evaluative annotations.
If a page feels isolated, do not panic or rip it out. Add a small reflection at the end of the page explaining what it contributed, then make the next page respond to it. Coursework is allowed to show changes of mind. Presented honestly, those changes are evidence of creative confidence.
Before submitting, turn through your sketchbook as if you are meeting your project for the first time. At each page, ask: “Why is this here, and what does it lead to?” If you can answer with confidence, you are not just filling a sketchbook. You are presenting a purposeful journey towards your best possible outcome.
No responses yet