
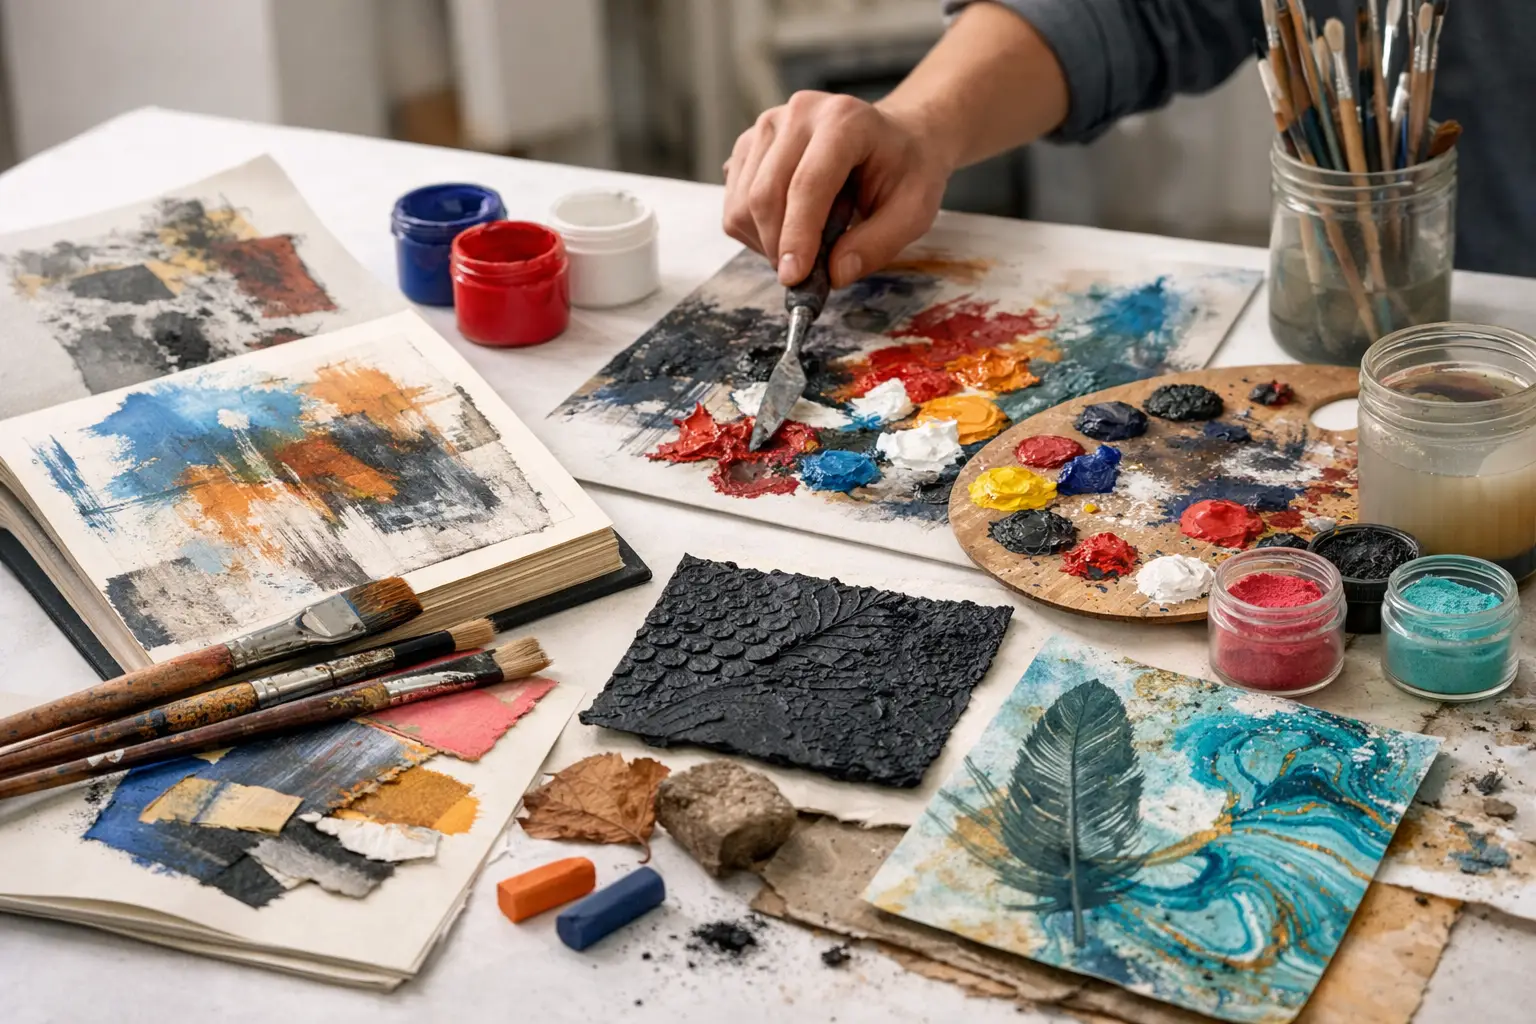
A sketchbook full of neat, repeated drawings can look competent, yet still leave an examiner asking one question: where has the idea developed? GCSE art experimentation techniques are how you answer that question. They show that you can select materials, test possibilities, respond to what happens and make informed decisions – all central to AO2.
Experimentation is not about filling pages with random media samples. It is purposeful investigation. Every practical test should relate to an artist, photograph, object, theme, process or visual idea already present in your project. When your experiments lead naturally towards more personal work, your coursework becomes connected, convincing and much easier to present with confidence.
What experimentation means in GCSE Art
AO2 asks you to refine work by exploring ideas, selecting and experimenting with appropriate media, materials, techniques and processes. In practical terms, this means showing more than one route before choosing the strongest one.
You do not need to use every material in the art room. A high-quality project may focus closely on pencil, ink, collage and photography, for example, if those choices suit the subject. What matters is that you test them with a clear purpose and explain what you learn.
A useful experiment has three parts: a starting point, a variable and a judgement. You might begin with a photograph of peeling paint, alter the surface by layering acrylic and scratching back into it, then decide whether the texture communicates age and decay more effectively than a flat painted study. This is far stronger than labelling a page simply, “acrylic experiment”.
GCSE art experimentation techniques to try with purpose
Change one visual element at a time
The easiest way to make experimentation meaningful is to avoid changing everything at once. If you alter scale, colour, composition, material and process in a single piece, you will not know which decision improved the result.
Take one original photograph or drawing and create a short sequence of related tests. Keep the image the same but crop it differently. Then retain the crop while changing the tonal range. Next, explore a limited colour palette. This allows you to compare outcomes clearly and makes your refinement visible.
For a portrait project, you could test a close crop around the eyes, a blurred enlargement of skin texture and a high-contrast monochrome version. Your annotation can then explain which crop feels most intimate or which tonal treatment best reflects your intended mood.
Layer and remove materials
Layering is especially effective for students exploring memory, identity, urban surfaces, nature or decay. Begin with a foundation such as acrylic wash, charcoal, photocopied imagery, magazine text or your own printed photograph. Add another material, then remove or disrupt part of the surface through sanding, scratching, tearing, wiping or masking.
The key is to photograph or record stages if the process changes quickly. A final textured surface is useful, but the development becomes much stronger when you show how it evolved. You might find that removing paint reveals an accidental mark worth repeating in a larger response.
There are trade-offs. Heavy layering can create rich surfaces but may hide the drawing underneath. If observational accuracy is important to your project, test the process on a small area first. Decide whether the surface adds meaning or merely makes the page busy.
Combine drawing with photography
Original photography provides valuable AO3 evidence, while drawn or printed responses to those images can create strong AO2 development. Do not treat your photographs as a separate task. Use them as material to manipulate.
Print your own photograph in several sizes. Draw into one with fineliner, add coloured pencil to another, and make a collage from selected fragments of a third. You could transfer part of an image using gel medium, trace key lines onto translucent paper, or overlay a continuous-line drawing on a photograph.
This approach is particularly helpful when a subject seems ordinary at first. A photograph of hands, pavement cracks or household objects can become much more personal when you select, enlarge and alter the details that matter to your theme.
Test scale and composition
Many GCSE students produce thoughtful studies but delay composition until the final piece. Small compositional experiments prevent this. They help you decide what deserves attention, what can be removed and where the viewer’s eye will travel.
Create several thumbnail arrangements using cut-up photocopies of your own images. Try one balanced composition, one close-up crop and one arrangement with large areas of negative space. You can also test a narrow vertical format, a square format and an unconventional shape.
Annotate the visual effect, not just your preference. Instead of writing, “I like this one best”, write, “The enlarged central form creates greater tension and links to my theme of isolation. I will develop this layout further, but reduce the background detail so the focal point is clearer.” This is the language of decision-making.
Work from artist research, not beside it
Artist research becomes useful when it changes what you do next. After studying an artist, identify one or two specific features to investigate: their colour relationships, mark-making, composition, process, use of text or treatment of figures.
Make a small practical response that borrows the method rather than copying the finished image. If an artist uses loose expressive brushwork, apply that approach to your own photograph. If they construct portraits from fragmented imagery, test fragmentation using your own subject matter and your own chosen message.
Then push beyond the first response. Ask what would happen if you changed the scale, substituted a different material or combined the technique with an earlier experiment. This progression supports AO1 as well as AO2 because it demonstrates that research has informed your development.
Distort, simplify or abstract from observation
Observational drawing is a strong foundation, but it does not have to remain realistic. Once you have recorded your subject carefully, experiment with changing it. Simplify forms into geometric shapes, exaggerate contours, reduce the image to two or three tones, repeat a motif or focus only on shadow.
This can be an effective route towards a more individual final outcome. A detailed drawing of a leaf might lead to enlarged vein patterns in ink, a repeated print pattern, or a semi-abstract painted surface. The original observation remains evident, but your idea has moved forward.
Be selective. Distortion should serve your intention. If your theme concerns fragility, delicate broken lines may work well. If you are exploring noise and movement in a city, sharper repeated marks or blurred photographic overlays may be more appropriate.
How to annotate experiments without writing too much
Good annotation makes your practical thinking clear. It does not need to be a long paragraph beside every test. Two or three precise sentences are often enough when they explain the purpose, outcome and next step.
Use this simple structure in your own words: what you tested, what worked or did not work, and what you will do next. For example: “I combined a photocopy of my photograph with white ink because I wanted to highlight damaged areas of the wall. The ink creates an effective contrast, but the full image feels too crowded. In my next study, I will crop into one section and use fewer marks.”
Avoid claiming that every experiment was successful. Honest evaluation shows maturity. A test that fails can still be excellent AO2 evidence if you identify why it did not suit your intentions and use that knowledge to make a better choice.
Build a visible chain from test to final response
Your sketchbook should allow someone to follow the journey without needing you to explain it in person. Start with your source material and observations, investigate an artist or technique, test variations, evaluate them, then develop the most promising route. This connected sequence also supports AO3 and leads naturally into AO4.
Before beginning a final piece, look back through your experiments and identify the decisions you will carry forward. Be specific: perhaps the cropped composition from one page, the scratched acrylic surface from another and the muted colours developed from your artist research. A final outcome is more convincing when it is the result of these visible choices rather than a sudden new idea.
If you are unsure whether a page is truly experimental, ask yourself: did I test a possibility, learn something from it and let that learning affect my next action? If the answer is yes, you are building the purposeful development that helps your portfolio achieve its best.
Your strongest experiments are not necessarily the prettiest pages. They are the pages that prove you were thinking, adapting and taking your own idea somewhere more resolved.
No responses yet