
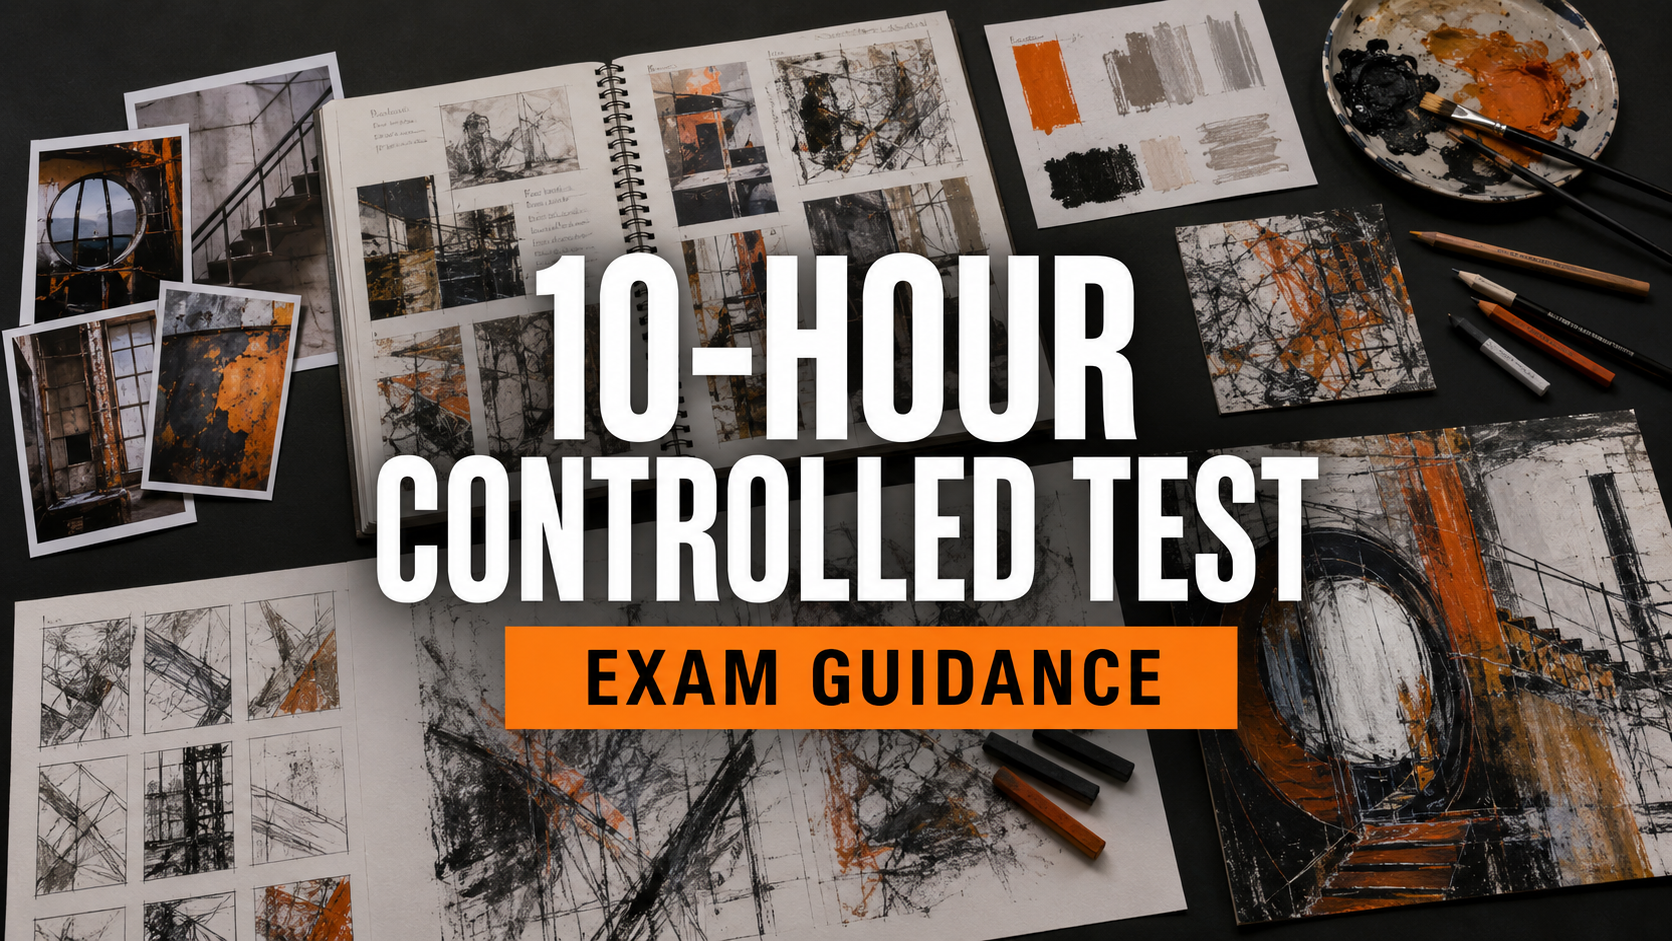
GCSE Art 10-Hour Controlled Test: Essential Exam Guidance
The 10-hour controlled test is your opportunity to bring a sustained GCSE Art and Design project to a confident conclusion. You will first have a period in which to investigate, experiment, record and improve your ideas. You will then use ten hours of supervised working time to produce your personal response. This guide explains what that means, what you may prepare beforehand and how to show the qualities for which your work will be assessed.
The essentials at a glance
- You will have a preparation period followed by 10 hours of supervised work.
- Select one starting point from the paper and develop your own personal response to it.
- Your preparation may be presented in sketchbooks, journals, design sheets, separate studies, digital work or another suitable format.
- You may consult your preparatory work during the supervised sessions, but you cannot change or add to it after the supervised time has begun.
- Your submission is awarded a total of 96 marks.
- Everything submitted as your own work must have been produced by you without assistance.
Before you begin: understand the paper
Read the complete examination paper slowly before committing yourself to an idea. Look at every starting point, consider what each one could allow you to investigate and check that you understand the conditions under which you will work. If anything is unclear, ask your teacher to explain the instructions before you begin developing your project.
Do not choose a starting point simply because your first idea seems easy. A strong choice is one that gives you opportunities to collect first-hand material, research relevant creative practitioners, test several possibilities and make decisions that genuinely reflect your interests. Discuss your early thoughts with your teacher before making your final choice.
What to do during the preparatory period
The preparatory period is not merely a time for making a neat collection of pages. It is the stage in which your response should grow. Your work needs to show how investigation led to experimentation, how experimentation led to decisions and how those decisions shaped the response you intend to complete in the supervised sessions.
1. Investigate your chosen idea
Explore the subject from more than one direction. Collect your own photographs, drawings, observations, written notes or recordings where appropriate. Ask useful questions about viewpoint, scale, structure, surface, atmosphere, meaning, audience or purpose. Your investigation should help you discover possibilities rather than simply illustrate the title of the starting point.
2. Research relevant creative sources
Study suitable artists, craftspeople, designers and/or photographers. You may investigate examples suggested in the paper, but you are also free to select other sources that connect meaningfully with your intentions. Avoid filling pages with biography. Instead, examine how a practitioner uses visual language, materials, processes, ideas or presentation, then show how that understanding helps you make your own decisions.
Clearly acknowledge anything that you did not create yourself. Record the maker’s name and the title or origin of the source wherever possible. This applies to images, quotations and material found in books, galleries or online. Referencing a source is good practice; presenting someone else’s material as your own is not.
3. Generate and compare different possibilities
Develop several possible responses before deciding which one deserves further attention. Change the composition, crop, viewpoint, colour, scale, format, sequence, layout or relationship between elements. Select ideas because they support your intention—not simply because they are the first ones you produced.
4. Test, select and refine
Use appropriate art, craft and design materials, tools and processes to discover what best communicates your idea. Make purposeful tests, compare the results and explain what you will keep, change or reject. Refinement means improving an idea through informed choices; it does not mean repeatedly producing almost identical versions.
5. Record the journey as it develops
Keep visual and written evidence of important observations, ideas and decisions. Record what you noticed, what a test revealed, why you selected one possibility and what you intend to do next. Your sketchbook, journal, design sheets, studies or digital work should make the progress of your thinking easy to follow.
6. Plan a response you can complete successfully
Your final plan should be ambitious but manageable within ten hours. Decide on the format, scale, materials, process and order of work in advance. Complete the necessary trials beforehand so that the controlled test is not the first time you attempt an unfamiliar technique. The supervised response may use digital methods, non-digital methods or a suitable combination of both.
What happens when the supervised time begins?
Once the first supervised session starts, your preparatory work is effectively closed. You may look at it and use it to guide the response, but you must not add to it, alter it or improve it during the controlled time. Make certain that every study, reference, plan and practical test you expect to need is complete before that point.
- The full allowance is 10 hours under supervision, arranged into sessions by your school or college.
- The response can take any form that is suitable for your endorsed title and may draw on one or more relevant areas of study.
- The work must be completed independently. Your teacher cannot make creative decisions or produce any part of it for you.
- Make it completely clear which work was created during the supervised sessions.
- At the end of every session, all preparatory and supervised work must be handed in. It must also be submitted when the ten hours are complete.
Materials and equipment
Before the supervised sessions, check that the materials, tools and equipment required for your planned response will be available and permitted. Think through quantities, drying time, printing, file formats, storage, charging, backups and any specialist arrangements. Speak to your teacher early if something needs to be booked or prepared. Do not leave an essential practical requirement until the day of the test.
How the 96 marks are awarded
Your preparation and supervised response are considered together and marked out of 96. The assessment looks for convincing evidence across four connected areas. Treat these as parts of one creative journey, not as four unrelated sections of a sketchbook.
Develop ideas
Investigate your theme, study relevant sources with understanding and use what you learn to move your own ideas forward.
Explore and refine
Try suitable media, materials, methods and processes; compare outcomes; select thoughtfully; and improve the work in response to what you discover.
Record purposefully
Capture observations, ideas and insights that relate to your intention, and show how your thinking changes while the project progresses.
Realise your intention
Produce a personal, meaningful and resolved outcome that fulfils your intention and shows confident control of visual language.
A sensible plan for the ten hours
Your school will decide how the ten hours are divided, so adapt your plan to the session timetable you are given. Break the response into achievable stages and estimate how long each stage should take. Include checkpoints so that you can recognise early if you are falling behind.
- Set up and confirm the plan: organise your workspace, review your preparation and establish the scale, layout or file structure.
- Build the main response: complete the most important and time-consuming processes while there is still time to solve problems.
- Review at planned intervals: compare the developing piece with your intention and make independent, evidence-based adjustments.
- Resolve and present: allow enough time for refinement, drying, printing, exporting, mounting or another appropriate form of completion.
Final preparation checklist
- □ I have chosen one starting point and can explain my personal interpretation.
- □ I have researched appropriate artists, craftspeople, designers and/or photographers.
- □ Every source that is not mine has been clearly acknowledged.
- □ I have collected and used relevant first-hand material where appropriate.
- □ My project shows several ideas, purposeful experiments and visible refinement.
- □ My observations, decisions and next steps are recorded clearly.
- □ My planned response is personal, meaningful and achievable within ten hours.
- □ I have tested unfamiliar processes before the supervised time begins.
- □ All necessary materials, equipment, digital files and permitted backups are ready.
- □ I understand that preparatory work cannot be amended once the first supervised session starts.
- □ I know how the work produced under supervision will be identified and handed in.
Make the ten hours the conclusion—not the beginning
The strongest controlled-test responses normally grow from careful preparation. If your sources have been investigated, your ideas have been tested and your practical decisions have already been rehearsed, you can enter the supervised sessions knowing exactly what you want to communicate. Preparation gives you confidence; the ten hours allow you to bring that thinking together in a resolved personal response.
Always follow the exact paper and arrangements issued by your examination centre. Your teacher can clarify administrative requirements, permitted resources and the timetable that applies to you.
No responses yet