
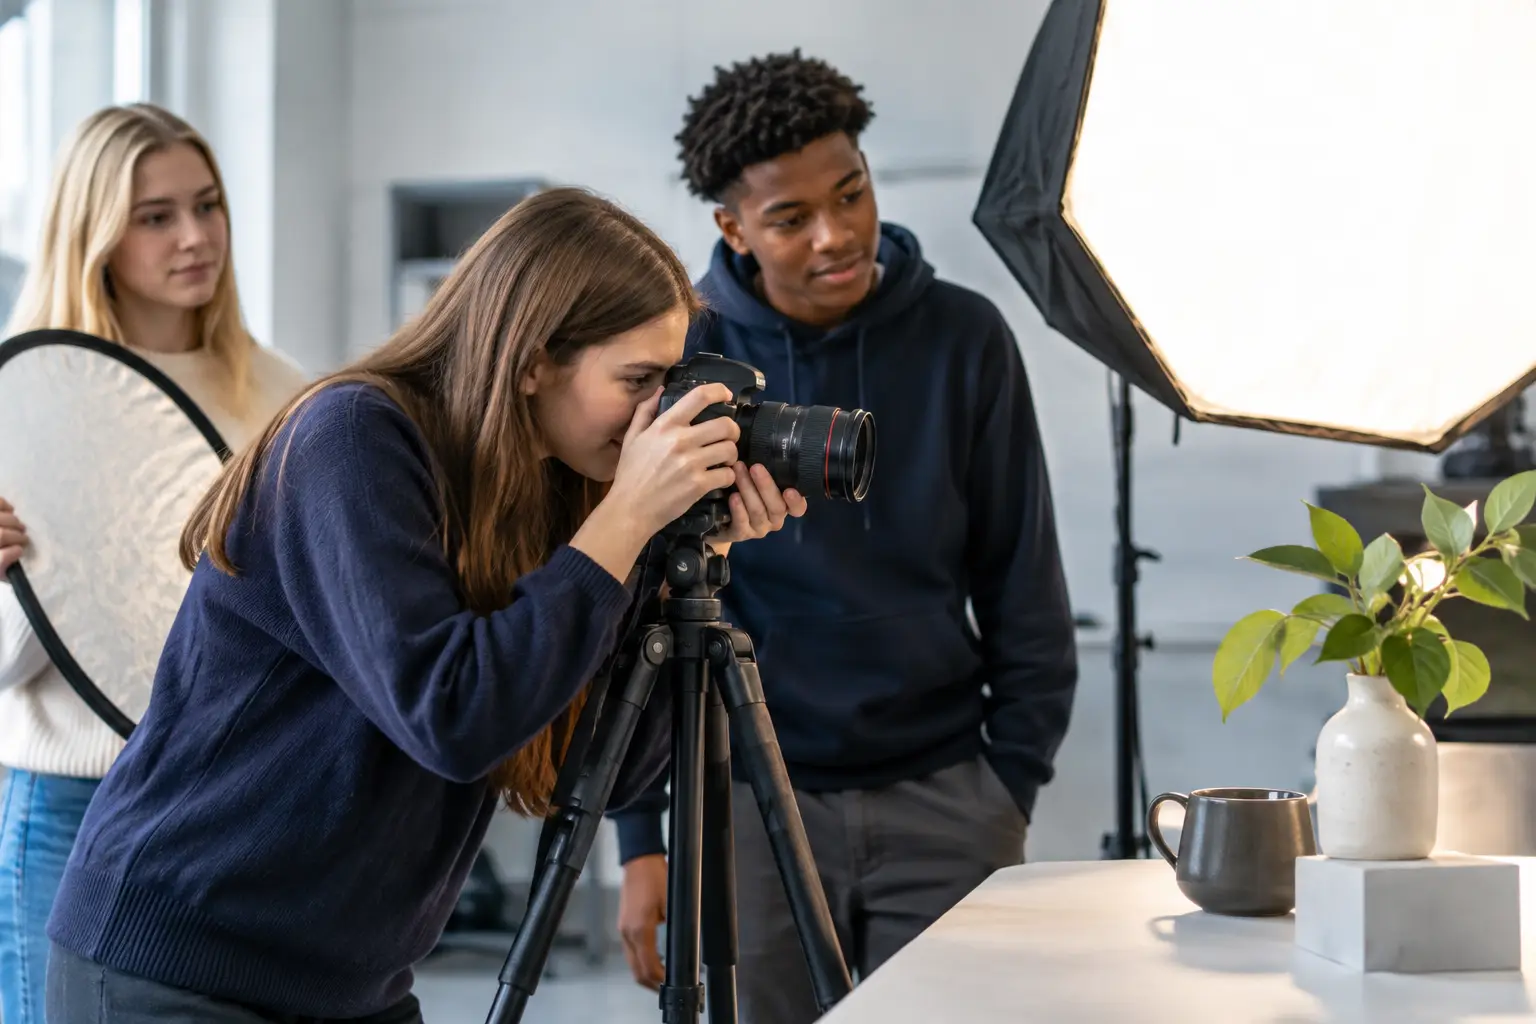
A desk lamp, a window and one ordinary object can produce a far stronger photography page than a rushed shoot with expensive equipment. The best photography lighting experiments are not about making every image look polished. They are about changing one variable at a time, noticing what happens, and using those discoveries to develop a personal visual idea for coursework.
For GCSE and A Level Photography, lighting gives you clear, practical evidence of AO2 experimentation and AO3 recording. It can also move a project forward when your sketchbook or digital portfolio feels repetitive. A portrait, still life, urban detail or staged narrative can take a completely different direction once you begin controlling where the light falls, how hard it is, and what it hides.
Start with an idea, not a lamp
Before setting up a shoot, choose a subject that connects to your project. If your theme is identity, work with a portrait, clothing, a meaningful object or a reflection. For an architecture project, try a model building, a textured wall or a staircase. If you are investigating food, decay or consumerism, arrange objects that create interesting surfaces and shadows.
The aim is not to complete eight unrelated tasks. Use the same subject across several tests so that the effect of the lighting is obvious. This creates a connected sequence of development rather than a collection of random photographs.
Keep your camera position and basic composition similar for your first set of images. Then alter one decision: the direction, distance, colour or softness of the light. Use manual settings if you can, but a phone camera is suitable if you control the set-up carefully. Record what you used, what changed and which outcomes you would take further.
Eight best photography lighting experiments for coursework
1. Side lighting for texture and form
Place your light source to one side of the subject, roughly level with it. A desk lamp works well for small still lifes, while late-afternoon window light can be effective for portraits. Side lighting makes texture visible because the raised areas catch light and the recessed areas fall into shadow.
Photograph something with a clear surface: crumpled fabric, skin, peeling paint, fruit, jewellery or stone. Compare a front-lit image with a side-lit one. Annotate which photograph communicates form more successfully and why. You might write that the stronger shadows make an object appear more tactile, dramatic or aged.
2. Backlighting and silhouette
Put the main light behind your subject and expose for the bright background. The subject will become dark, sometimes almost completely black. This is useful if your project involves mystery, isolation, movement or anonymity.
Try a figure near a bright window, leaves held against the sky, or a transparent object such as a bottle. Do not dismiss an underexposed subject as a mistake straight away. In this experiment, the loss of detail may be the point. Consider whether the silhouette gives a clearer emotional message than a conventionally exposed photograph.
3. Soft window light
Photograph your subject close to a north-facing window if possible, or use a thin curtain to soften direct sunlight. Soft light produces gentle transitions between light and dark. It is often flattering for portraiture and useful for carefully observed still life work.
Move the subject gradually away from the window and take images at each distance. This gives you a useful contact-sheet-style sequence: the light becomes weaker, shadows deepen and the mood changes. It is simple experimentation, but it shows thoughtful refinement when you explain your choices.
4. Hard light and sharp shadows
Remove the curtain and use direct sunlight, a bare lamp or a phone torch. Hard light creates crisp-edged shadows and strong contrast. It can make familiar objects look graphic, unsettling or theatrical.
Experiment with the shadow as part of the composition rather than treating it as an accident. Position objects so the shadows overlap, stretch across a background or create abstract shapes. This approach can connect especially well to artists and photographers who use bold contrast, constructed imagery or surreal compositions.
5. Coloured gels and found transparent materials
You do not need professional gels. Coloured acetate, translucent sweet wrappers, plastic folders or coloured glass can change the mood of a scene. Hold the material in front of a lamp, not directly against a hot bulb, and photograph how the colour shifts across the subject.
Use colour purposefully. Red may suggest tension or danger; blue can feel detached or quiet; mixed colours can create an artificial, nightlife-inspired atmosphere. Test one colour first, then combine two colours from different directions. Your annotation should explain whether colour supports your original intention, not just state that it looks interesting.
6. Low-key lighting for atmosphere
Low-key photography uses a mostly dark image with selected areas of light. Turn off overhead lights, use a single small light source and expose for the brightest area. A torch directed through a piece of card with a small hole can give you precise control.
This experiment works well with portraits, reflective objects and personal narratives. You may light only one eye, a hand or part of an object. The trade-off is that detail disappears quickly, so check that the darkness strengthens the image rather than making the subject impossible to understand.
7. Reflected light with foil, paper and mirrors
Lighting is not only about the lamp itself. Place white card, aluminium foil or a small mirror opposite your light source to bounce light back into the shadow side of the subject. White card creates a softer lift, foil gives a more broken and reflective effect, and a mirror can create a narrow bright highlight.
Photograph the same arrangement with and without your reflector. This is excellent evidence of technical control because the change is deliberate but subtle. For a portrait, reflected light can reveal facial detail. For still life, it can introduce highlights that make glass, metal or glossy packaging more visually exciting.
8. Light painting and movement
In a darkened space, use a longer exposure and move a torch, fairy lights or a phone screen through the frame. Keep the camera still on a tripod or a stable surface. Begin with a simple line, then try circles, repeated marks or light around a figure.
This method is more unpredictable than window-light tests, which is part of its value. Make several attempts and select the most successful results. Consider combining it with a project theme such as memory, energy, travel, music or portraiture. If you photograph a person, ask them to remain still for part of the exposure so that the final image contains both a recognisable figure and movement.
Turn lighting tests into AO2 and AO3 evidence
A contact sheet of experiments is useful, but high marks come from showing what you learned from it. Select a few images that genuinely reveal different outcomes. Crop or enlarge key details if this helps you discuss texture, colour, contrast, shape or mood.
For AO3, record your technical decisions clearly. Include the light source, its position, the distance from the subject and any materials used to diffuse or reflect the light. You do not need to write a camera manual. Short, specific annotation is stronger: side lighting from a desk lamp exaggerated the creases in the fabric, so I will use this method to make my final still life feel more worn and neglected.
For AO2, show development. Choose one test and repeat it with a purposeful change. Perhaps your first backlit portrait is too dark, so you add a reflector. Perhaps coloured light becomes more successful when paired with a simpler background. This is the difference between trying a technique once and refining it in response to what you see.
If you are researching a photographer, do not copy a lighting set-up without thought. Identify a feature of their work, such as high contrast, coloured artificial light or dramatic shadow, then test how that visual language could support your own theme. That demonstrates informed experimentation and helps your work remain personal.
Avoid the common portfolio mistakes
The most common problem is changing everything at once. If you move the camera, replace the subject, alter the background and change the lighting, you cannot explain which choice improved the image. Keep early tests controlled, then become more ambitious once you know what works.
Another weakness is including every photograph. A strong coursework page is curated. Show the weaker test only if you can explain what it taught you and how it led to a better decision. Selective editing shows confidence and makes your progression easier for an examiner to follow.
Finally, do not leave your strongest lighting experiment as an isolated page. Reuse its shadows, colour palette or mood in later shoots, edits, artist responses and final outcome planning. That visible thread is what turns a technique exercise into a convincing portfolio journey.
The most successful lighting work usually begins with curiosity, then becomes stronger through selection and refinement. Give yourself permission to make imperfect first tests, but make sure each next photograph has a clear reason for existing. That is how a simple lamp becomes evidence of creative confidence and real progress.
No responses yet