
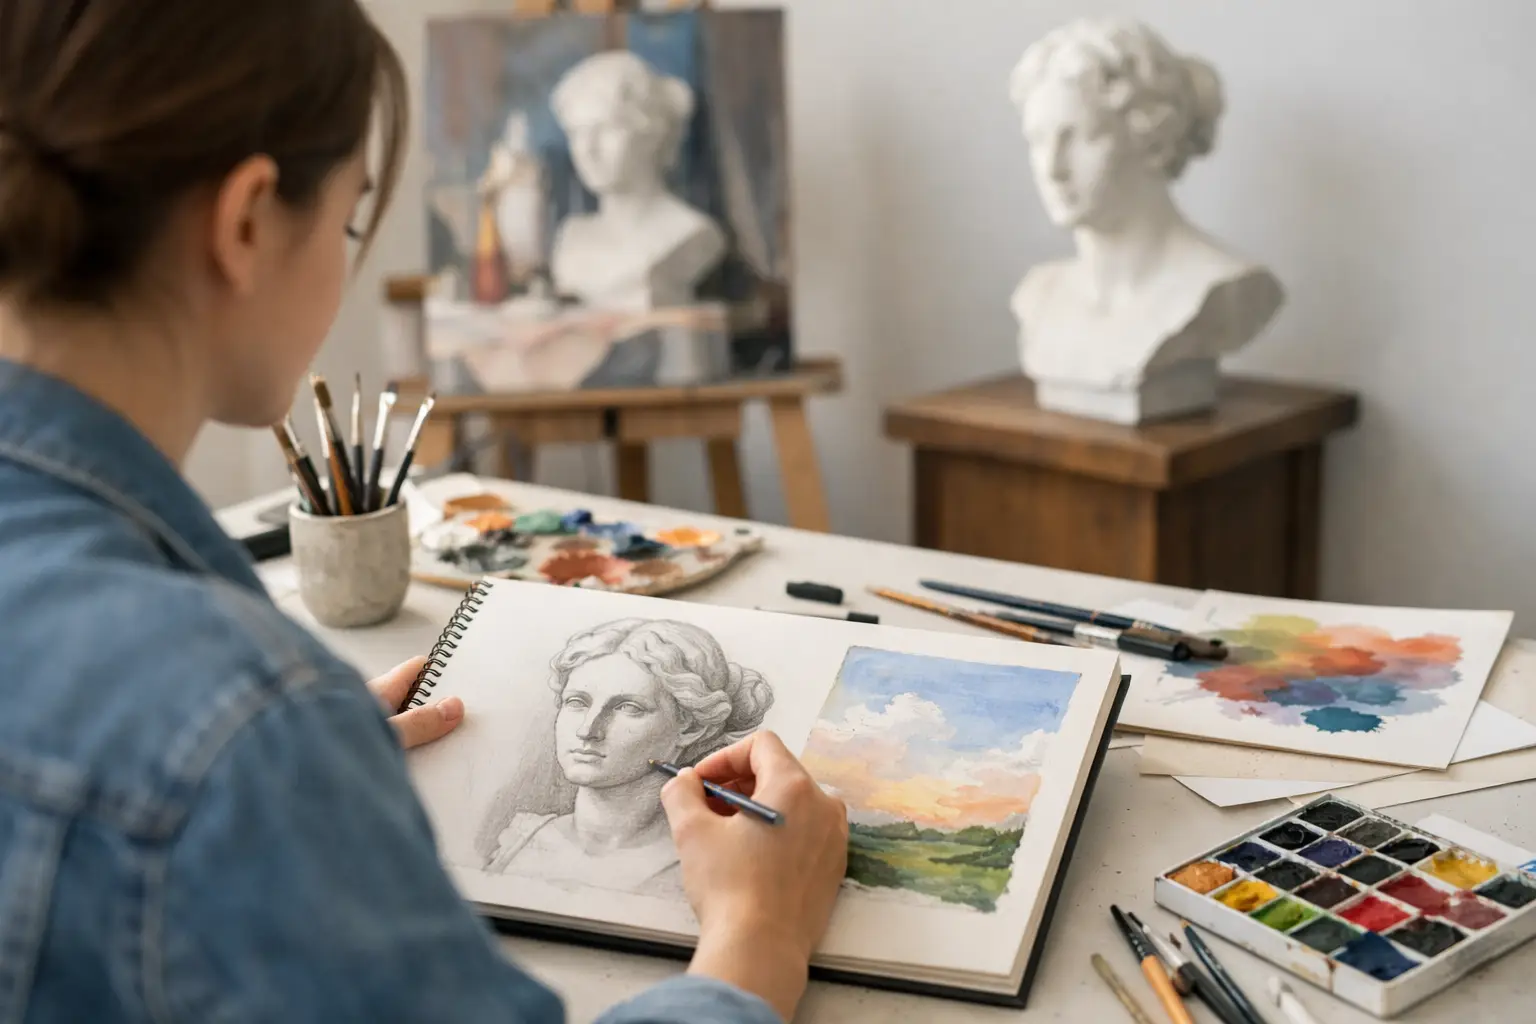
The A level art exam is not won by producing one impressive image at the end of 15 hours. It is won much earlier, through the quality of your investigation, the decisions recorded in your sketchbook and the clear route from your starting point to your final response. The exam is where that development becomes visible under pressure.
For many students, the externally set assignment feels different from coursework because the deadline is fixed and the final outcome matters so much. Yet the assessment logic is the same. Examiners are looking for purposeful evidence across AO1, AO2, AO3 and AO4, not a sudden change of style or a last-minute painting that bears little relationship to the preparation work.
What the A level art exam is really assessing
Your externally set assignment normally begins with a paper containing several starting points or themes. You select one, develop a personal response during the preparation period, then produce your final outcome in supervised time. Check your own specification and centre guidance for the exact timetable, as arrangements can vary between exam boards and schools.
The important point is that your preparatory work and your timed outcome are assessed together. A beautiful final piece with limited research, weak recording or unexplained experimentation can only show part of the assessment criteria. Equally, a thoughtful sketchbook can lose impact if the final response does not resolve the strongest ideas you have developed.
Think of the project as one connected visual argument. Your chosen theme raises a question. Your first-hand studies, artist research, materials testing and annotation help you answer it. The final outcome is your most convincing answer, not a separate task added at the end.
Choose a starting point you can make personal
Do not select a question simply because it sounds broad, fashionable or easy to illustrate. A title such as ‘Fragments’, ‘Identity’ or ‘Structures’ gives you room to interpret, but that freedom can become a problem if your starting point remains vague.
Choose a theme that gives you access to genuine visual material. If you work best from photography, consider what you can photograph yourself: family spaces, objects with history, local architecture, collections, reflections, clothing or changing light. If your strengths are observational drawing and mixed media, choose a direction with textures, forms and subjects you can revisit.
A useful early test is whether you can complete four connected actions. Can you take original photographs or make direct observations? Can you identify artists, photographers or designers whose approaches genuinely relate to your idea? Can you test at least two materials or processes? Can you imagine more than one possible final outcome?
If the answer is no, narrow or adjust the idea before you invest too much time. A focused project usually develops more strongly than a huge subject treated superficially.
Turn the title into a working question
Your first page does not need to contain a perfect statement of intent. It does need to show direction. Rather than writing that you are exploring ‘identity’, give yourself a more practical question: how can layered family photographs and stitched fabrics communicate memory and belonging? Rather than responding to ‘structures’ with random buildings, ask how repeated windows, shadows and geometric cropping can create a sense of order and confinement.
This gives your research and experimentation a purpose. It also makes annotation easier because you can explain whether each decision is helping you investigate the question.
Build evidence for AO1-AO4 from the beginning
The four Assessment Objectives should guide your choices throughout the preparation period. They are not four boxes to fill at the end.
AO1: Research artists with a reason
AO1 is about developing ideas through relevant contextual sources. This can include artists, photographers, designers, movements, places, objects or cultural references, but relevance matters more than quantity.
Avoid treating artist research as a biography followed by a copied image. Select practitioners because something specific in their work can move your project forward. You may be interested in a photographer’s cropped composition, an artist’s use of transparent layers, a graphic designer’s type treatments or a printmaker’s mark-making.
Your annotation should identify what you notice, what you intend to borrow or adapt, and why it suits your own theme. Then prove that research has influenced your work. A small practical response, an altered composition or a materials test can be more valuable than a page of facts.
AO2: Experiment, select and refine
AO2 is where your project gains momentum. Examiners need to see that you can try processes, judge the results and make informed improvements. Testing materials is not about producing a page of unrelated samples. Each experiment should answer a visual question.
For example, you might test ink wash, dry brush and collage to decide which best communicates a weathered building surface. Record what worked: perhaps the ink created useful tonal variation, while collage gave the image unwanted flatness. Then refine the strongest process in a further study.
Show changes of scale, composition, colour, surface or technique where they are meaningful. Not every experiment will succeed, and that is completely acceptable. What matters is that you recognise why an attempt was less effective and use that judgement to make the next stage stronger.
AO3: Record from first-hand sources
AO3 requires recording ideas, observations and insights. In Fine Art, that may be drawing, painting, photography, written notes or collected visual material. In Photography, your contact sheets, edits, shoots and technical decisions are central. In Graphic Communication, recording can include typography trials, layouts, visual research and original imagery.
Original source material is one of the clearest ways to make a project personal. Take more photographs than you think you need, then select carefully. Revisit a location at a different time of day. Photograph close-up details as well as wider views. Draw from your own objects, hands, surroundings or staged arrangements.
Do not hide imperfect studies. A direct drawing with clear observation, corrections and notes often reveals more development than a polished copied image. Your recordings give you material to crop, combine, distort, simplify and refine later.
AO4: Present a final response that belongs
AO4 is your ability to present a personal and meaningful response. It does not require the biggest canvas, the most difficult technique or every idea you have ever tested. It requires a resolved outcome that clearly grows from the project.
Before the supervised period, decide what you are making and how you will make it. Produce a small compositional plan, select your final references and test any risky technique in advance. If your intended outcome depends on a complex transfer process, unusual paper or large-scale construction, practise it before the exam rather than hoping it works on the day.
Your final piece should bring together your strongest visual decisions. That might mean the composition informed by one artist, the surface treatment developed through experiments and the subject matter drawn from your own photographs. The connections should be visible without needing lengthy explanation.
Plan the preparation period like a working artist
A sketchbook does not need every page to look finished, but it should show steady, purposeful progress. Set mini-deadlines for yourself: establish a direction, gather first-hand material, research relevant practitioners, test approaches, develop compositions and plan the final response. This prevents the common problem of spending weeks collecting images, then rushing all meaningful development at the end.
As you work, regularly place pages side by side and ask whether the project is moving forward. Are your artist studies influencing your own work? Are you repeating the same technique without improving it? Is your final idea already evident, or does it still feel disconnected from the preparation?
A useful check is to cover the written annotation and look at the work alone. Could someone follow the visual journey? Then read your notes. Do they explain decisions rather than describe what is obvious? Short, precise annotation is stronger than filling every space with general comments.
Use supervised time with calm and control
The exam days should not be a period of invention. They are the time to execute a plan, respond thoughtfully to what happens in front of you and maintain quality.
Prepare your materials early. Know which surfaces, paints, pens, adhesives, prints or equipment you need, and organise them so you can begin promptly. If you are working digitally, confirm the school’s expectations for saving, printing and presenting work before the exam starts.
Work from your plan, but do not become rigid. A composition may need simplifying once you begin, or a colour choice may prove less effective at final scale. Make changes when they improve the outcome, not because panic has made you abandon the preparation work.
Build in time for looking. Step back, photograph progress if permitted, view the work from a distance and compare it with your intentions. Check proportions, tonal contrast, focal points, edges and unfinished areas. A final hour spent resolving the key visual relationships is usually more valuable than adding extra detail everywhere.
Avoid the mistakes that weaken strong ideas
The most frequent issue is disconnection. Students may research several artists, make attractive experiments and then produce a final outcome that does not draw on either. Keep returning to your working question and make your selections visible.
Another problem is annotation that says only ‘I like this’ or ‘I used watercolour’. Replace this with judgement: explain what effect you achieved, what did not work and what you will change next. This is the language of development.
Finally, do not confuse complexity with quality. A clear, well-observed response with thoughtful refinement can achieve more than an overcrowded piece attempting too many techniques. Your aim is not to prove that you can do everything. It is to present your best ideas with confidence and clear evidence of progress.
Approach your A level art exam as the final stage of a project you have built deliberately. When every page has a purpose, the exam room becomes less intimidating: you are not searching for an idea, but giving your strongest one the finish it deserves.
No responses yet