
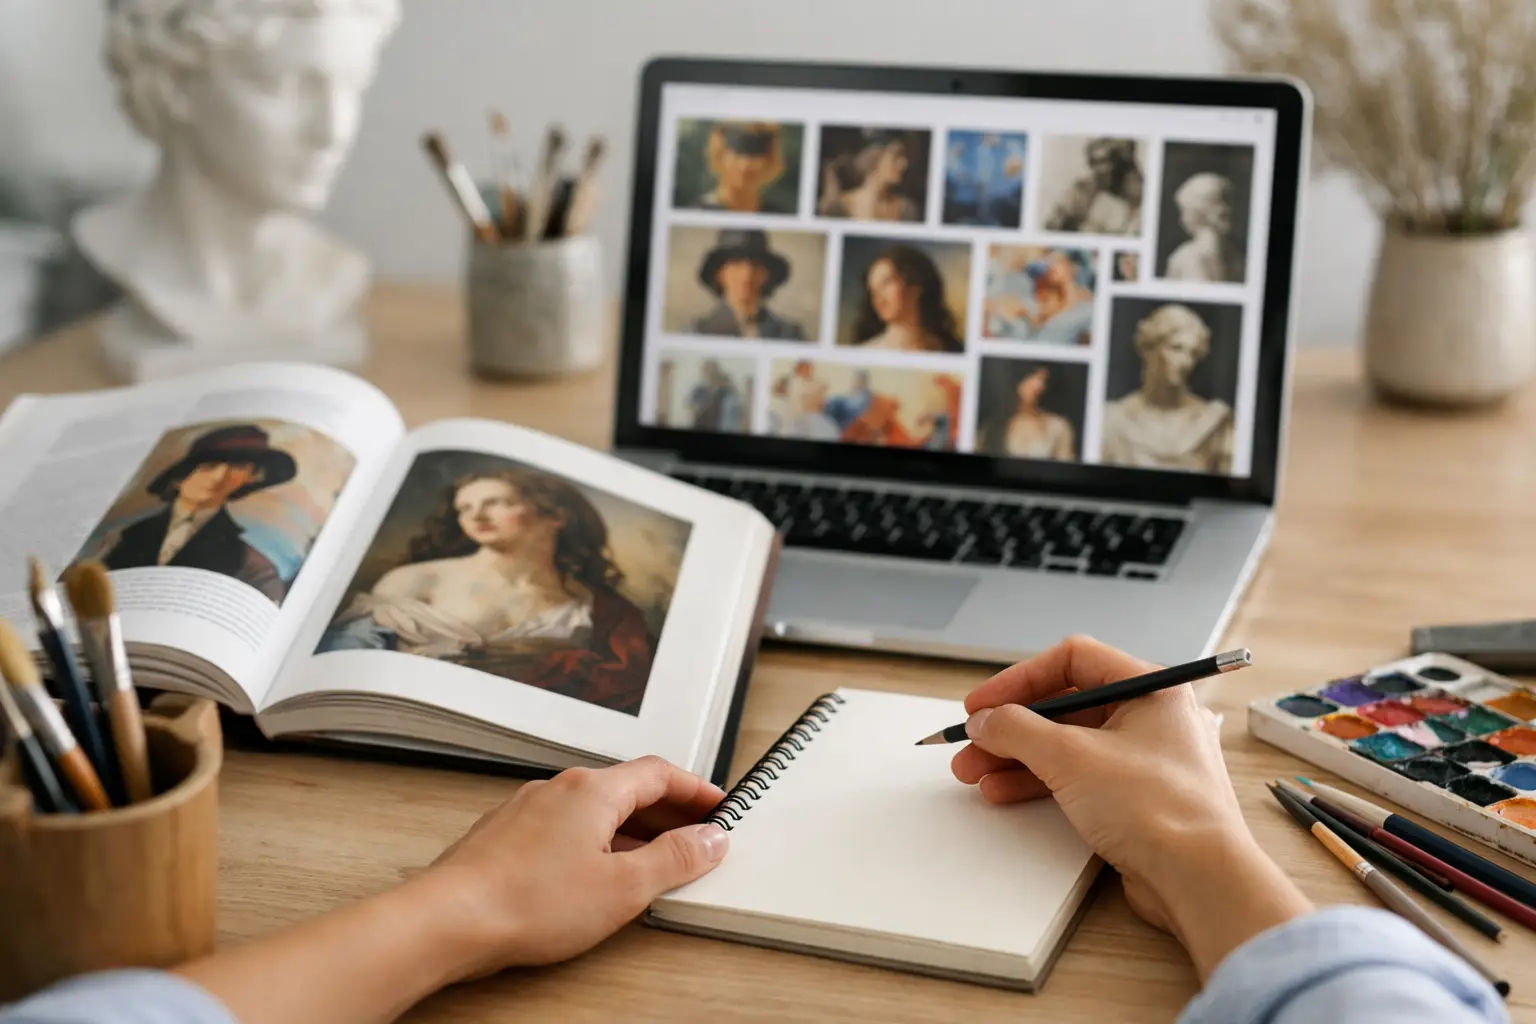
A page of copied facts beside a printed artwork will not move your GCSE Art project forward. Examiners need to see what you have understood, what you have selected and, most importantly, what you have done with an artist’s ideas. Learning how to research artists for GCSE art is therefore not about producing a biography. It is about using another artist’s work to develop your own visual language and create convincing evidence for AO1.
Strong artist research makes your sketchbook feel connected. A photographer’s dramatic lighting might lead to your own photo shoot. A painter’s restricted colour palette might inform a set of colour trials. A textile artist’s layering methods might help you resolve a more personal final piece. Each page should show a decision, followed by a practical response.
What artist research needs to prove for AO1
AO1 asks you to develop ideas through investigations, demonstrating critical understanding of sources. In practical terms, this means showing that you can look closely, explain what matters in an artist’s work and use that understanding purposefully.
There are three connected parts to successful research. First, identify relevant features in the work. Next, annotate them using accurate art vocabulary and your own observations. Finally, experiment with those features in a way that relates to your project. If one of these parts is missing, the research is likely to feel incomplete.
For example, if your theme is identity and you are studying a portrait artist, you could focus on distorted facial proportions, expressive brush marks and unusual colour choices. Rather than writing that the artist is ‘interesting’, explain the effect: distorted features can make a portrait feel uncomfortable or emotionally exposed. Then test a section of a face using similar distortion, before deciding whether it helps communicate your own idea.
This is the difference between research that fills a page and research that develops a portfolio.
How to research artists for GCSE Art: choose with purpose
Choose artists because they offer something useful for your project, not simply because their work looks impressive. A well-known artist can be a good starting point, but relevance matters more than fame. Your chosen source should give you a technique, visual quality, subject matter or way of communicating meaning that you can investigate further.
Before committing to an artist, ask yourself: what exactly could I learn from this work? The answer needs to be more precise than ‘their style’. You might be drawn to close-up composition, layered surfaces, monochrome photography, fragmented forms, bold typography or carefully observed line. These specific qualities give you a direction for practical work.
It also helps to select artists who offer different possibilities. One artist may influence your composition, while another informs your materials or use of colour. This creates a richer project than repeating the same response several times. However, do not collect too many artists. Two or three researched thoroughly and used across your development are usually more valuable than six rushed pages with no clear connection to your own work.
Your choices should also suit your available materials and timescale. If an artist works on a huge scale with specialist printmaking equipment, you can still study their composition or mark-making, but adapt the practical response realistically. Examiners reward thoughtful adaptation, not expensive materials.
Find reliable information, then be selective
Start by looking at the artist’s own work as carefully as possible. Find several examples, not just one image, so you can spot patterns in their approach. Notice recurring themes, media, composition, colour, process and mood. Gallery notes, exhibition catalogues, books and reputable educational resources can provide useful background, but visual analysis should remain at the centre of your page.
You do not need to record every date, award or childhood detail. Include contextual information only when it explains the work. If an artist’s environment, culture, experiences or artistic movement has shaped their subject matter or methods, a short, relevant note can strengthen your understanding. Otherwise, use the space for analysis and experimentation.
Keep a record of where images and information came from as you work. This is good practice and makes it clear that you have used sources responsibly. More importantly, avoid copying text word for word. Read, close the source, then write the idea in language you understand. Your annotation should sound like you, not like a gallery label.
Build an artist research page that shows development
A strong page has a clear visual hierarchy. Begin with a good-quality reproduction of the artwork or a carefully selected detail. Add your annotation around it, leaving enough space for the reader to follow your thinking. Then include practical studies that demonstrate your response. Your sketchbook should not look like a worksheet, but it should be easy for someone to see the journey from observation to action.
When annotating, move beyond description. ‘The background is blue’ is an observation, but it does not explain significance. Instead, comment on how the artist has used blue: perhaps cool tones create distance, or a limited palette directs attention towards the face. Then link this to your intention: you may use a similar restricted palette to make your own portrait feel isolated.
Useful annotation often covers four areas: the artist’s methods, the visual effect, your personal response and your next step. Write in short, specific sentences. For instance: ‘The rough charcoal lines are left visible around the jaw, which makes the portrait feel unsettled rather than polished. I will use broken, repeated lines in my self-portrait studies to suggest uncertainty.’ This is clear critical understanding and a practical plan in two sentences.
Avoid labelling every element with isolated words such as ‘texture’, ‘tone’ or ‘composition’. Use those terms within a sentence that explains their purpose. Accurate vocabulary is helpful only when it makes your thinking clearer.
Make practical experiments, not copies
Your practical response is often the strongest evidence on an artist research page. Begin with a focused study of one part of the artist’s work. This could be a small drawing, painted section, photographic recreation of lighting, collage sample or digital composition. A close study helps you understand how the work has been made.
Then push it further. Change the subject to your own photograph, alter the scale, combine the method with another material or test different colour options. This second stage matters because it begins to turn influence into personal development. A direct copy can demonstrate technical observation, but it cannot be the endpoint.
Label experiments with brief evaluations. Explain what worked and what you would change. Perhaps ink created the energetic marks you wanted but obscured subtle facial tones. You might decide to combine ink with diluted watercolour in the next study. These decisions demonstrate refinement and create useful links to AO2 as well as AO1.
Photography and Graphic Communication students can follow the same principle. A photography response might test an artist’s framing, depth of field or lighting with original photographs. A Graphic Communication response could analyse hierarchy, type, image placement and colour before producing alternative layout trials for a personal brief. The medium changes, but the assessment logic remains the same: analyse, test, review, develop.
Link every artist to your own project
The best research reappears later in the sketchbook. Refer back to an artist when planning a photo shoot, developing composition studies or selecting materials for a final outcome. This proves that the research had a genuine purpose rather than being completed and forgotten.
Make the connection visible. If an artist inspired your use of cropping, place an early composition test beside a later improved version and explain the change. If their colour palette influenced your final piece, include colour swatches and show why you rejected other options. Your development becomes much more convincing when the examiner can trace a line from source to experiment to outcome.
It is equally valuable to explain when an artist’s approach did not suit your idea. You may find that a technique is visually effective but conflicts with the mood you want to create. A thoughtful rejection is still evidence of critical judgement, provided you show what you learned and where you went next.
Common mistakes that weaken artist research
The most common problem is treating research as a one-page task. A biography, a copied image and a few generic comments may look complete, but they rarely show meaningful development. Another weakness is choosing an artist after completing the work, then forcing a connection that is not really there. Start research early enough for it to influence your decisions.
Be careful not to make every response too polished. Small tests, mistakes and annotations are useful because they reveal genuine exploration. Your coursework is assessed as a journey, not simply as a display of finished work. Equally, do not leave experiments unexplained. Even a short evaluation tells the examiner why a test matters.
Finally, do not rely on the phrase ‘I like it’. Say what you like, why it is effective and how it will affect your own work. Specific thinking leads to stronger practical choices.
Approach each artist page as a conversation with your project: look closely, test one meaningful idea and decide where it should lead next. Those clear, visible decisions will help you present your work with confidence and give your GCSE Art portfolio the purposeful development it needs.
No responses yet