
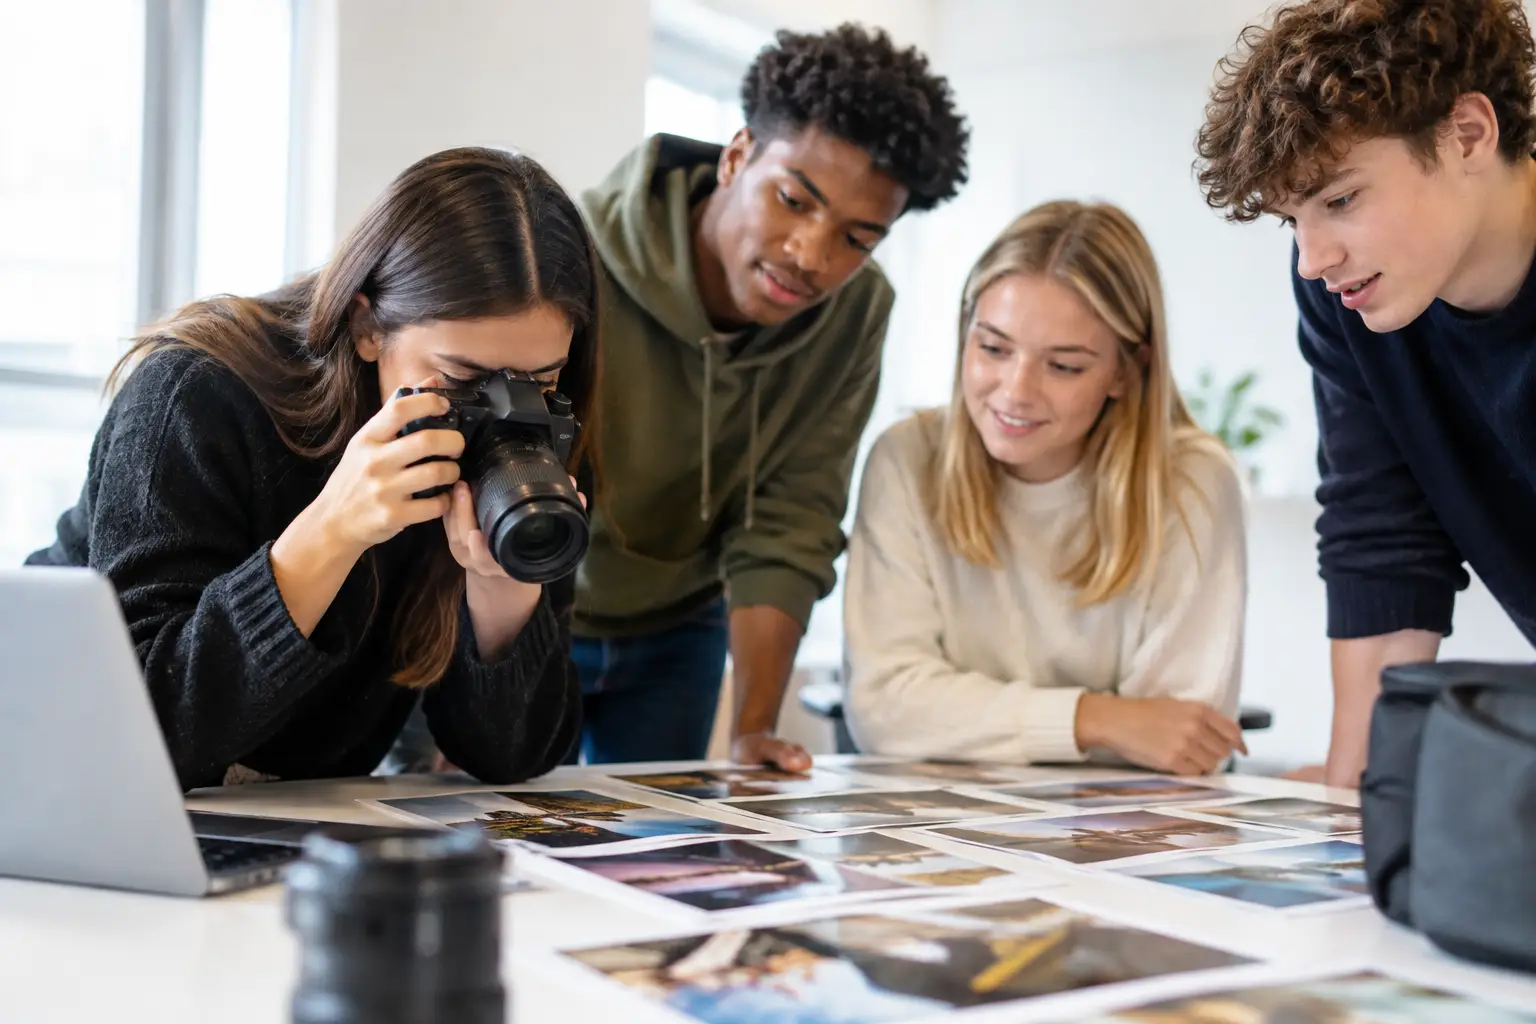
A strong photography project example is not a set of attractive photographs placed in a sketchbook. It is a connected visual journey: a starting idea, informed research, original photo shoots, practical experiments, thoughtful selection and a final response that makes sense because of everything before it. That connection is what helps GCSE and A Level Photography coursework meet AO1, AO2, AO3 and AO4 with confidence.
This example uses the theme Identity Through Hands. It is accessible, personal and visually flexible, but the real lesson is how the project develops. You can apply the same structure to themes such as isolation, routine, memory, urban decay, belonging or natural forms.
Photography Project Example: Identity Through Hands
Hands can communicate age, work, relationships, habits and emotion without showing a full face. That gives you a focused subject while still leaving plenty of room for personal interpretation. You might photograph a grandparent’s hands holding familiar objects, your own hands while drawing or playing sport, or the hands of friends preparing food, using tools or messaging on a mobile phone.
Begin by writing a short project intention. Avoid a vague statement such as, “I am exploring hands.” Instead, explain what you want to communicate and how you may do it. For example:
> I will explore how hands can reveal identity and everyday experience. I will photograph hands in meaningful settings and experiment with close-up composition, directional lighting and editing to create expressive final images.
This is not a promise that every photograph will look perfect. It is a direction for your project. It also gives you something useful to return to when deciding whether a shoot, experiment or artist is relevant.
Start With Personal Visual Research
Your first pages should gather visual possibilities, not rush towards a final image. Make a mind map around identity and hands, then add your own associations: family, creativity, work, sport, care, anxiety, technology, culture or memory. Select the ideas you can genuinely photograph rather than choosing something because it sounds impressive.
At this point, collect a small number of your own reference photographs. These could be quick test shots on a mobile phone or camera: hands against a window, hands gripping a school bag, paint-stained fingers, jewellery, old hands beside young hands, or a hand reflected in a mirror. Label these as initial observations and explain which visual qualities interest you.
This creates early AO3 evidence because you are recording observations from direct experience. It also prevents the project becoming dependent on internet images. Examiners want to see that your own photography is driving the work.
Choose Artists for a Clear Reason
Artist research earns stronger marks when it changes your practical work. Do not choose photographers simply because their images look stylish. Choose them because they offer a useful visual or conceptual route into your theme.
For this project, you might study a portrait photographer who uses dramatic light, a documentary photographer who records working hands, and a contemporary artist who uses gesture, blur or close cropping. Your choices will depend on your own intention. A student interested in family history may need a different artist from someone exploring sport or anxiety.
For each artist, analyse specific decisions. Consider framing, viewpoint, lighting, focus, colour or monochrome, setting and mood. Then state what you will test in your own shoot. For instance: “The close crop removes distracting background detail and makes the gesture feel more important. I will test this by photographing my dad’s hands repairing his bicycle, using a low viewpoint and a shallow depth of field.”
That final sentence is crucial. It turns AO1 research into a practical plan for AO2. Copying an artist’s photograph is not development. Responding to one visual idea, then adapting it to your own subject, is.
Plan Original Photo Shoots
A productive shoot is planned around variables you can test. For Identity Through Hands, organise at least two or three shoots with different purposes. One might explore natural window light and quiet domestic objects. Another could use a single desk lamp to create high contrast shadows. A third might focus on movement, such as hands typing, sewing, catching a ball or washing paintbrushes.
Before shooting, write a brief plan. Identify the person or subject, location, props, time of day and technical intentions. If you are using a camera, consider aperture, shutter speed and ISO. If you are using a mobile phone, you can still control viewpoint, distance, light direction, focus and composition. Good coursework is not limited by expensive equipment; it is strengthened by purposeful decisions.
Photograph more than one obvious angle. Move closer, step back, shoot from above, photograph through a reflection, include negative space and try both posed and unposed gestures. A contact sheet should show selection, not every image you took. Pick the photographs with the strongest potential and annotate why they are worth developing.
Useful annotations are precise: “This image has the clearest connection to my theme because the worn paint on the fingers suggests creativity and repeated work. However, the background is too busy, so I will crop more tightly and retake it with side lighting.” This demonstrates AO3 and shows the examiner that you can evaluate your own work honestly.
Develop the Best Images, Not Every Image
One common coursework mistake is treating every photograph as equally important. A stronger project identifies a few promising images and pushes them further. Select perhaps three to five photographs that offer different possibilities, then experiment with edits and physical or digital processes.
For the domestic window-light image, test black and white conversion, contrast and selective cropping. For the shadow image, experiment with lowering saturation, increasing contrast or layering a second exposure. For a movement photograph, test intentional blur or a sequence of repeated images. Print small versions where possible so you can compare outcomes directly in the sketchbook.
Your experiments should answer questions. Does black and white make texture more powerful, or does it remove meaningful colour? Does a close crop create intensity, or does it lose the setting that explains the person? Does blur suggest energy, or has it simply made the image unclear? There is no automatic “best” technique. Your decisions need to suit the message you are trying to communicate.
This is AO2 in action: exploring media, techniques and processes. It becomes stronger when you show refinement. Do not only present the first edit. Improve it after evaluating what is and is not working.
Make the Journey Towards AO4 Visible
Your final response should feel like the natural outcome of the project, not a sudden new idea on the last page. By this stage, you may have discovered that close-up monochrome photographs communicate your theme best. Or you may decide that colour is essential because it reveals paint, fabric, skin tone, tools or personal objects.
A final outcome for this project could be a carefully edited series of three photographs: an older relative’s hands holding a treasured object, your own hands making something, and a friend’s hands using a mobile phone. The repeated framing and lighting could link the images, while the different gestures show individual identity. Alternatively, one large photographic print with a layered reflection may be more appropriate if your experiments have led you towards a more expressive outcome.
Explain how the final response connects to earlier work. Refer to the artist influence you adapted, the shoot that produced the strongest source image and the experiments that shaped your final choices. This makes AO4 clear because you are presenting a personal and informed response, not just displaying a pleasing photograph.
What This Project Shows Across AO1-AO4
The most successful sketchbooks make assessment evidence easy to find. In this photography project example, AO1 is shown through relevant artist research and informed connections. AO2 appears in the practical testing of lighting, composition, editing and presentation. AO3 is visible in contact sheets, observational photographs, selections and annotations. AO4 is demonstrated by the resolved final series or image that brings those decisions together.
You do not need to label every page with an Assessment Objective, and repetitive AO labels can interrupt the flow of your sketchbook. Instead, make the evidence visible through the way each page leads to the next. Research should prompt a shoot. A shoot should lead to selection and experimentation. Experiments should influence the final response.
If your project currently feels disconnected, do not panic or start again. Look at your strongest original photograph and ask one practical question: what could I investigate next because of this image? That answer is often your clearest next step, and it can turn a collection of photographs into coursework you can present with confidence.
No responses yet