
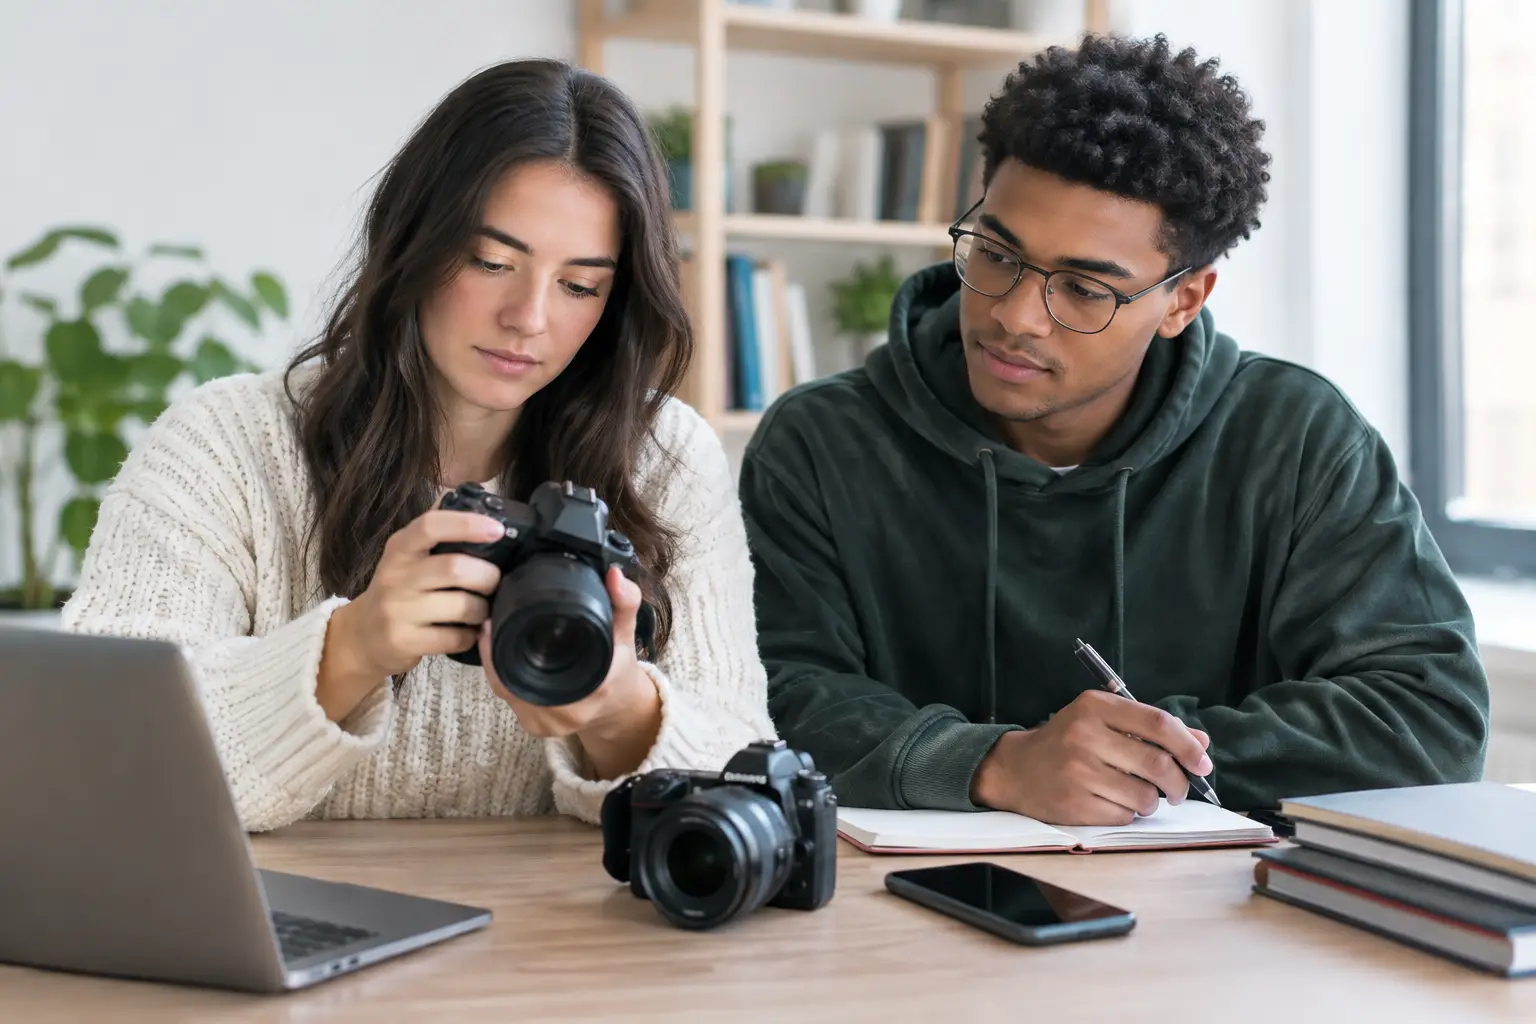
A strong photograph can do far more than fill a sketchbook page. It can show the exact observation, setting, texture, viewpoint or visual idea that drives your project forward. But does photography count as AO3? Yes, it can – provided it is used as purposeful recording rather than simply being a collection of attractive images.
For GCSE and A Level Art and Design, AO3 is where you record ideas, observations and insights that are relevant to your intentions. Photography is often one of the most direct ways to do this, particularly in Photography courses, but also in Fine Art and Graphic Communication. The key question is not, “Is this a photograph?” It is, “What does this photograph record, and how has it helped my project develop?”
What AO3 actually asks you to show
Assessment language can make AO3 sound more complicated than it is. In practical terms, your portfolio needs visible evidence that you have looked closely, gathered useful material and noticed things that matter to your idea.
This might include photographs from an original shoot, observational drawings, written notes, collected objects, quick studies, screenshots of your own digital work or visual research recorded on a visit. Photography is one method of recording. It is not automatically AO3 just because you took the image yourself.
Examiners want to see that your recording is selective and connected to your project. A photo of a flower may be a pleasant image. A set of close-up photographs showing damaged petals, shadows and repeating forms, chosen because you are investigating fragility and decay, is meaningful AO3 evidence. Your choices reveal a line of enquiry.
When does photography count as AO3?
Photography counts most clearly as AO3 when it records primary observations that you will use, explore or respond to later. Primary source material means material you have gathered yourself: photographs from your own shoot, drawings from direct observation, notes from a gallery visit or experiments you have documented in progress.
Your images should have a purpose. Perhaps you are recording architecture for a project on urban geometry, friends and family for a portraiture project, or reflections in puddles for an investigation into distortion. The subject is less important than the connection between the photographs and your intentions.
A useful test is this: could a teacher or examiner look at the page and understand why you took these photographs? If the answer is yes, you are probably building useful AO3 evidence. If the images could be swapped for any random set from your camera roll without changing the project, they need more direction.
Photography can also record observations made during a process. For example, if you are creating a cardboard sculpture, photographs of changing structures, light falling across surfaces and successful arrangements can capture decisions you may not be able to preserve physically. Add short comments explaining what you noticed and what you intend to develop. This turns documentation into evidence of thinking.
Original photographs are valuable, but selection matters
Students sometimes believe that more photographs automatically mean more marks. A page of 40 tiny images may prove that you went on a photo shoot, but it rarely shows strong visual judgement. AO3 rewards relevant recording, not sheer volume.
Start by taking plenty of photographs so that you have options. Then edit with care. Select the images with the clearest composition, most useful detail or strongest link to your theme. Print a few larger photographs where an examiner can see the texture, lighting, focus and framing you are responding to.
A contact sheet can be helpful because it shows the breadth of a shoot. However, it should not be the final destination. Mark up your strongest images, crop sections, circle useful details and explain why certain shots were selected. This demonstrates that you are reviewing your own visual material rather than treating every photograph as equally useful.
For a project about identity, for instance, a contact sheet of portraits might show different poses and locations. Your selected photographs could then focus on a hand gesture, a reflection in a mirror or an expression that supports your chosen message. These selections become much more powerful when you take them into drawing, editing, collage, print or a final photographic response.
Annotation gives your photographs a job
You do not need to write a paragraph beneath every image. In fact, repetitive captions such as “I like this photo because it is nice” add very little. Use annotation to make your observations and next steps clear.
Write about specific visual qualities: angle, scale, depth of field, contrast, colour, pattern, texture, movement, lighting or composition. Then link that observation to a decision. For example: “The low viewpoint makes the building appear imposing. I will crop into the windows and repeat their grid structure in a layered monoprint.”
That sentence shows recording, insight and a practical route forwards. It also creates a connection between AO3 and AO2. The Assessment Objectives are distinct, but strong portfolios naturally allow them to support one another.
When photographs are part of artist research, be precise about the difference between the artist’s work and your own response. Looking at a photographer’s use of dramatic side lighting is usually AO1 research. Planning and shooting your own portraits using side lighting to test that observation can provide AO3 recording and AO2 experimentation. Your final resolved image may contribute to AO4.
Photography for Fine Art, Photography and Graphic Communication
The way you present photography should suit your course and your project.
In Fine Art, photographs often act as source material. You might photograph rusting metal, woodland forms, family possessions or urban scenes, then use those observations in drawing, painting, sculpture or mixed media. Show the journey from photo to artwork. A photograph pasted into a sketchbook without a later response can feel disconnected.
In Photography, the photographs themselves are likely to be your main medium. That does not mean every final-looking image is AO3. A shoot that records a location, subject or visual possibility is AO3. Testing shutter speed, lighting, editing methods and double exposure may be AO2. Carefully selecting, refining and presenting your strongest final images is AO4. The same image can contribute to more than one area, but your portfolio should make the development clear.
In Graphic Communication, your own photographs can provide original imagery for layouts, posters, packaging or editorial work. Record photographs with design in mind: negative space for text, unusual crops, textures for backgrounds, signage, typography and relevant colour combinations. Explain how the image could function within a design, not only why it looked interesting in the moment.
Common mistakes that weaken photographic AO3
The most common issue is using photographs as decoration. If a page contains a border of unrelated images, an examiner cannot easily see what they prove. Give each group of photographs a clear role within the project.
Another mistake is relying on internet images when you could record the subject yourself. Secondary images can support artist research or provide context, but they do not show your personal observation in the same way. If access is difficult, be honest and resourceful. Photograph an alternative local subject, create a still life, use yourself as a model, or focus on details available around you.
Avoid presenting only polished photographs. Blurred, overexposed or awkward images can still be useful if you explain what went wrong and how you adapted your next shoot. Thoughtful evaluation shows creative control. You do not need to pretend every decision was perfect.
Finally, make sure the photographs are your own and that you work responsibly. Ask permission when photographing people, especially when sharing work online, and be aware of school rules around locations and subjects. Original work should also be respectful work.
A practical way to build stronger AO3 photography
Before a shoot, write one or two intentions. For example: “I need close-up source material showing cracked surfaces and directional shadows,” or “I want to record portraits that feel private rather than posed.” This small amount of planning makes selection easier afterwards.
During the shoot, vary viewpoint, distance, lighting and composition. Look for details as well as whole scenes. When you return to your sketchbook or digital portfolio, select the best evidence, annotate what you notice and identify one clear next step. That next step could be a drawing, an edit, a material test or a second, more focused shoot.
Your photographs do not need to look like professional campaign images to achieve high marks. They need to show that you are observing with purpose, making decisions and using your own visual material to move the project forward. Treat the camera as a thinking tool, not just a way to collect pictures, and your AO3 pages will give your ideas somewhere strong to grow.
No responses yet