
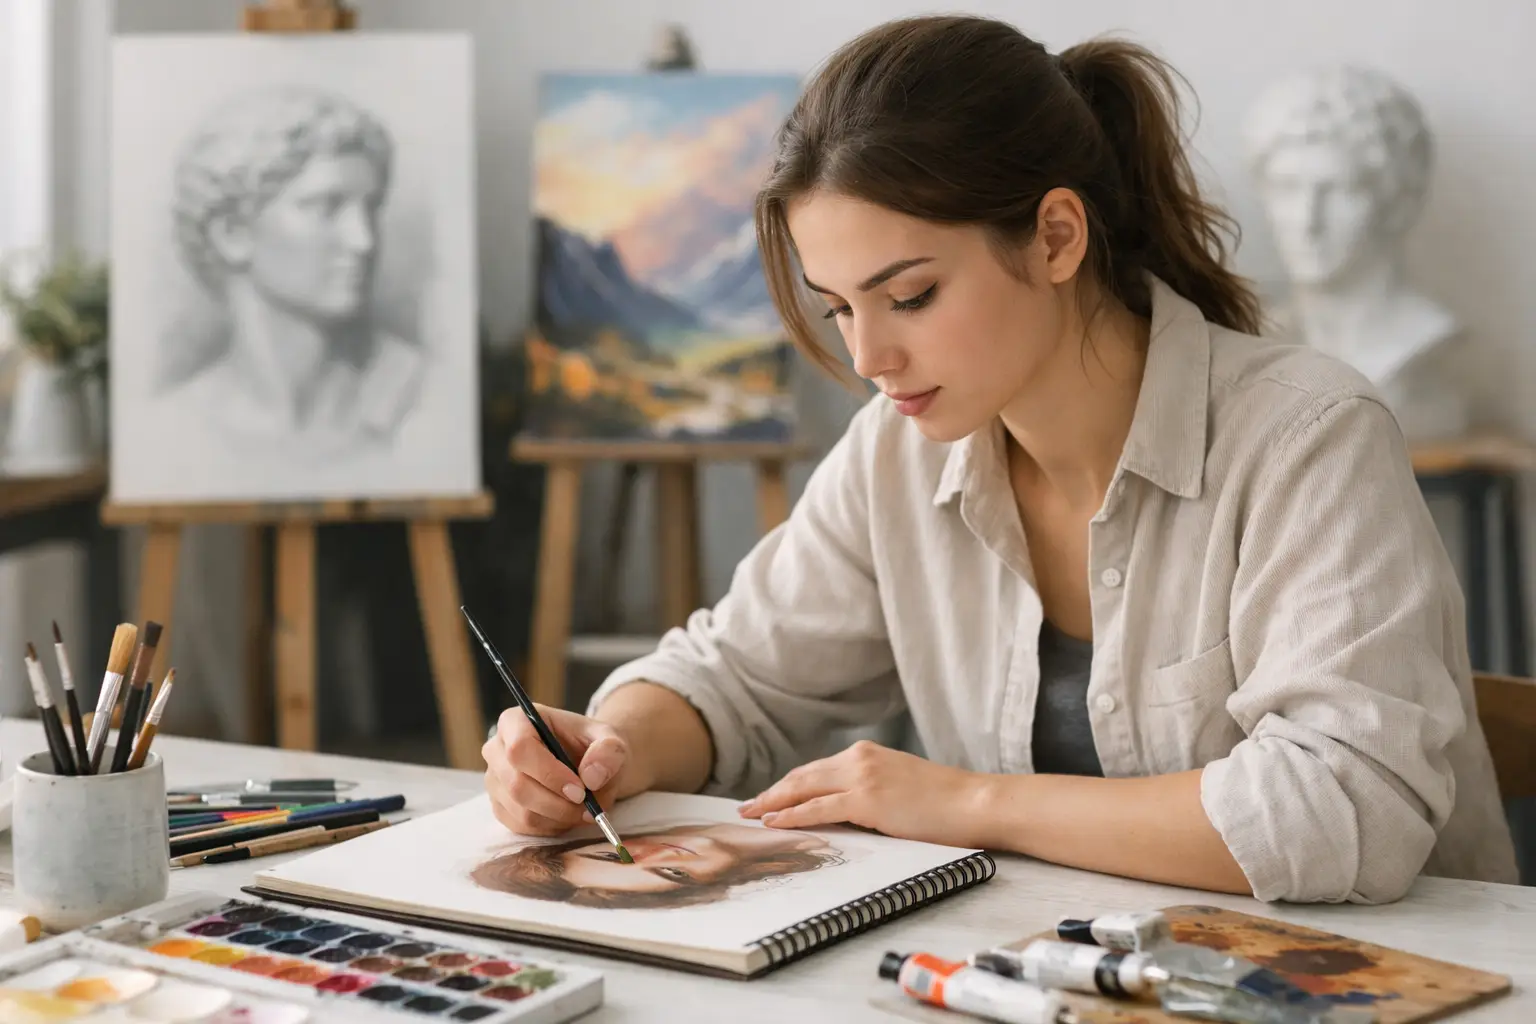
An A portfolio is not simply a sketchbook full of attractive pages. It is a clear record of how your ideas became more focused, ambitious and personal over time. If you are asking how to get an A in A level art, the most useful answer is this: make every choice in your portfolio give convincing evidence for AO1, AO2, AO3 and AO4.
Examiners are not looking for one particular style. They do not expect every student to paint perfectly, produce dozens of finished pieces or work like a professional artist. They do expect sustained investigation, informed decisions, skilful experimentation and a final response that feels earned. Your work needs to show where an idea began, what changed it, and why your final outcome is the strongest response you could make.
Understand what an A* portfolio has to prove
A Level Art assessment is built around four Assessment Objectives. The objectives are connected, so treating them as four separate tasks often creates a disjointed sketchbook. Strong portfolios return to each objective throughout a project, showing a line of development rather than four boxes ticked at the end.
AO1 is about developing ideas through relevant contextual research. This includes artists, photographers, designers and other sources that genuinely inform your own work. An A* student does not collect artist facts and copy an image once. They identify specific qualities in an artist’s work, such as composition, mark-making, process, subject matter or use of colour, then test those qualities in a personal direction.
AO2 is about refining work through experimentation and selection. This is where you show that you can try processes, assess what happened and make intelligent improvements. A page of random media samples is not automatically strong experimentation. The best tests have a purpose: perhaps you are trying to create layered surfaces, improve tonal contrast, distort a photograph, or find a more expressive way to describe a figure.
AO3 is your recording and observation. It can include drawing, painting, photography, primary research, written observations, measurements and visual studies. For A*, your recording needs to be selective as well as skilful. Take your own photographs, revisit a subject from different viewpoints, and gather material that gives you something distinctive to develop.
AO4 is your ability to present a personal, meaningful response. This includes final pieces, but it also concerns the way you bring your research, experiments and observations together. A successful final outcome should not appear suddenly. It should look like the natural result of the visual journey before it.
Start with a question that can develop
Broad themes such as identity, nature, decay or architecture can be useful starting points, but they are not yet projects. They are too wide to guide practical decisions. Turn your theme into a question or focused line of enquiry instead.
For example, rather than working on “identity”, you might investigate how clothing, possessions or family photographs communicate identity. Rather than “nature”, you could explore the tension between cultivated gardens and uncontrolled growth. This gives you a direction for photography, observation, artist research and material experiments.
Your starting point should leave room to change. You do not need to know your final outcome in September. In fact, deciding it too early can make the portfolio feel forced. Begin with a clear interest, then let strong research and practical discoveries narrow your focus.
Build primary research before relying on the internet
Your own photographs, drawings and observations are often the point at which a project becomes personal. Plan a purposeful photo shoot rather than taking a few quick images and hoping one will work. Think about lighting, viewpoint, cropping, close-up detail, unusual angles and scale.
If your project concerns a person, photograph gestures, hands, clothing and environments as well as a straightforward portrait. If it concerns objects, record them in different arrangements and light conditions. Take more images than you think you need, then select the ones with the most visual potential.
Use this material repeatedly. A photograph can lead to a tonal drawing, a cropped composition, a digital manipulation, a mixed-media study and eventually part of a final piece. That repetition creates connection. It also makes clear that the project belongs to you.
Make artist research change your work
Weak artist research follows a predictable pattern: a printed image, a short biography and a copied study. It may look tidy, but it rarely demonstrates deep understanding. The key question is not “What can I write about this artist?” It is “What can this artist help me investigate in my own project?”
Choose artists because they offer something relevant. One artist might help you explore fragmented composition, while another gives you a way to use translucent layers or intense colour. Explain the feature you are studying in precise language, then make a practical response that tests it using your own subject matter.
Your annotation should record decisions, not fill space. Write about what you noticed, what you tried, what succeeded and what you will do next. For instance: “The cropped viewpoint creates tension because the viewer cannot see the full figure. I will use a similar crop in my photographs, but combine it with a softer charcoal background so the face remains the focal point.” This is far more valuable than calling an artist “inspiring” without explaining why.
It also helps to revisit an artist later in the project. Your first response might investigate their process; your later work can show how you have adapted that idea with greater confidence. This is visible development, and it supports both AO1 and AO2.
Experiment with a reason, then refine hard
A* portfolios show breadth, but not for its own sake. You may test pencil, ink, collage, paint, print, stitch, digital editing or photography, depending on your course and intentions. What matters is that each experiment helps answer a visual problem.
After every practical study, evaluate it honestly. Which part is worth developing? Perhaps a mono-print has an energetic texture but loses important detail. You could combine that texture with a more controlled drawing. Perhaps an edited photograph creates a striking colour palette but feels too flat. You might introduce hand-drawn marks or physical layers to restore depth.
Do not keep every experiment at the same size or level of finish. Small tests are useful when comparing materials quickly. Larger studies should be reserved for the approaches that have already shown promise. This protects your time and makes your decision-making look deliberate.
Refinement is where many capable students gain marks. If an idea is working, push it further rather than abandoning it for another technique. Change the scale, alter the composition, combine two processes, simplify an unnecessary area, or return to primary imagery for more accurate detail. A portfolio with fewer, more developed investigations is usually stronger than one packed with unrelated trials.
Plan your final response early enough to test it
Your final piece should be planned before the final weeks, but it should remain open to improvement. Once you can identify the strongest elements of your project, create composition sketches or digital mock-ups. Consider format, scale, materials, focal point and the relationship between your chosen imagery.
Ask yourself whether the proposal visibly draws on your earlier work. Can you point to the photographs that informed it, the artist research that influenced it, and the material experiments that shaped its surface or structure? If you cannot, the outcome may be attractive but insufficiently connected.
Complete a small-scale or partial trial before committing to a large final piece. This is especially important if you are using unfamiliar materials, complex photography setups, a large canvas, print processes or digital outcomes. A test allows you to identify practical problems while there is still time to solve them.
During the final response, record significant decisions. You do not need to document every minute of work, but progress photographs and short reflections can show how you adjusted composition, colour, layering or technique. If something goes wrong, do not hide it. Explain the correction and what you learned from it.
Present your portfolio with examiner clarity
Presentation is not about making every page identical. It is about making the journey easy to follow. Place related material together, use titles that explain the purpose of a page, and ensure annotations sit close enough to the work they discuss. Avoid over-decorating pages until the visual evidence becomes difficult to see.
Before submission, review the whole portfolio in order. Look for sudden changes of theme, artist studies that do not lead anywhere, experiments with no evaluation, and final ideas that have not been tested. These are not reasons to panic. They are priorities for your remaining time.
A useful final check is to ask four questions: Where have I developed ideas from relevant sources? Where have I refined techniques and selected the best options? Where is my strongest personal recording? Where does my final response bring those strands together? If you can answer each question quickly with specific pages, your portfolio is communicating clearly.
An A* is achieved through purposeful development, not a last-minute rush for more pages. Keep making work that leads somewhere, explain your decisions with honesty, and give your strongest ideas enough time to grow. If you need an experienced pair of eyes to identify the gaps, a personalised Portfolio to A Star review can turn that uncertainty into clear next steps before you submit.
No responses yet